Module 3 Formstorming
Weekly Activity Template---Freddy Hu
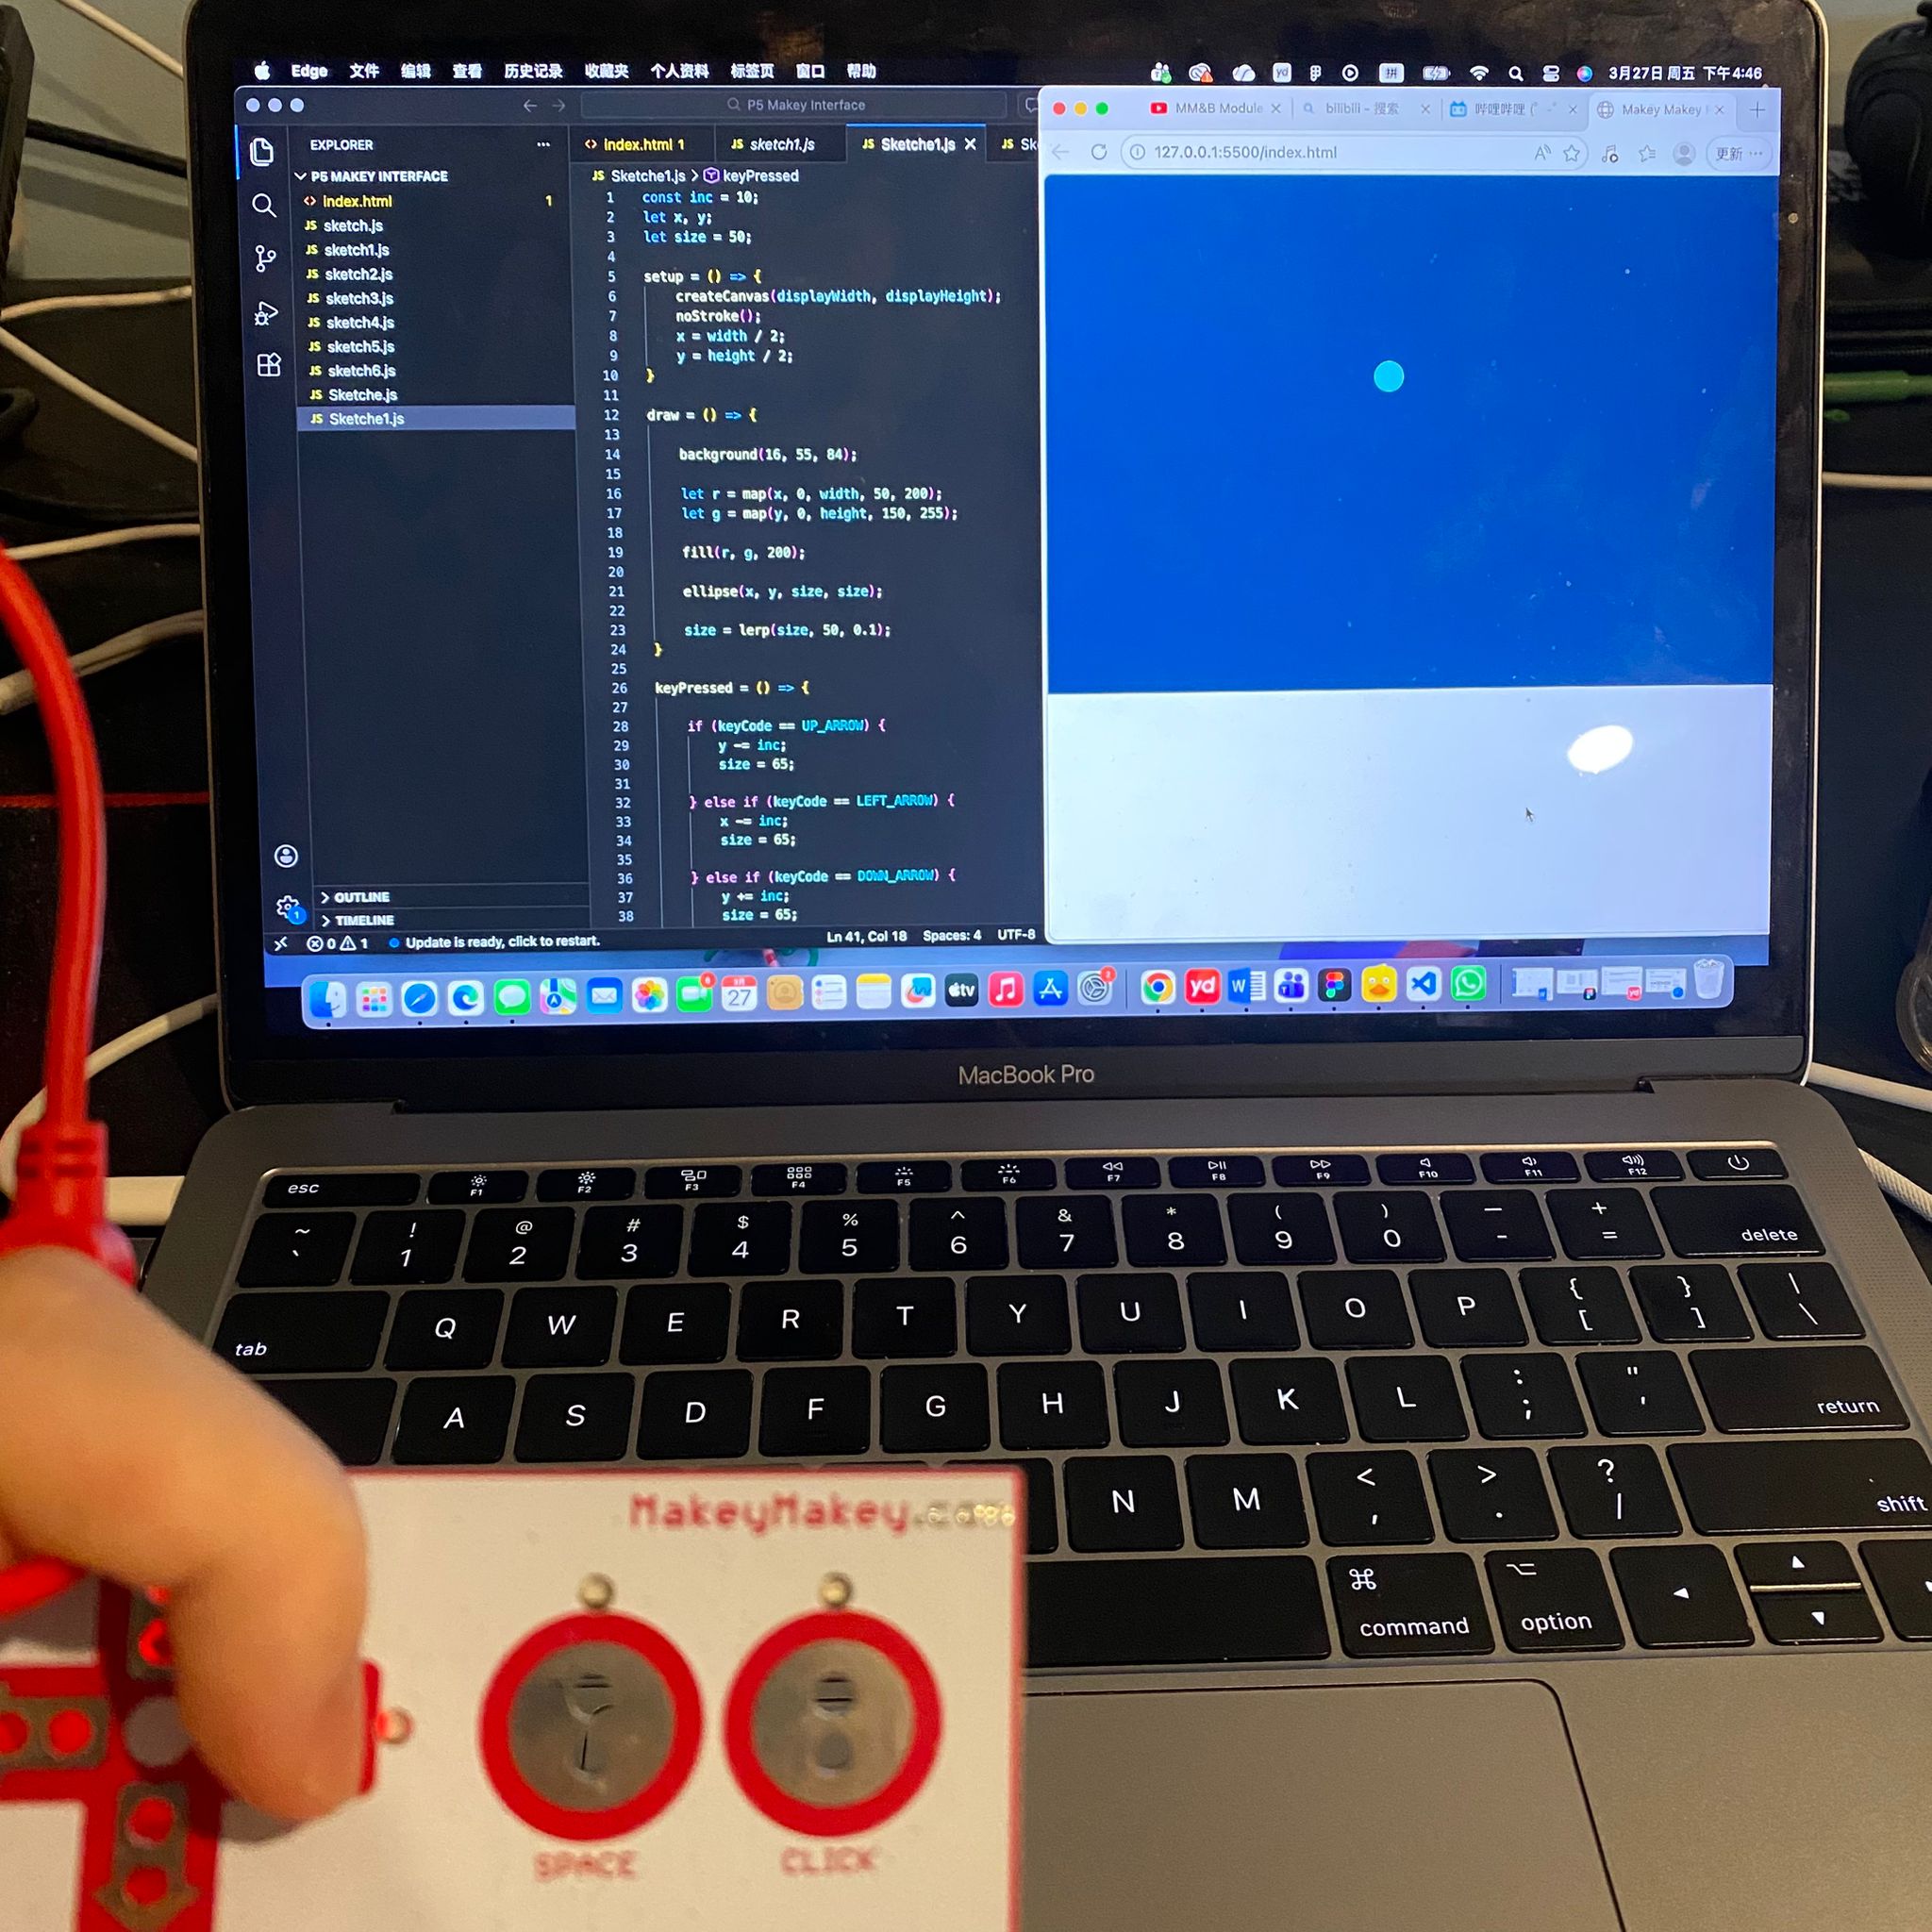
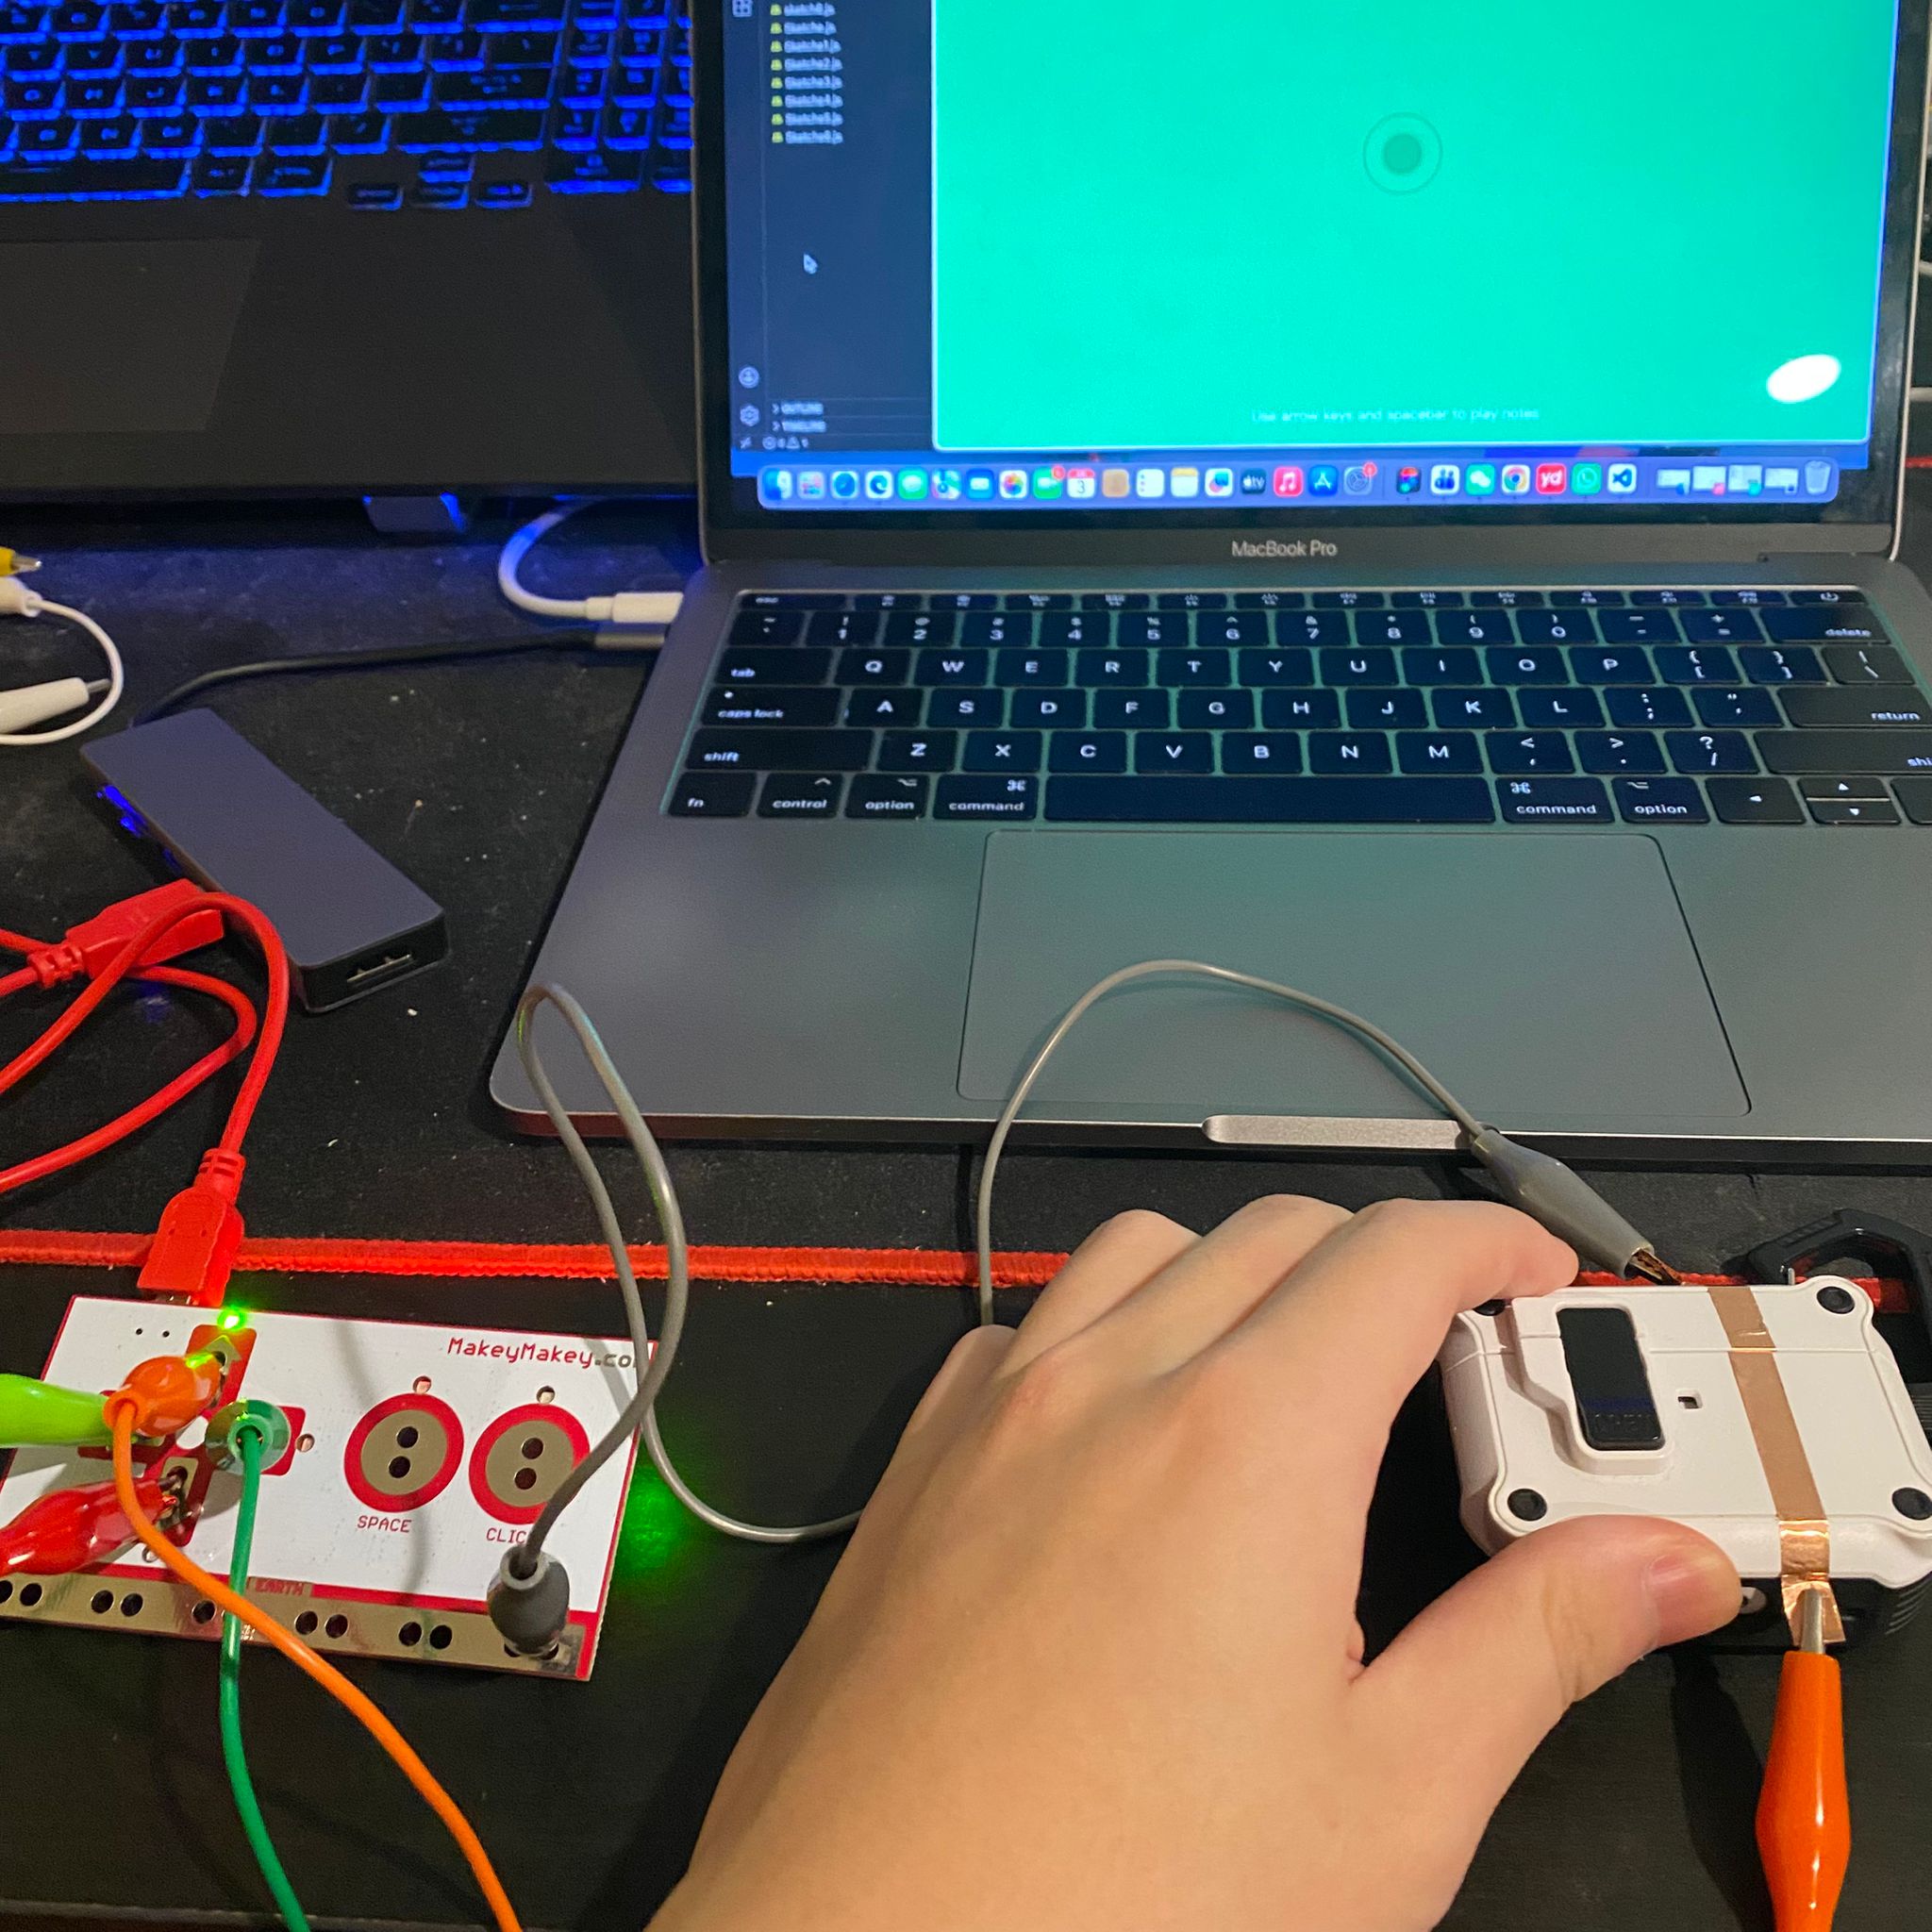
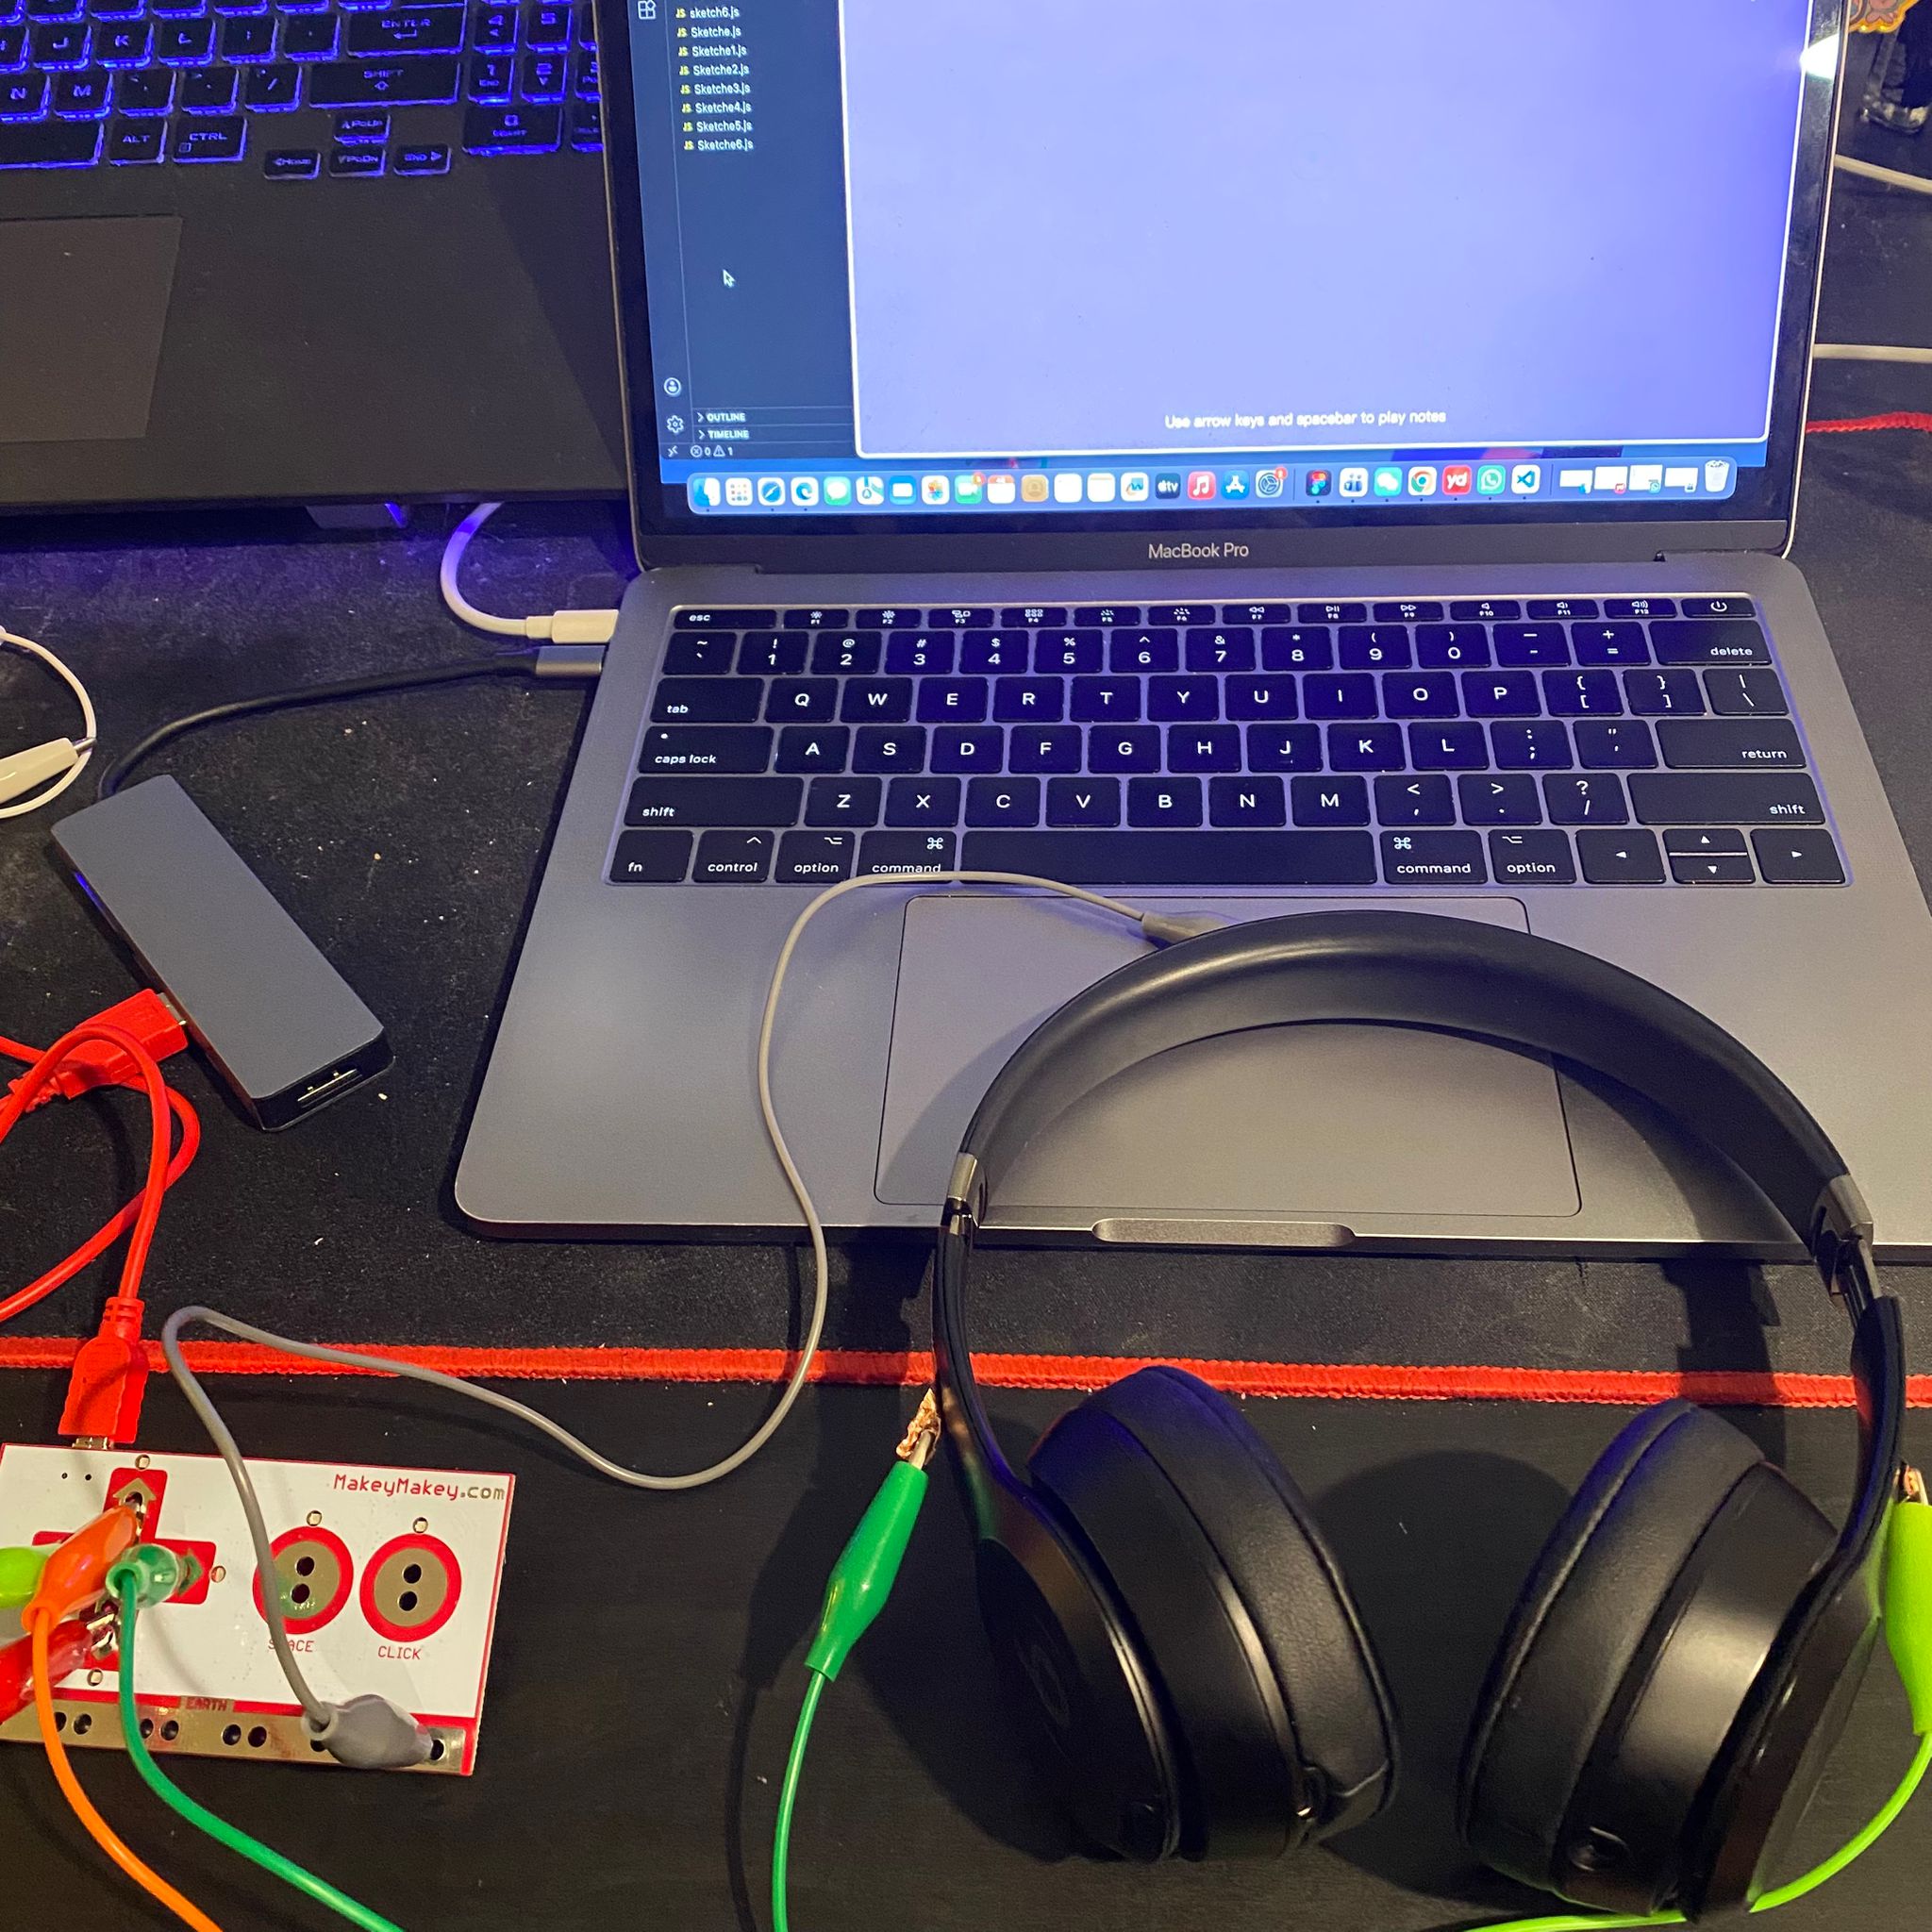
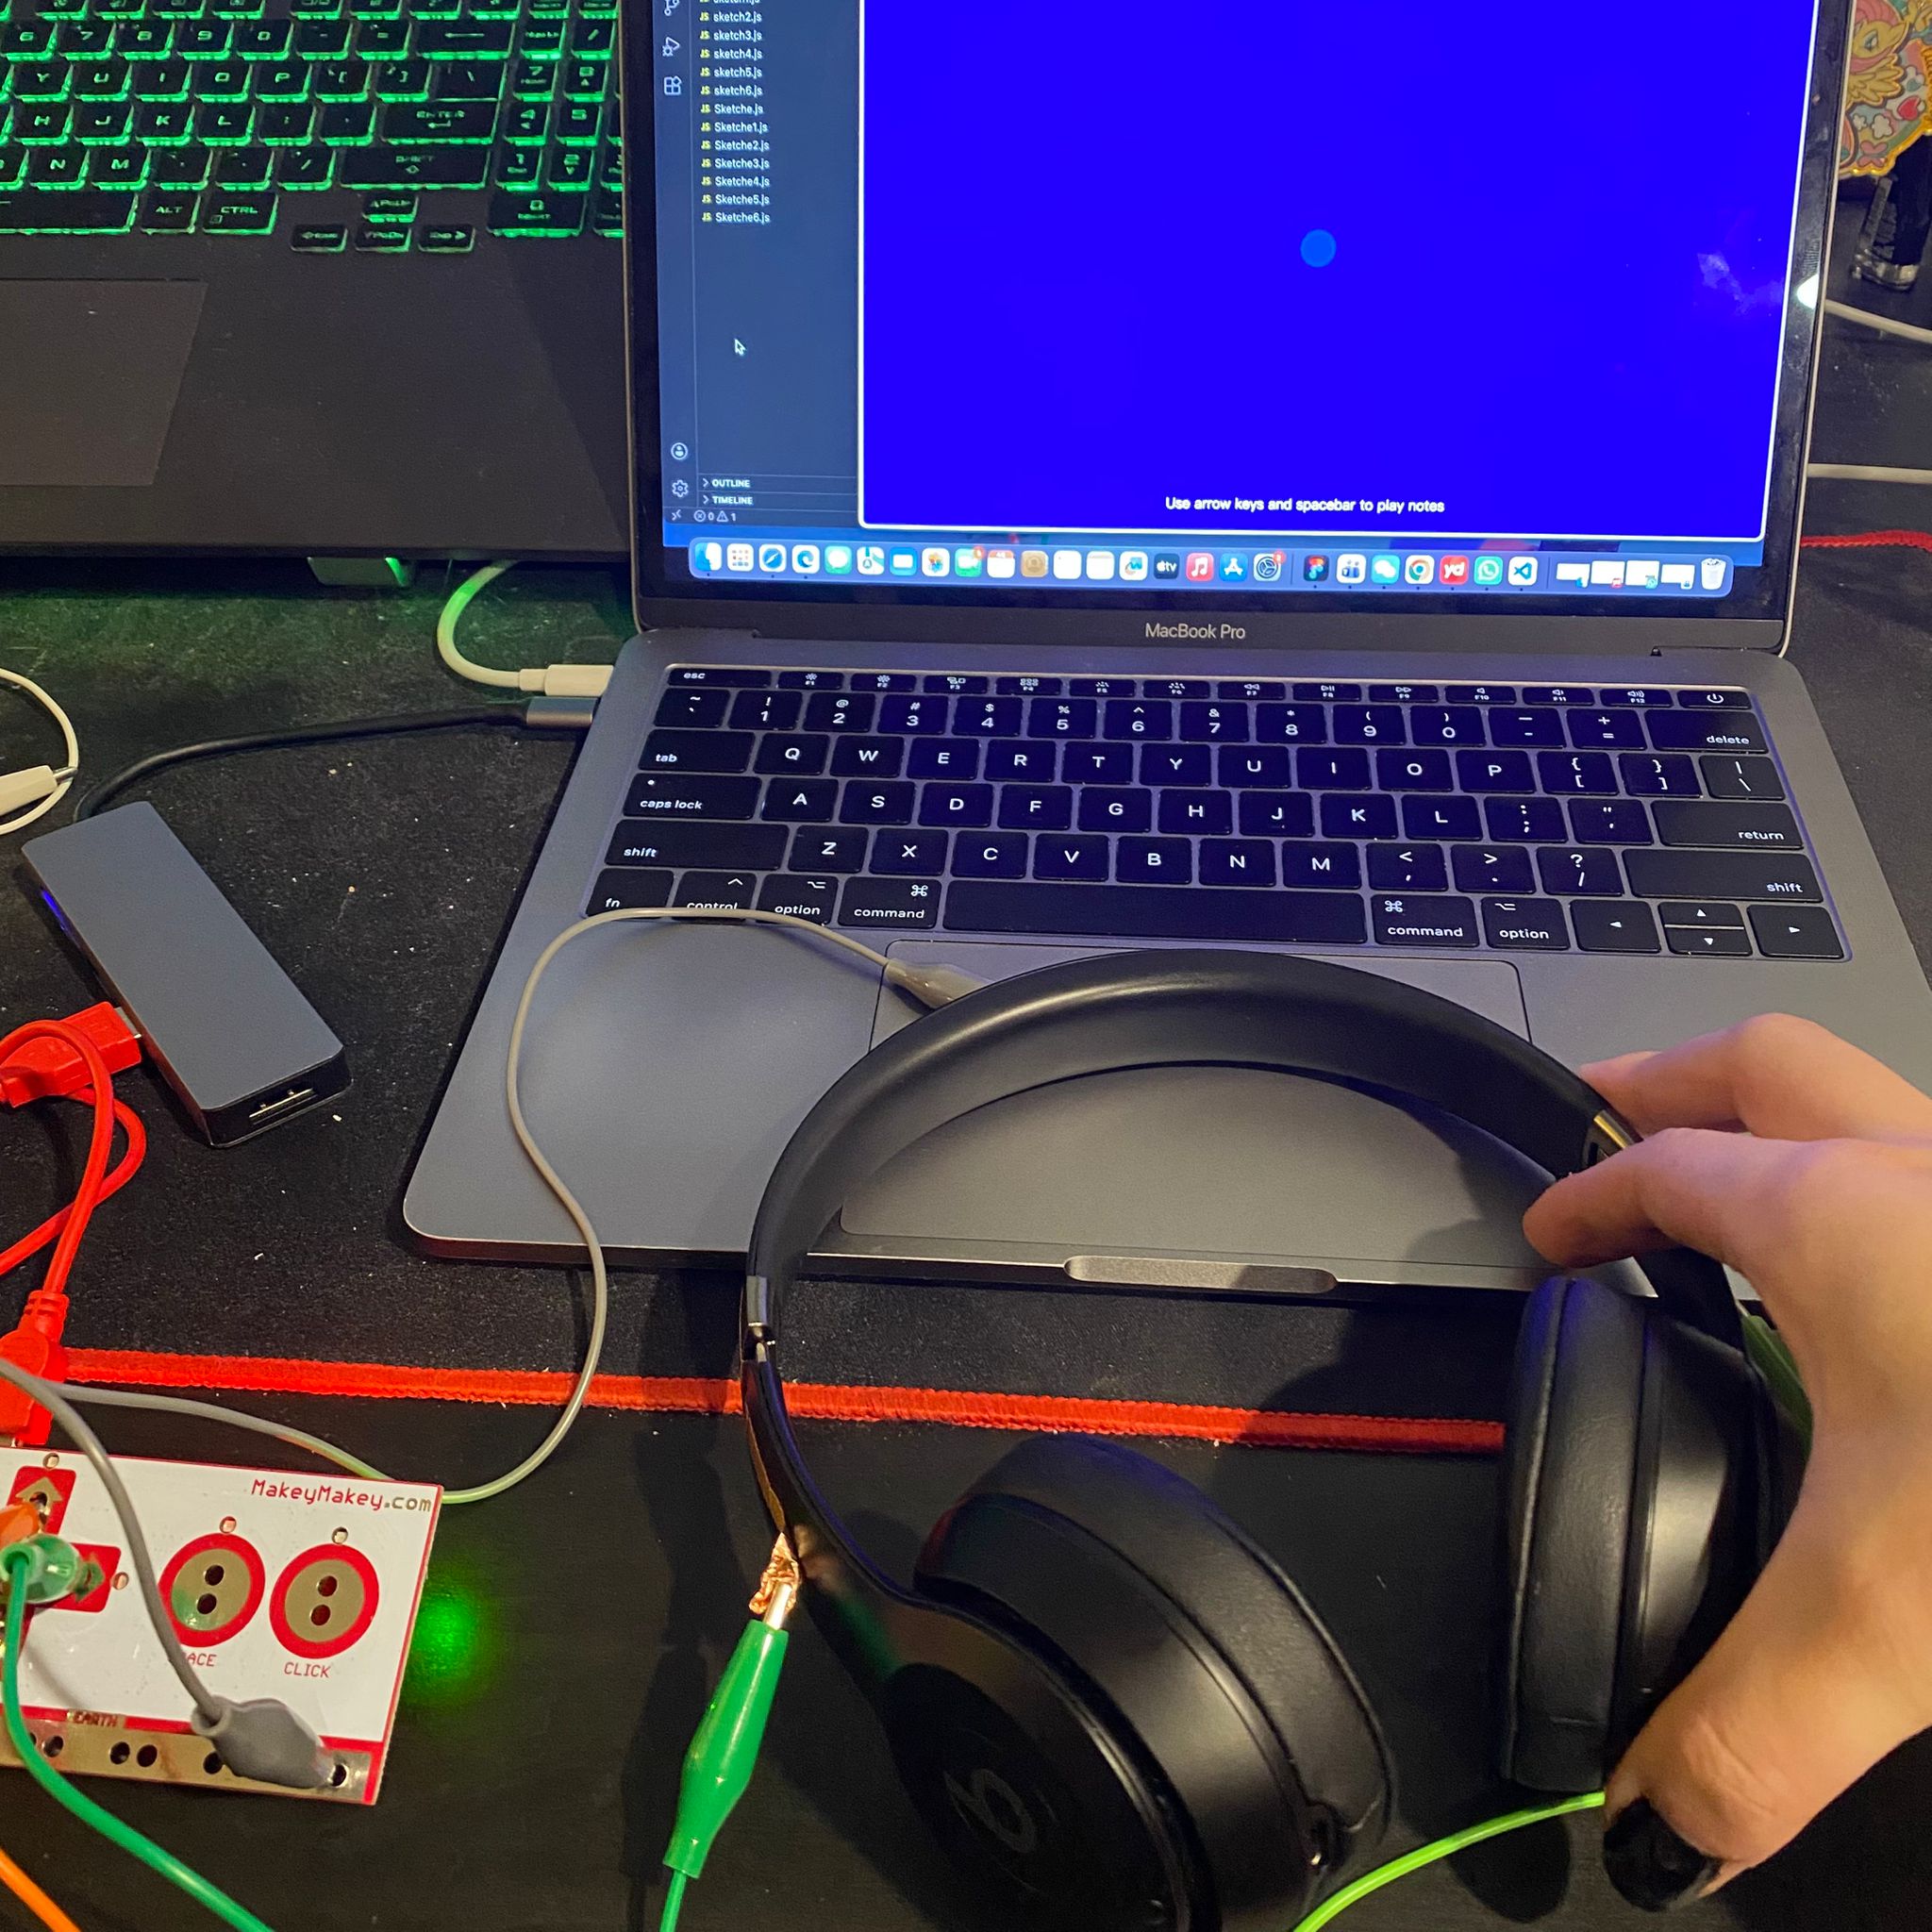
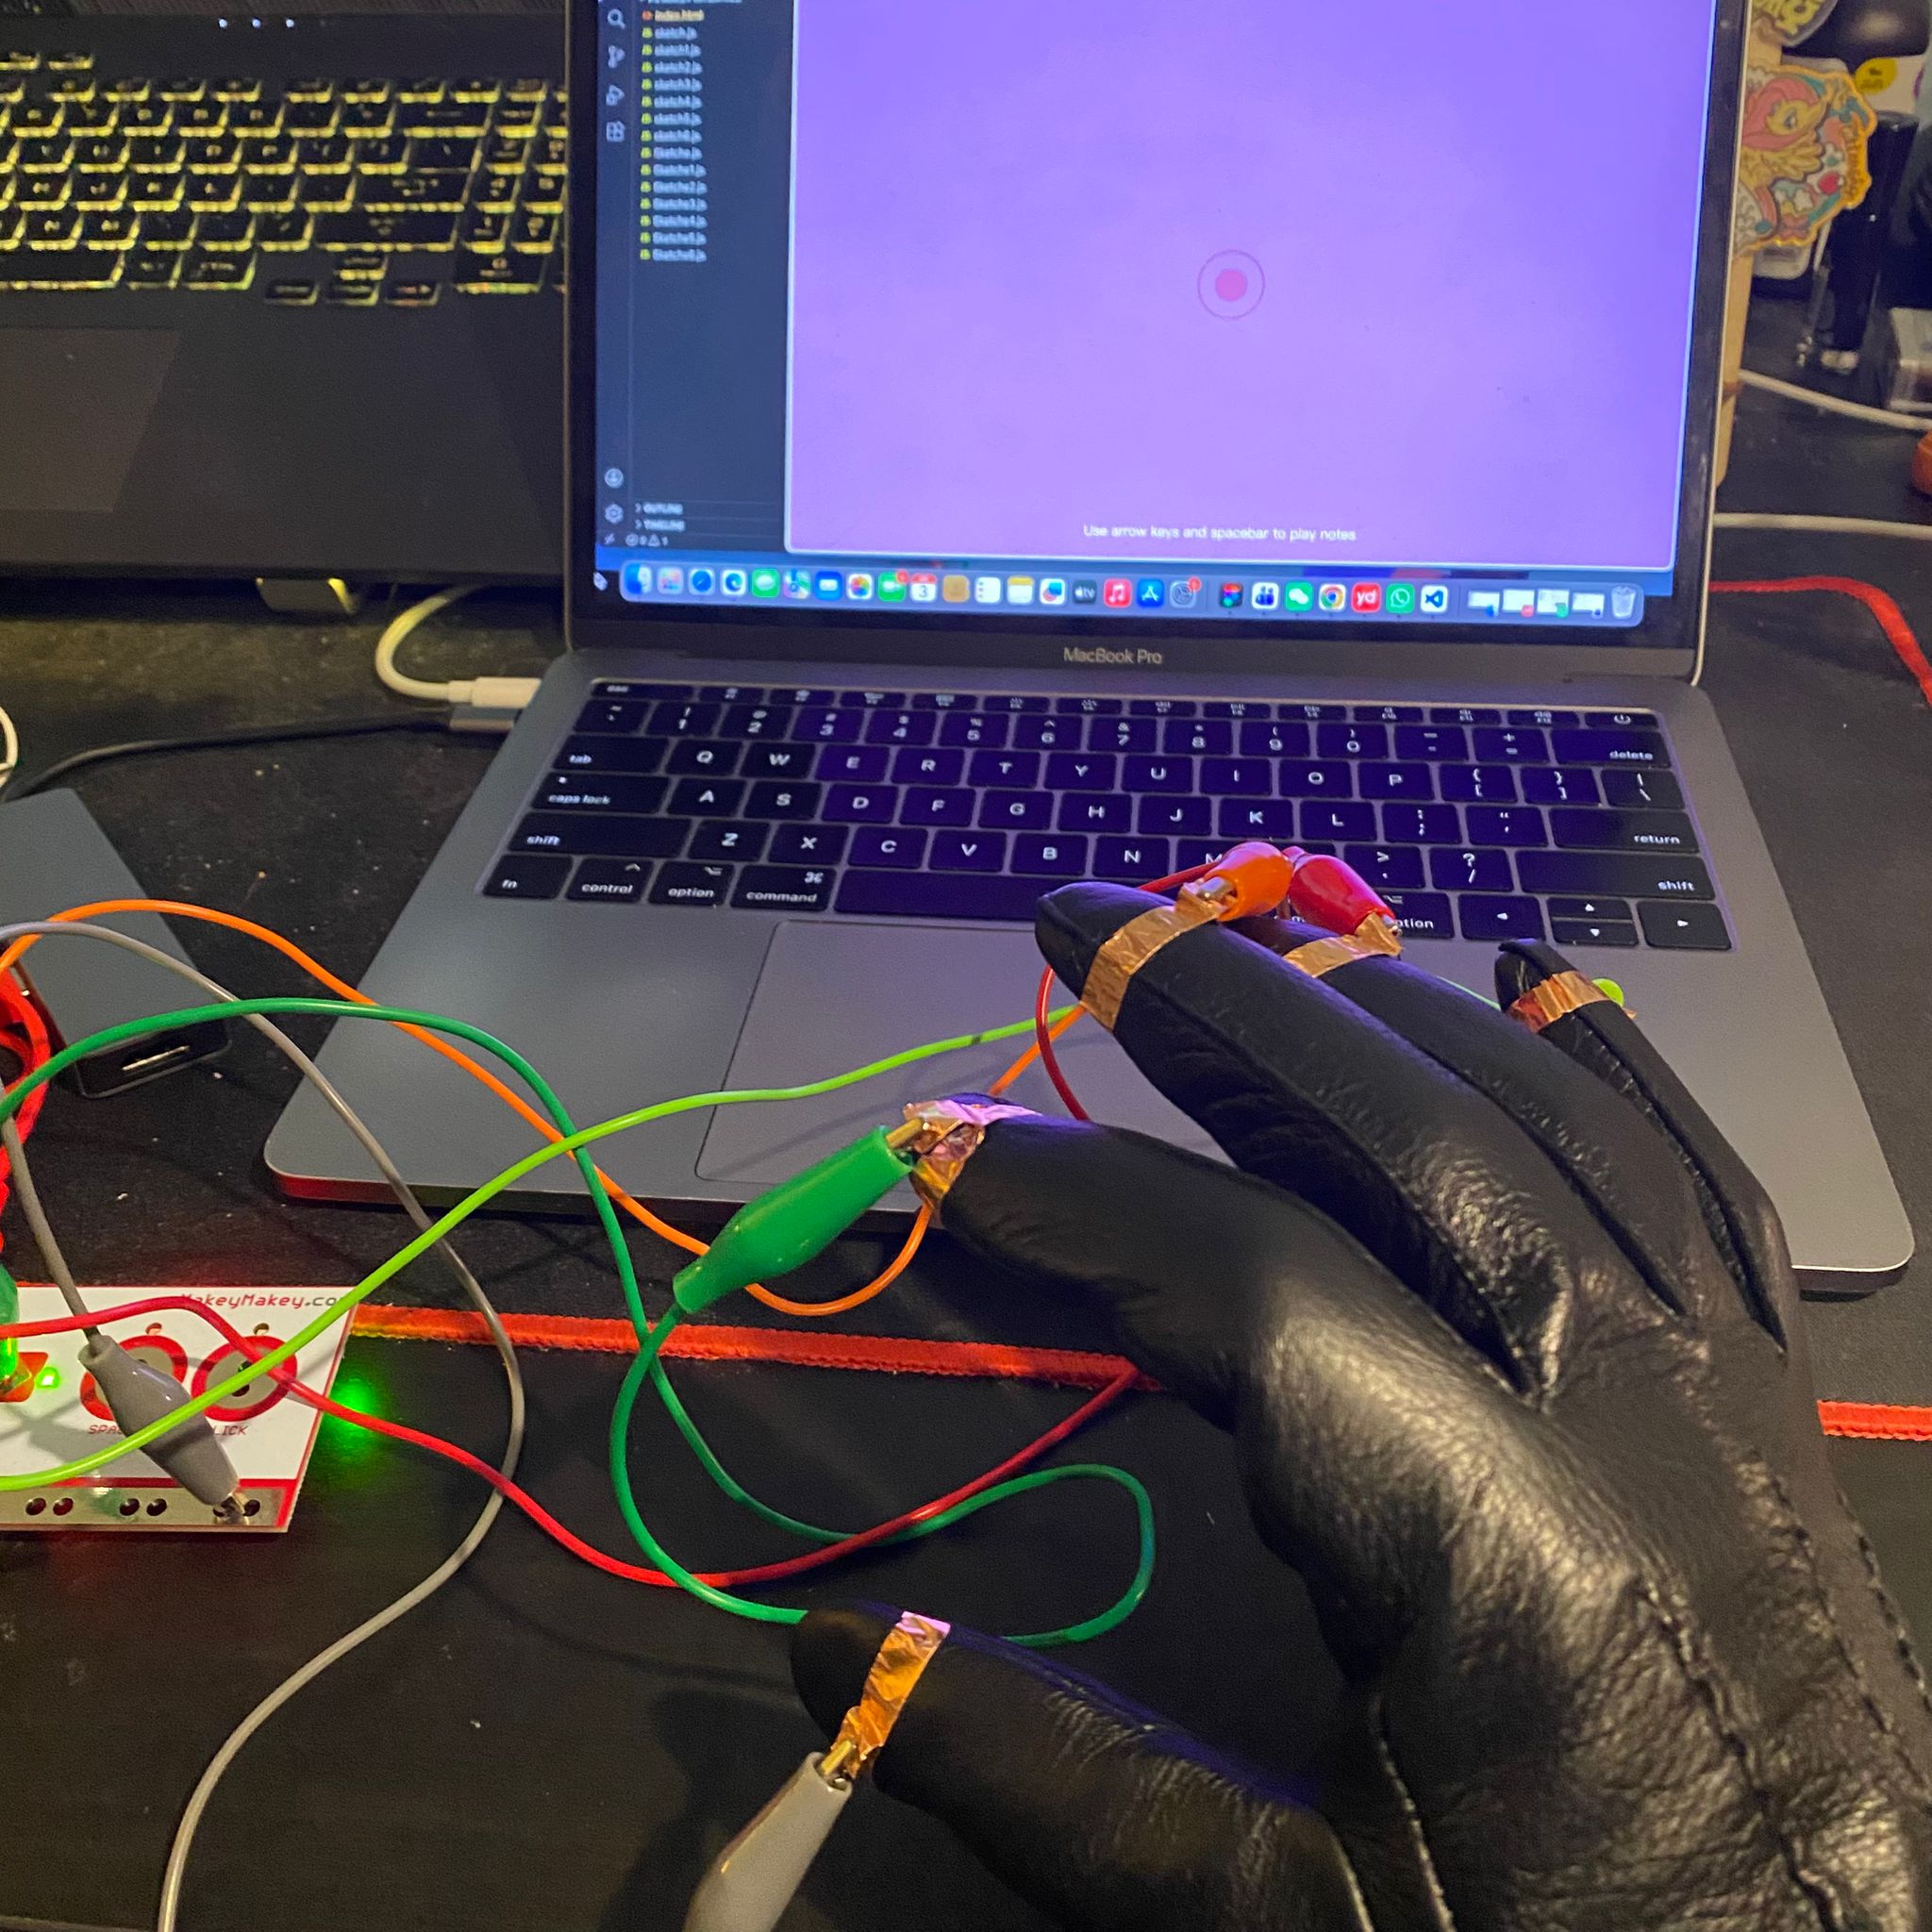
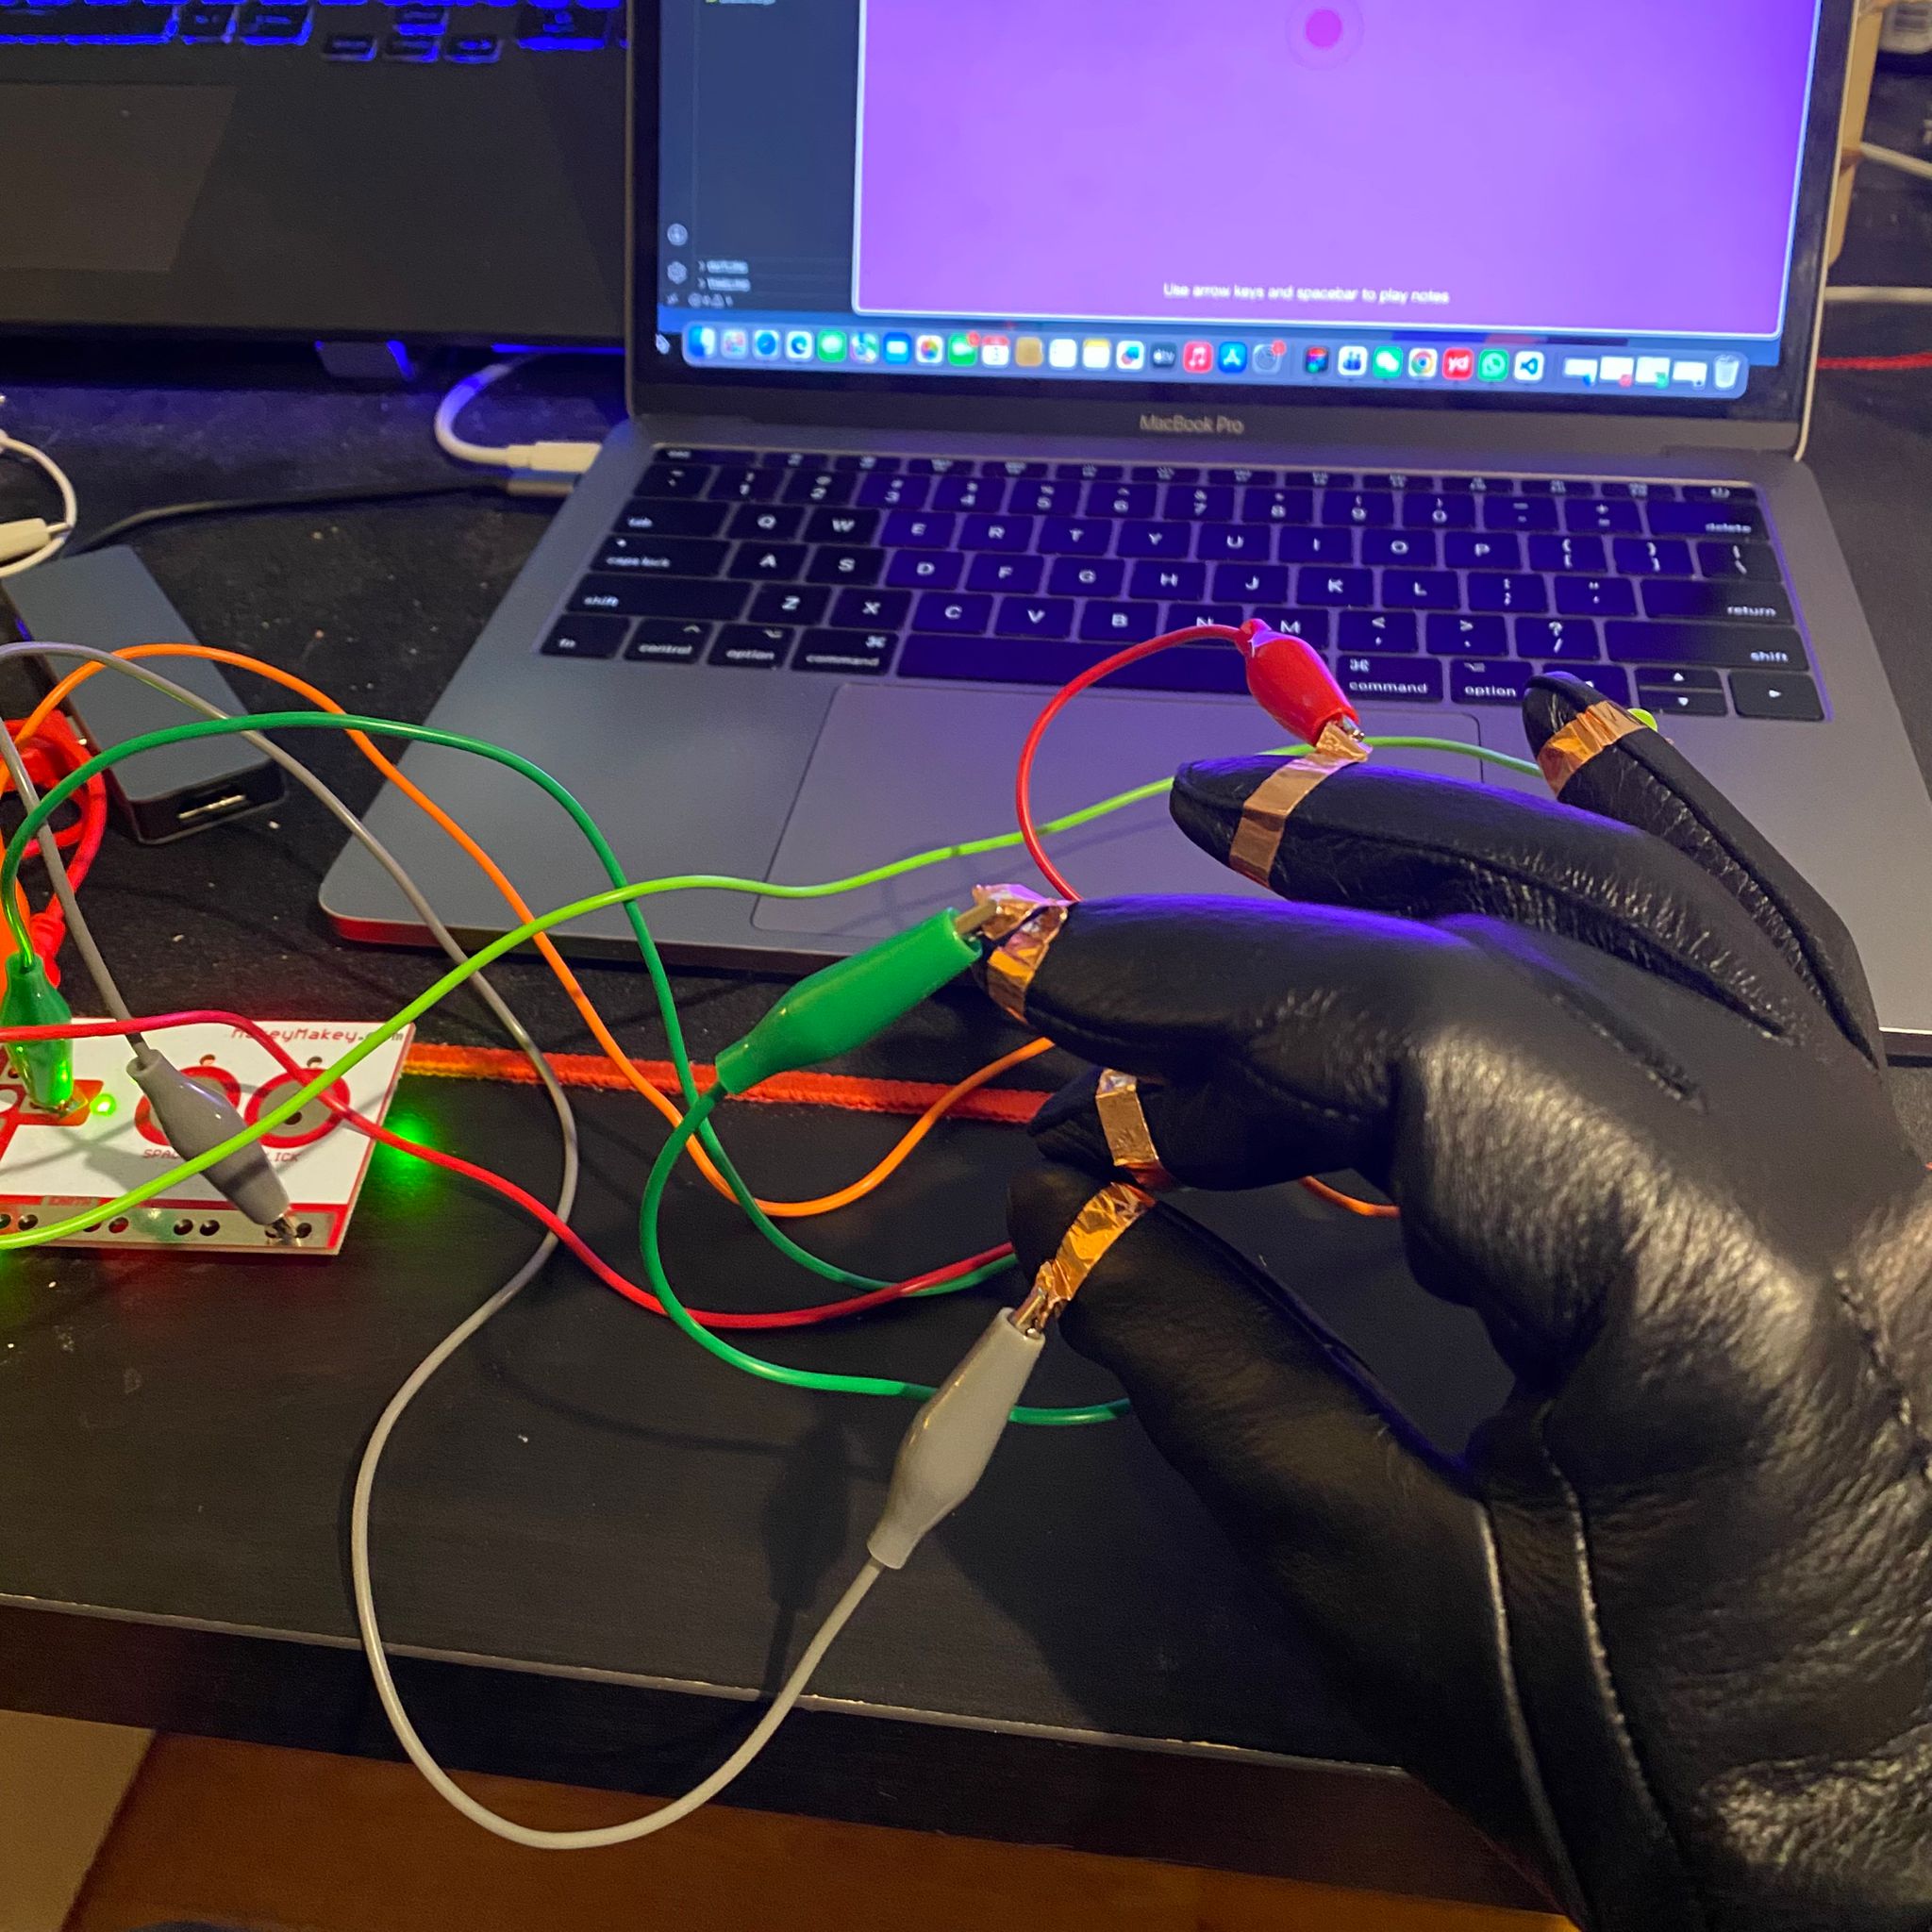
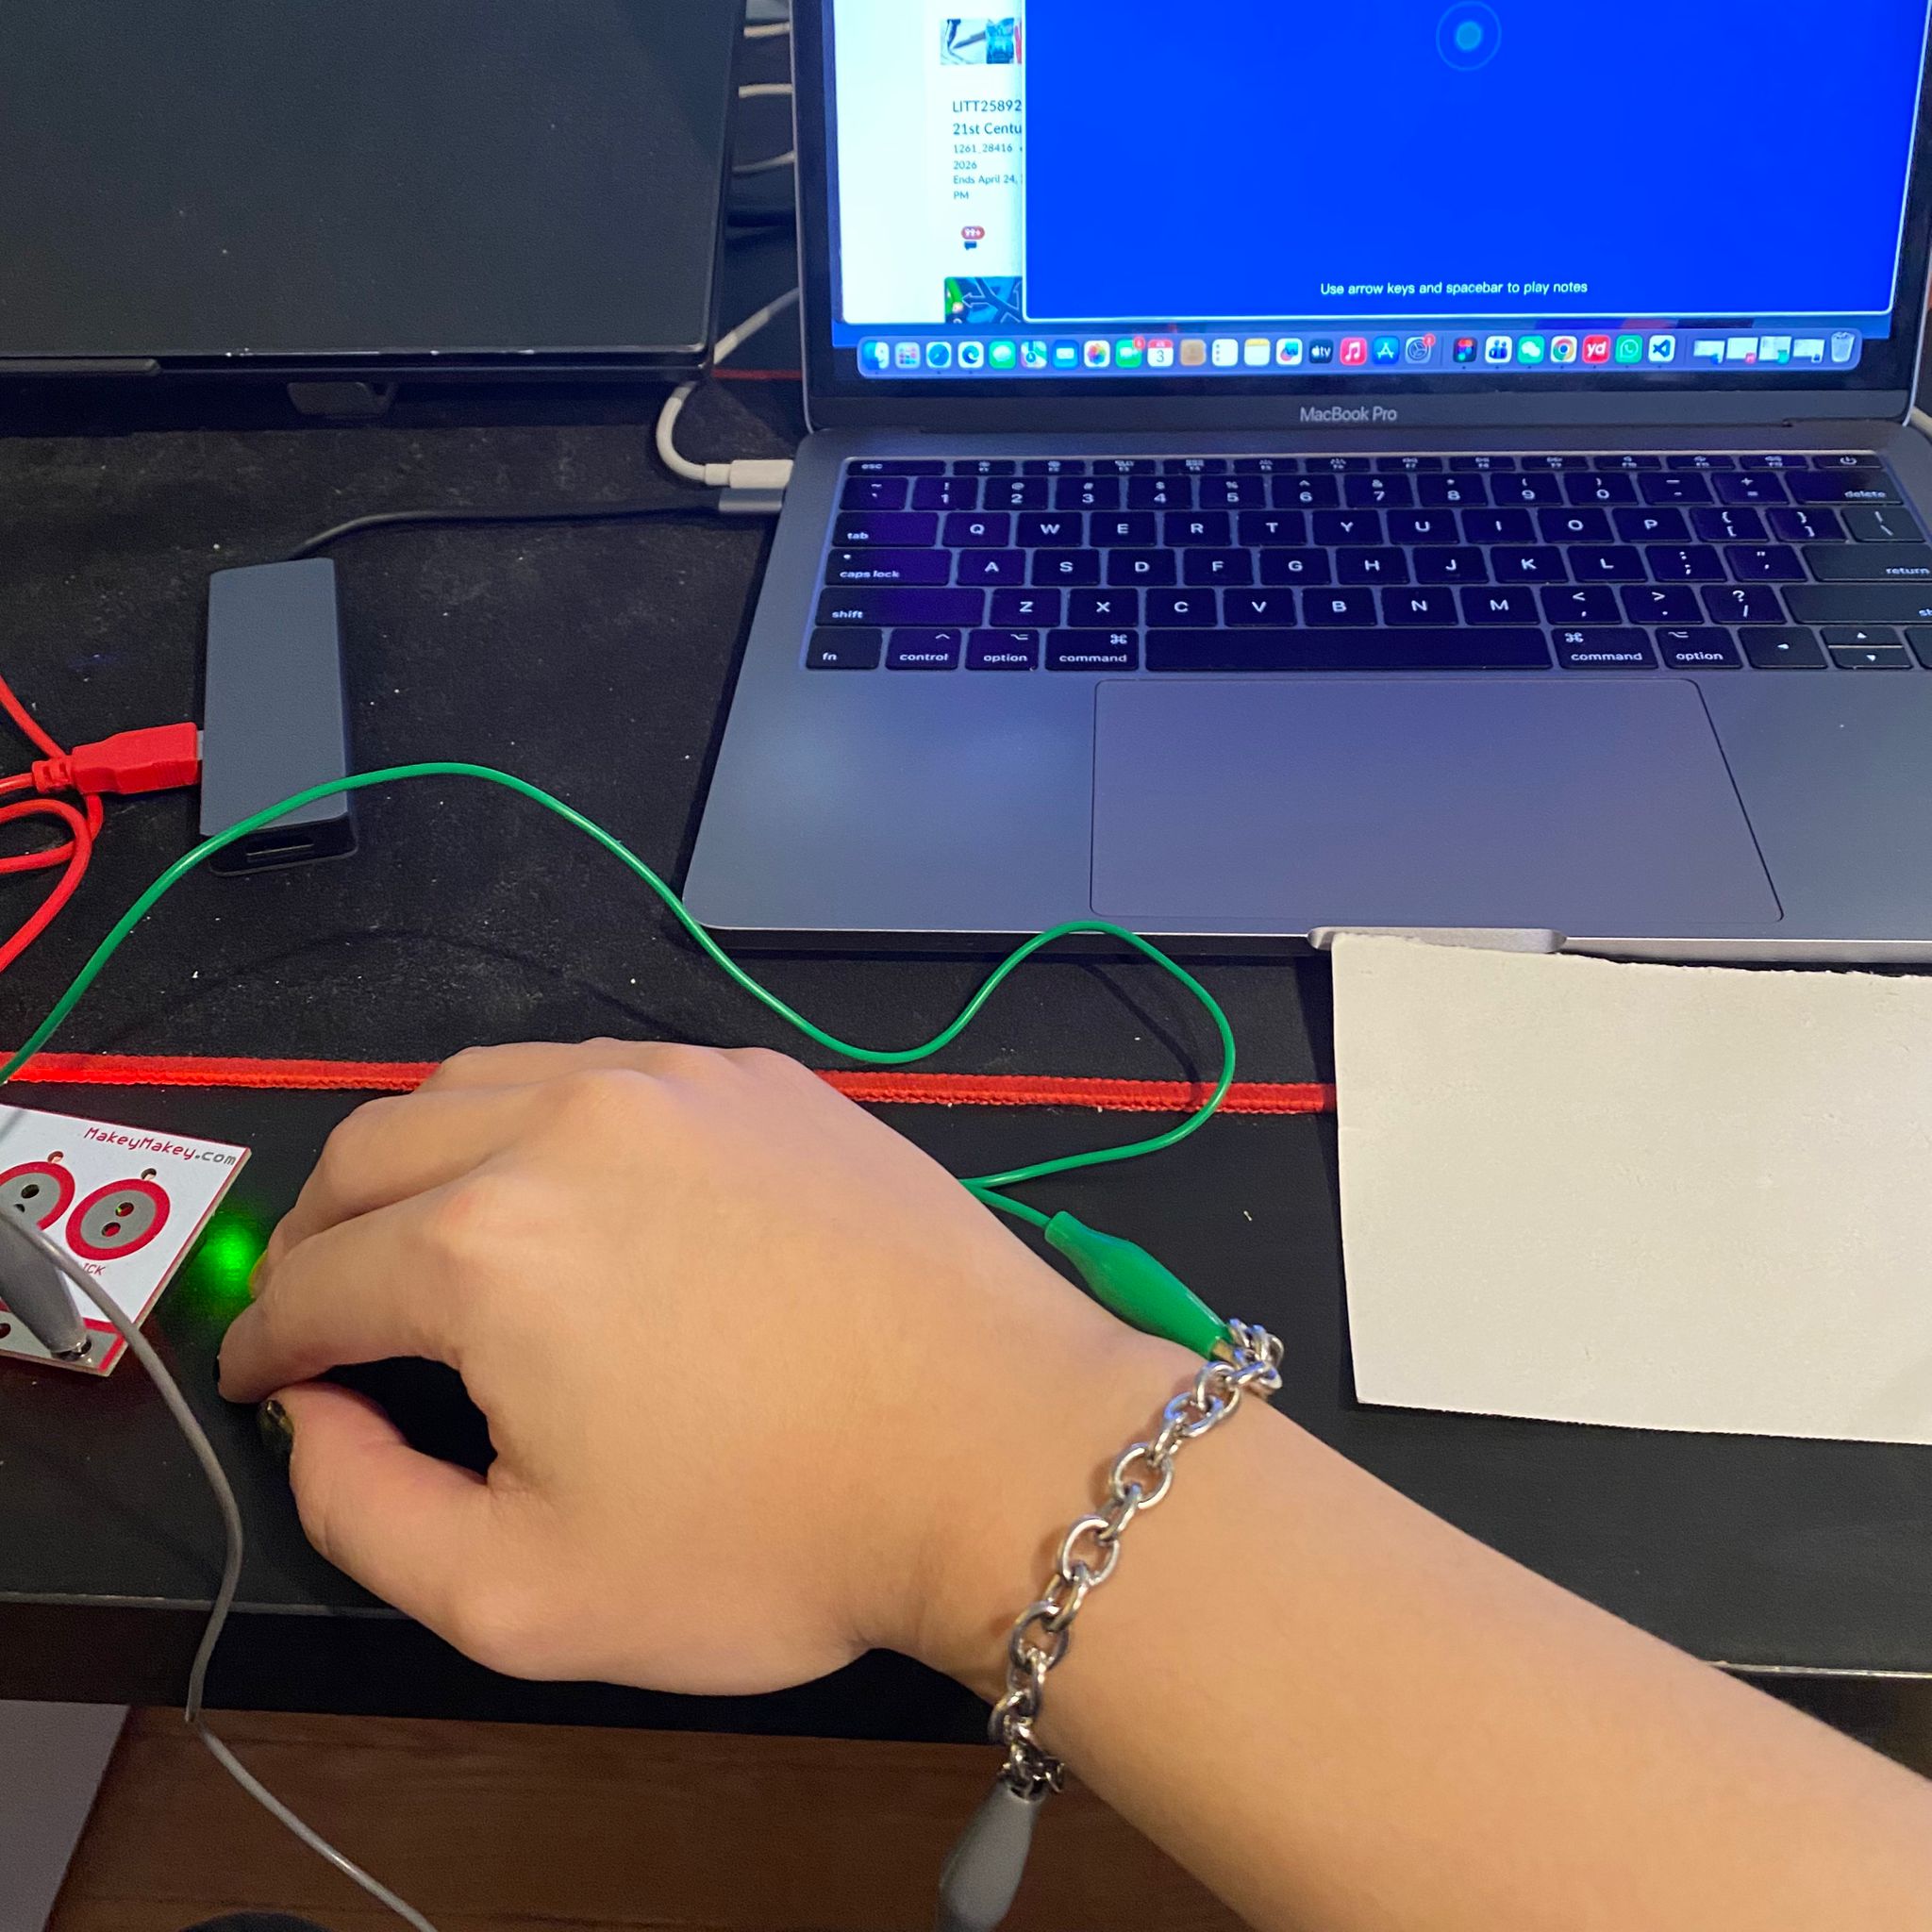
This project explores a touch-based interactive game using MakeyMakey, focusing on how physical input can directly control digital movement and feedback.
Project 3
Module 3
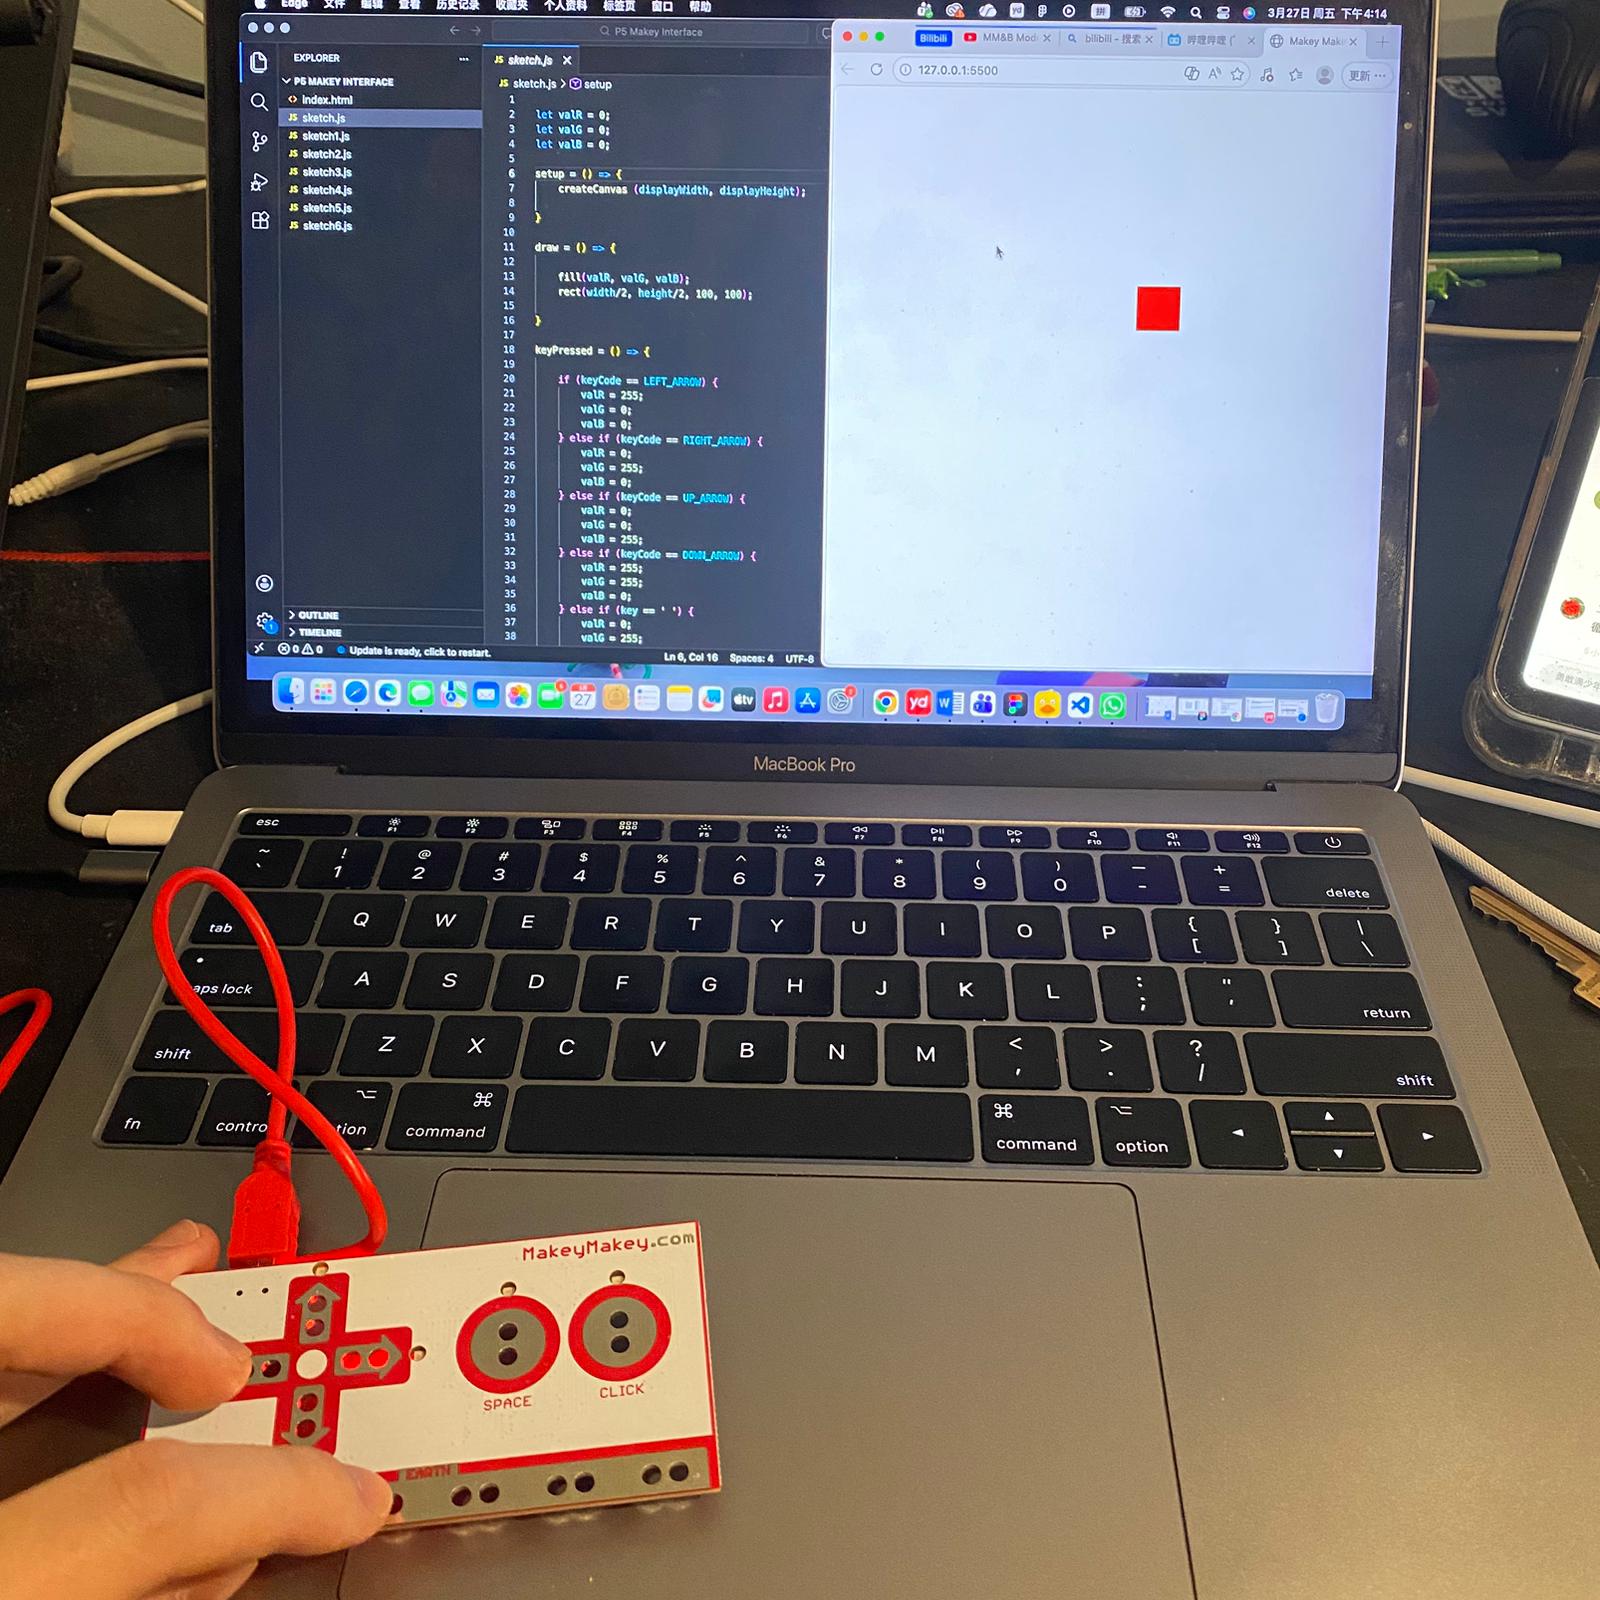
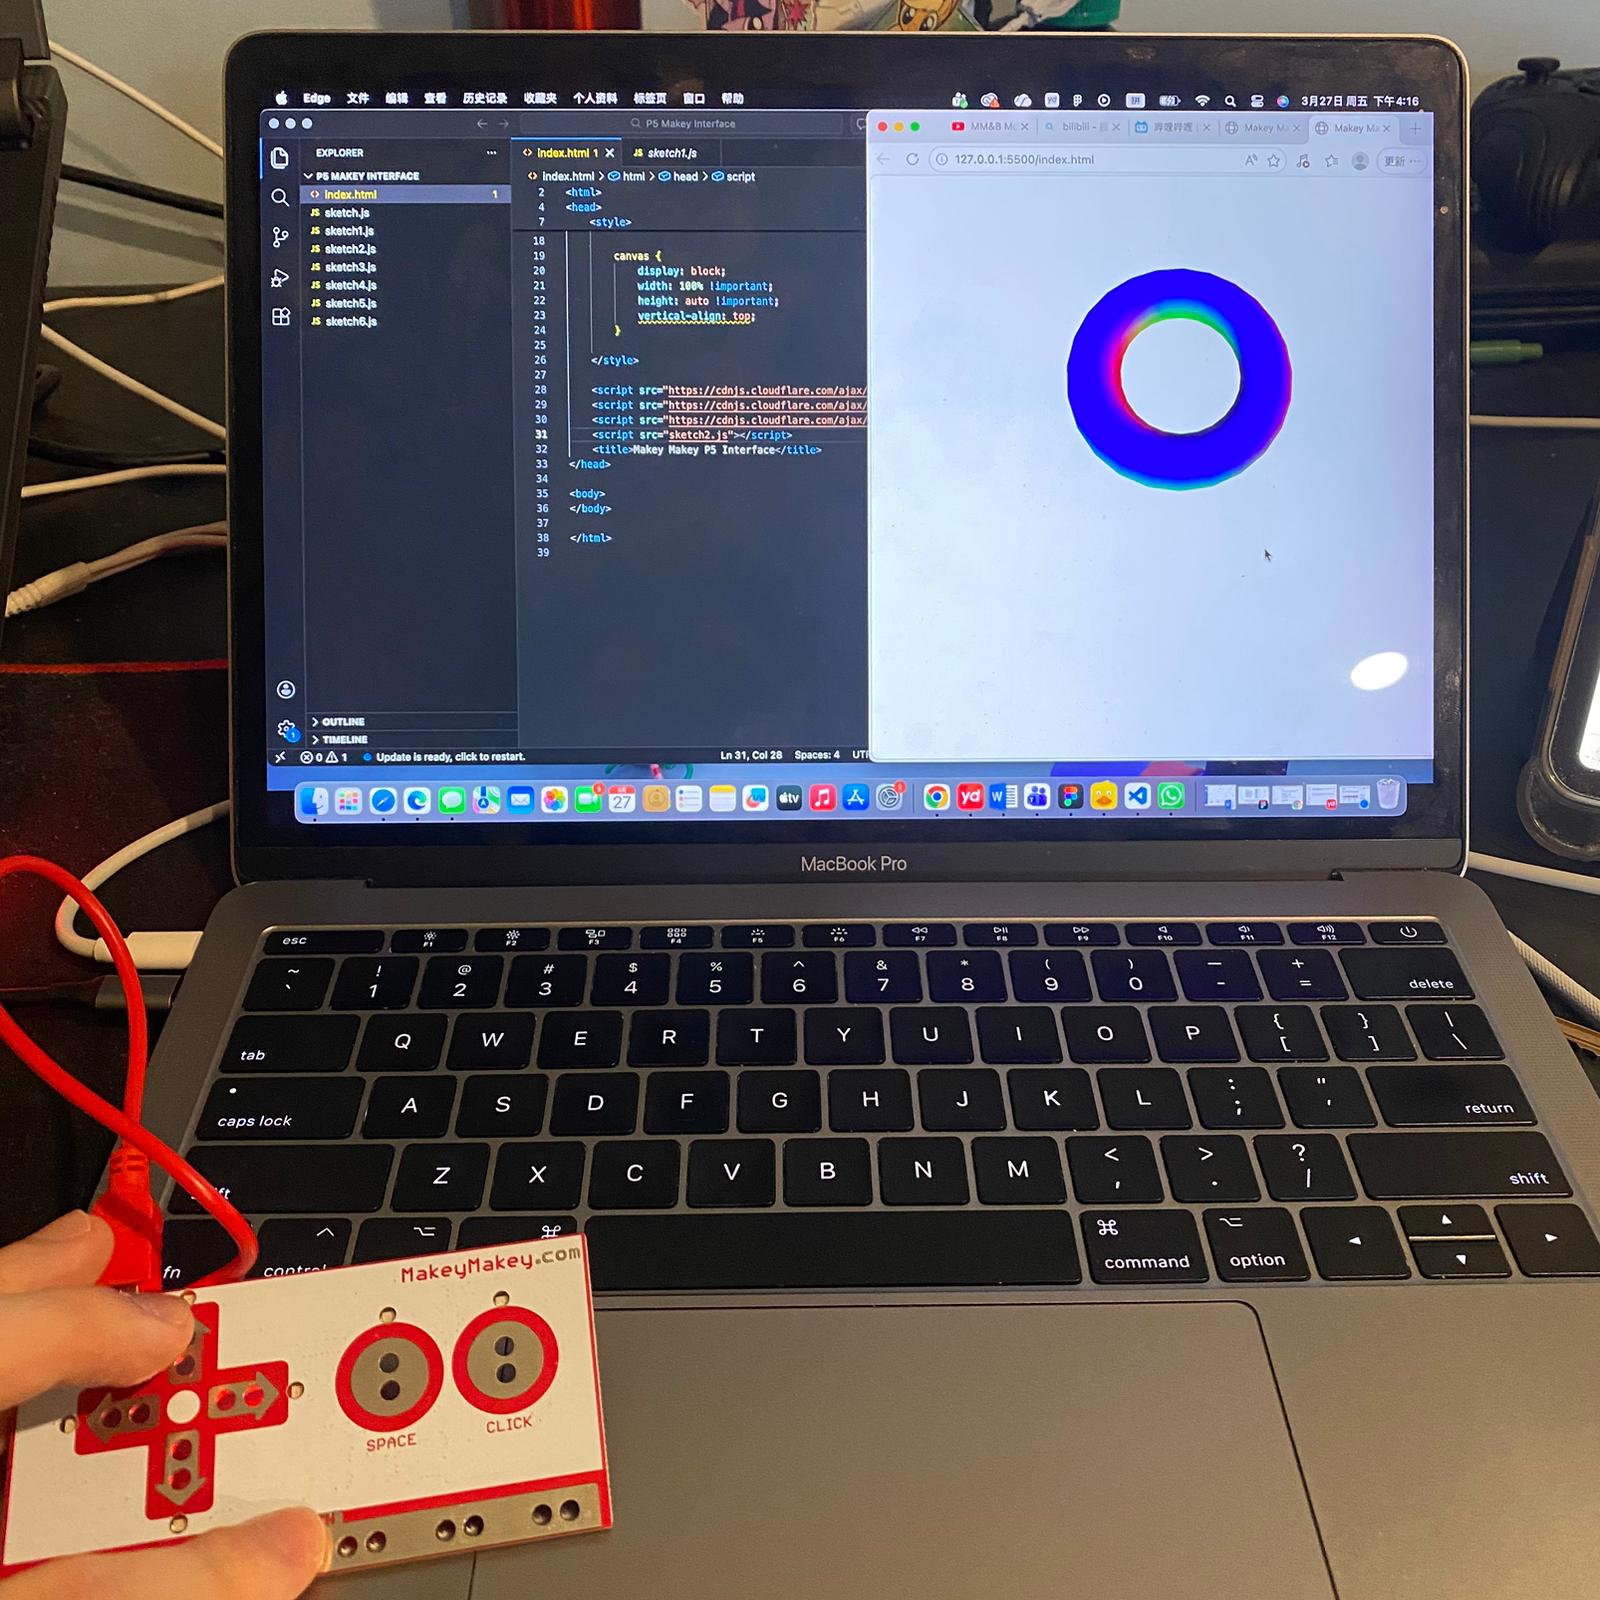
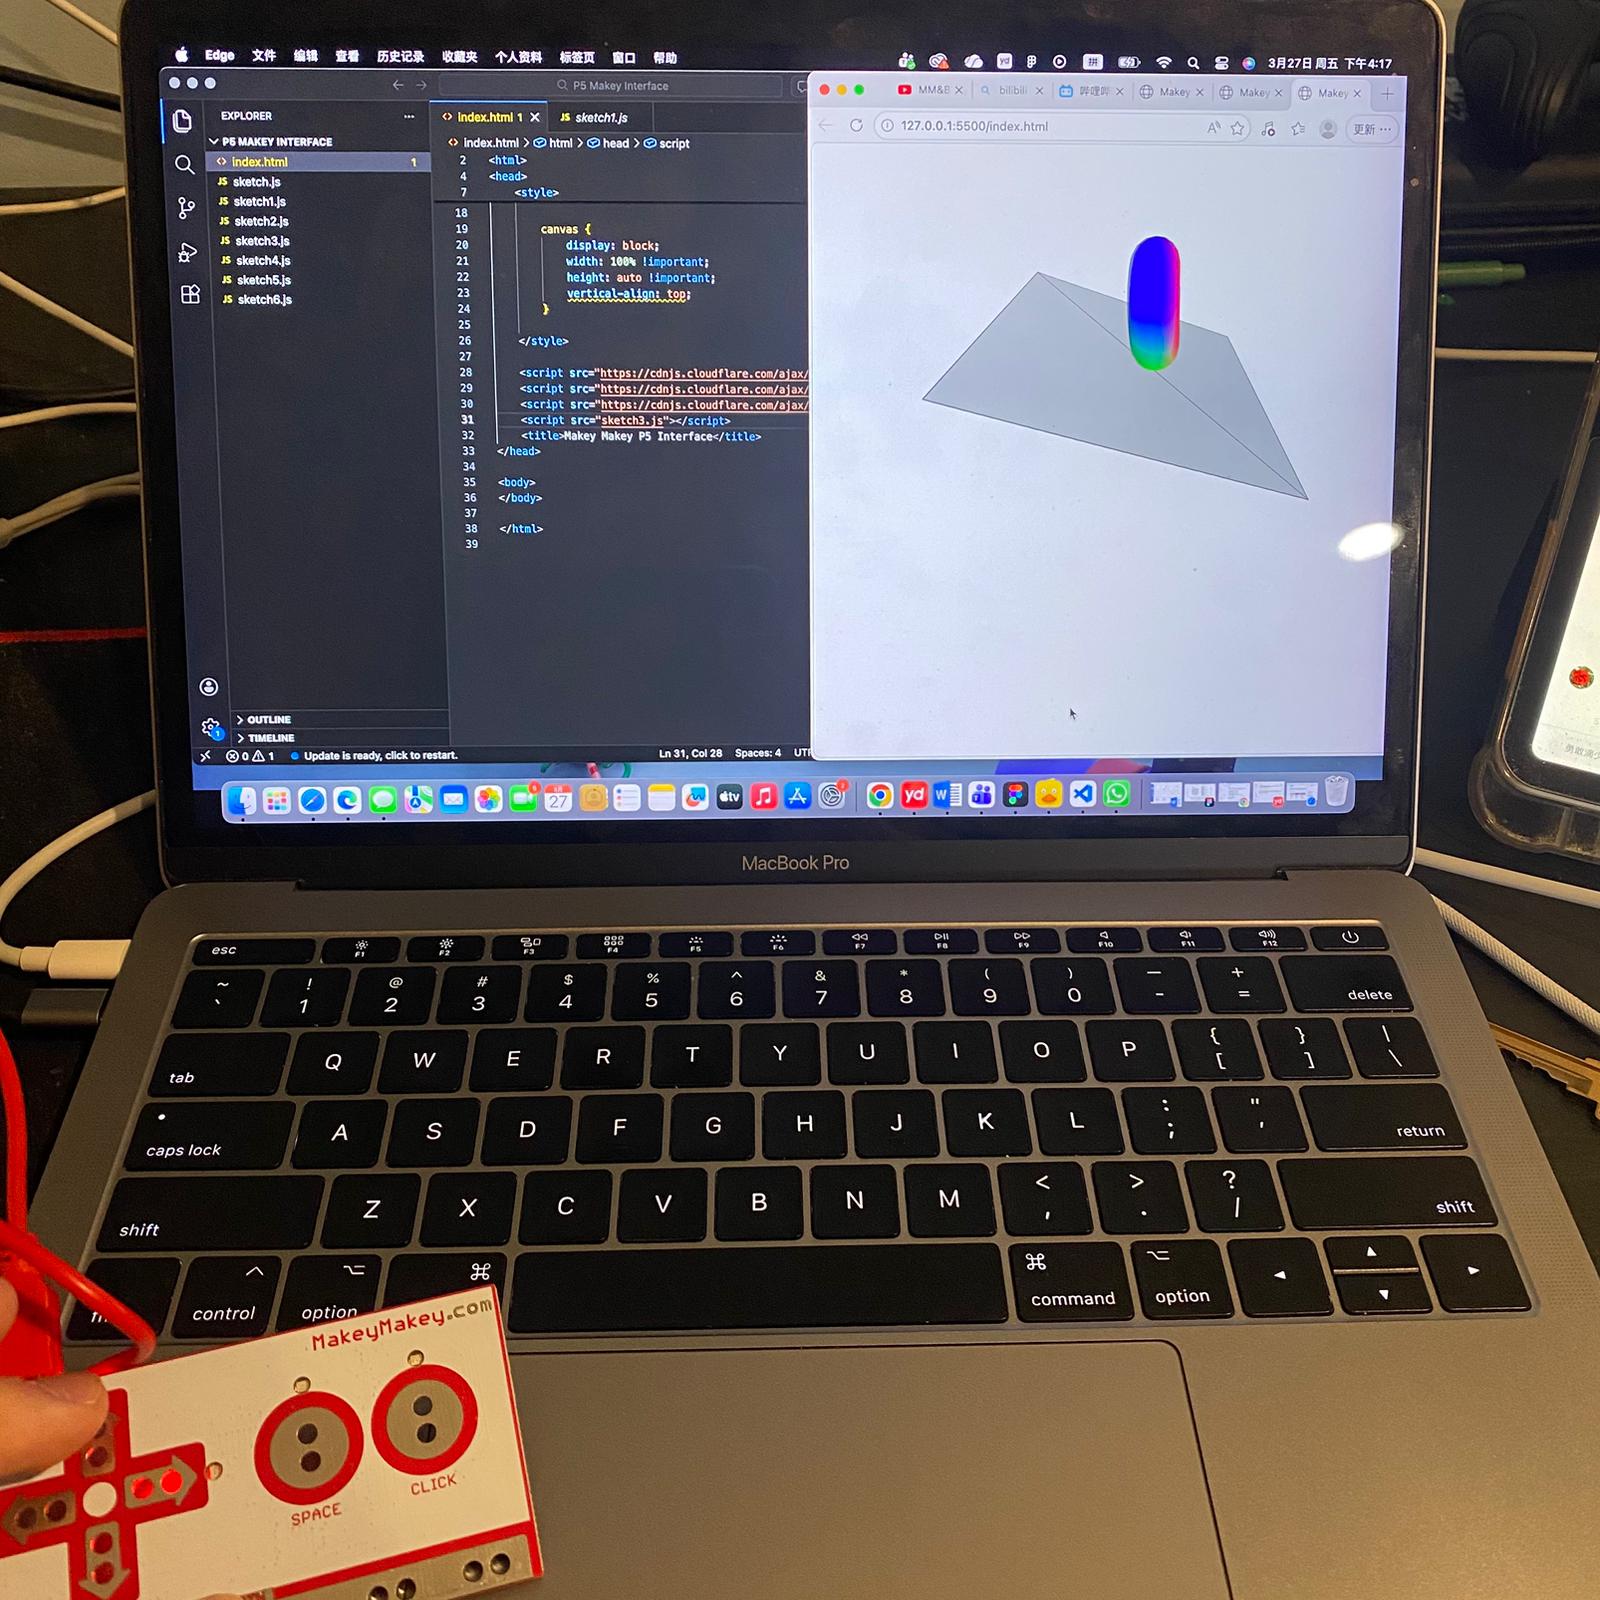
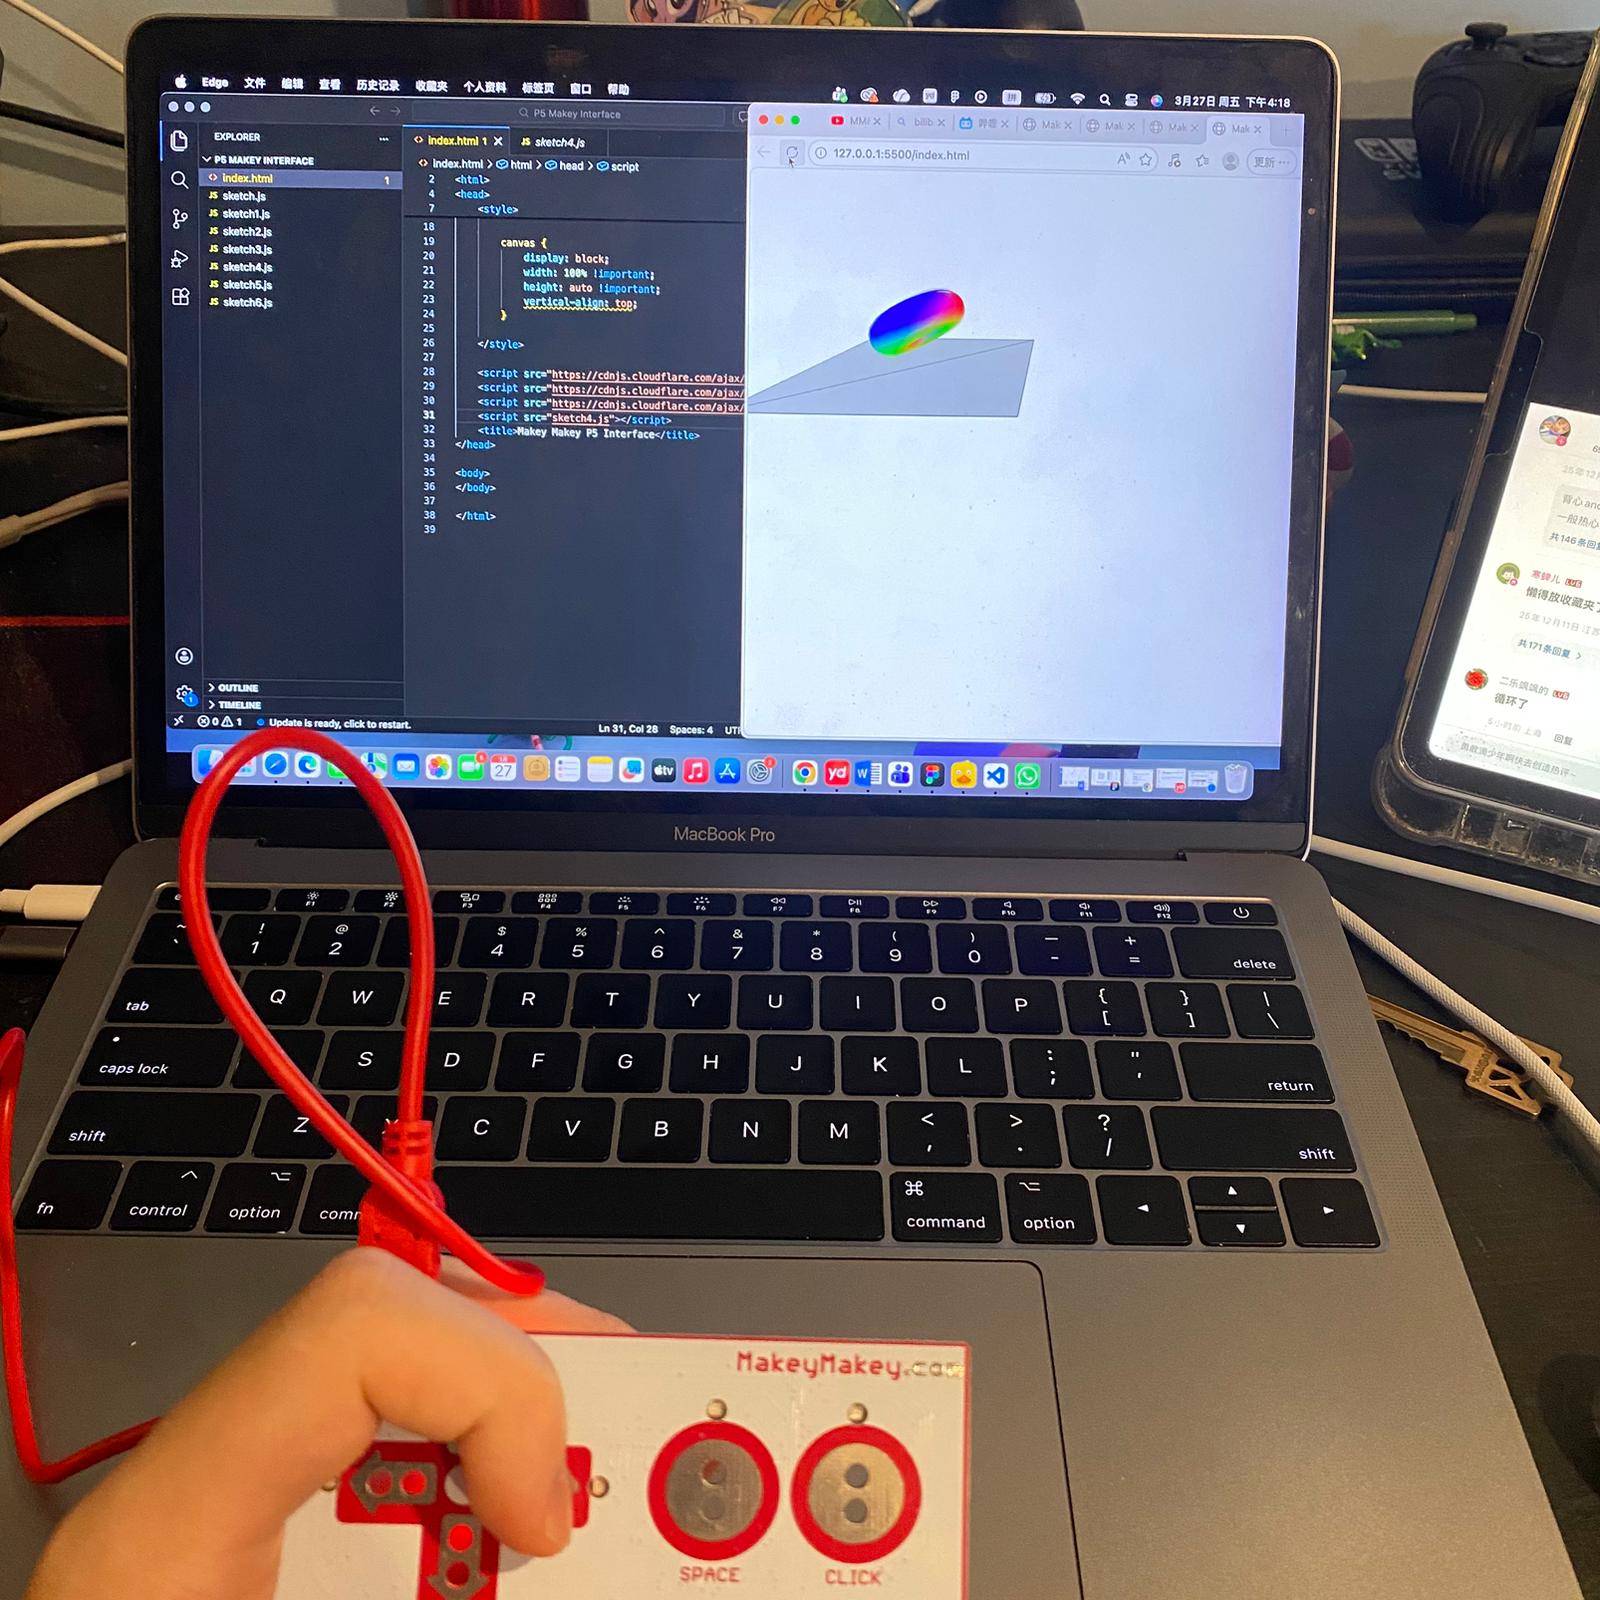
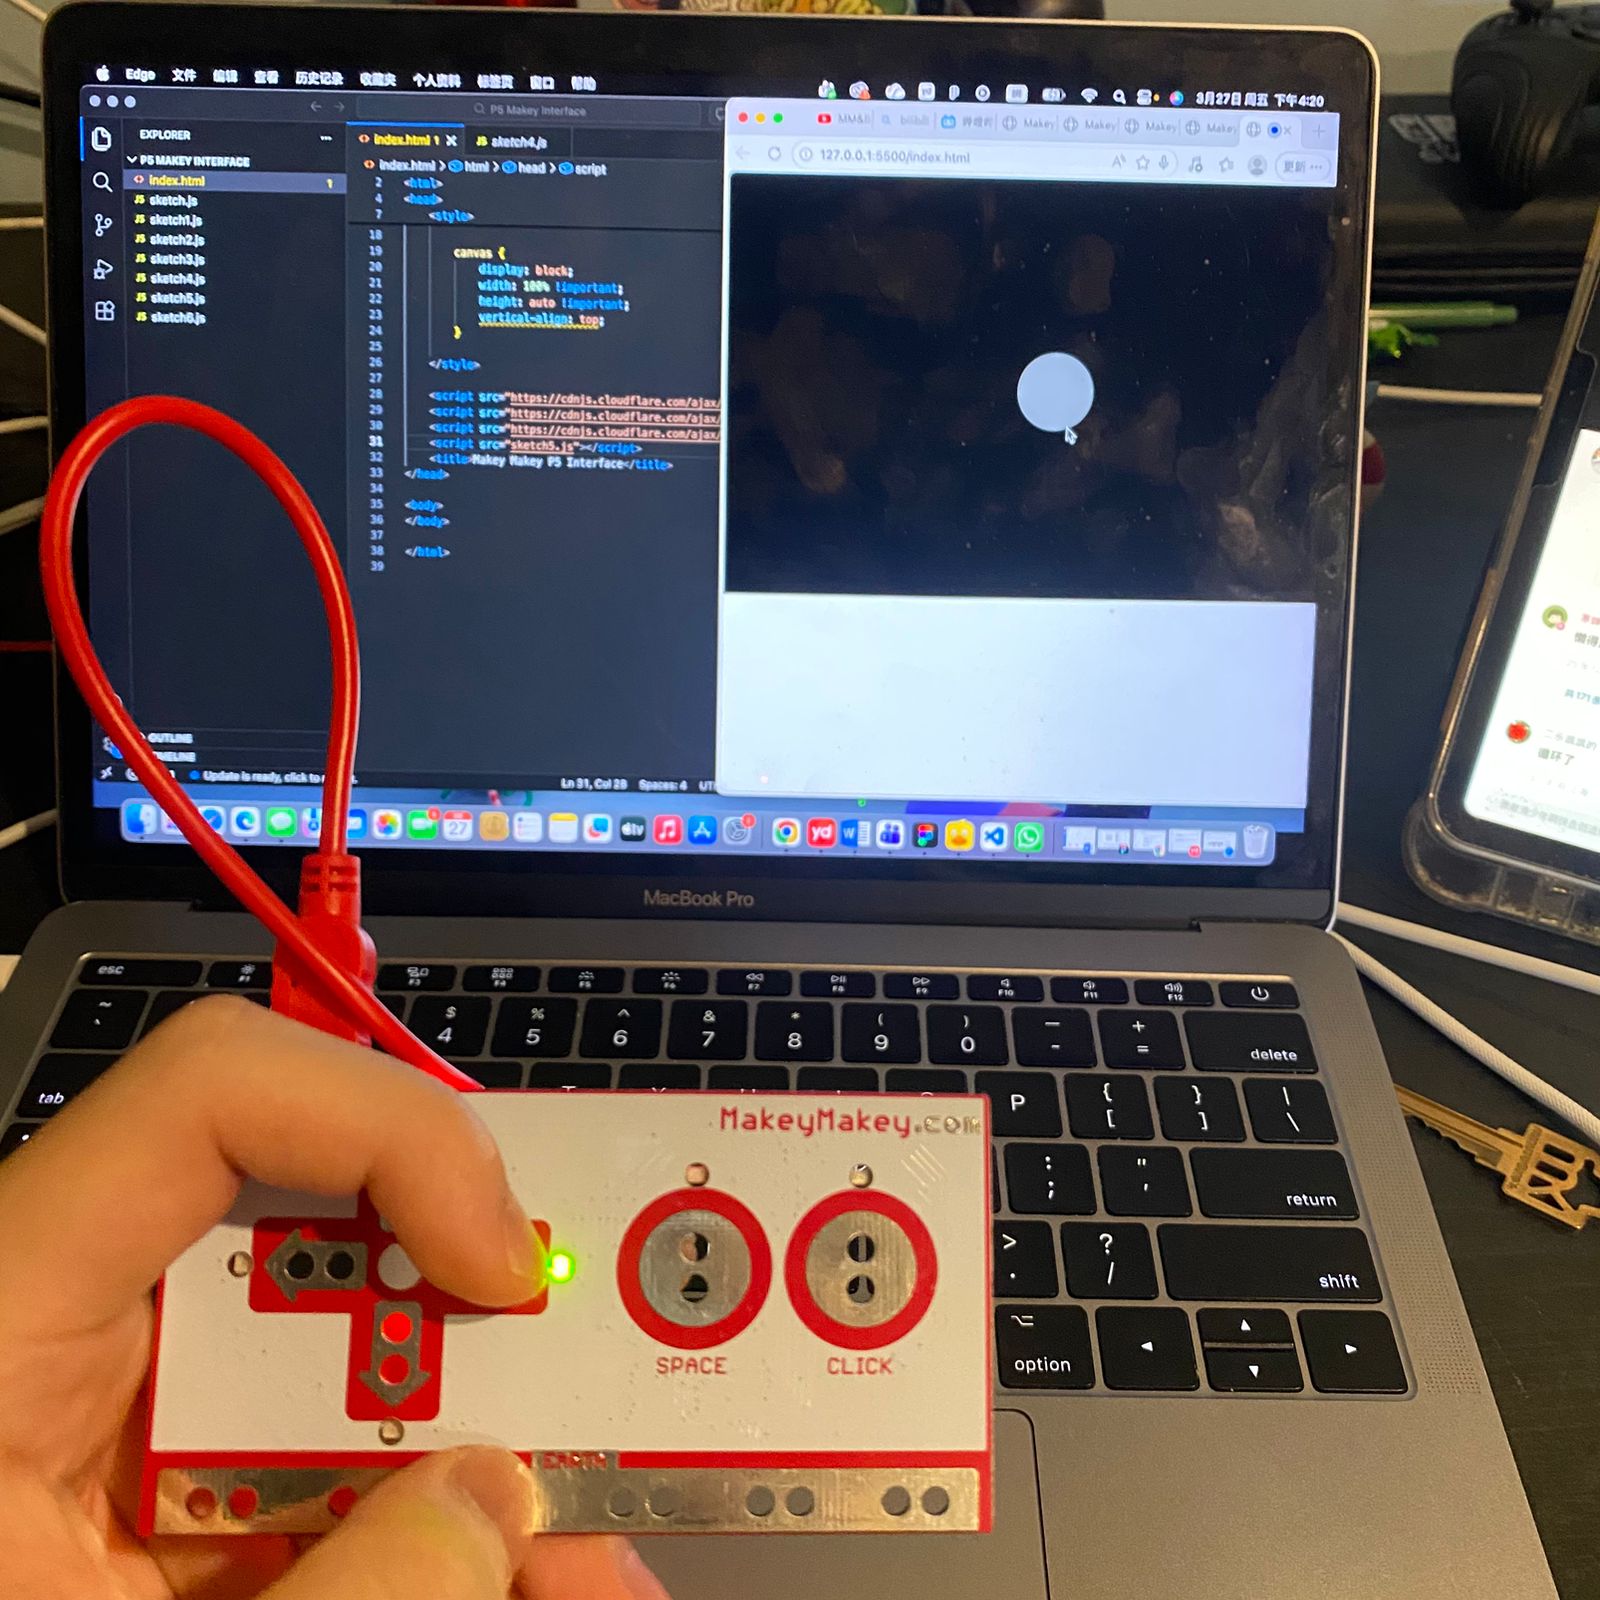
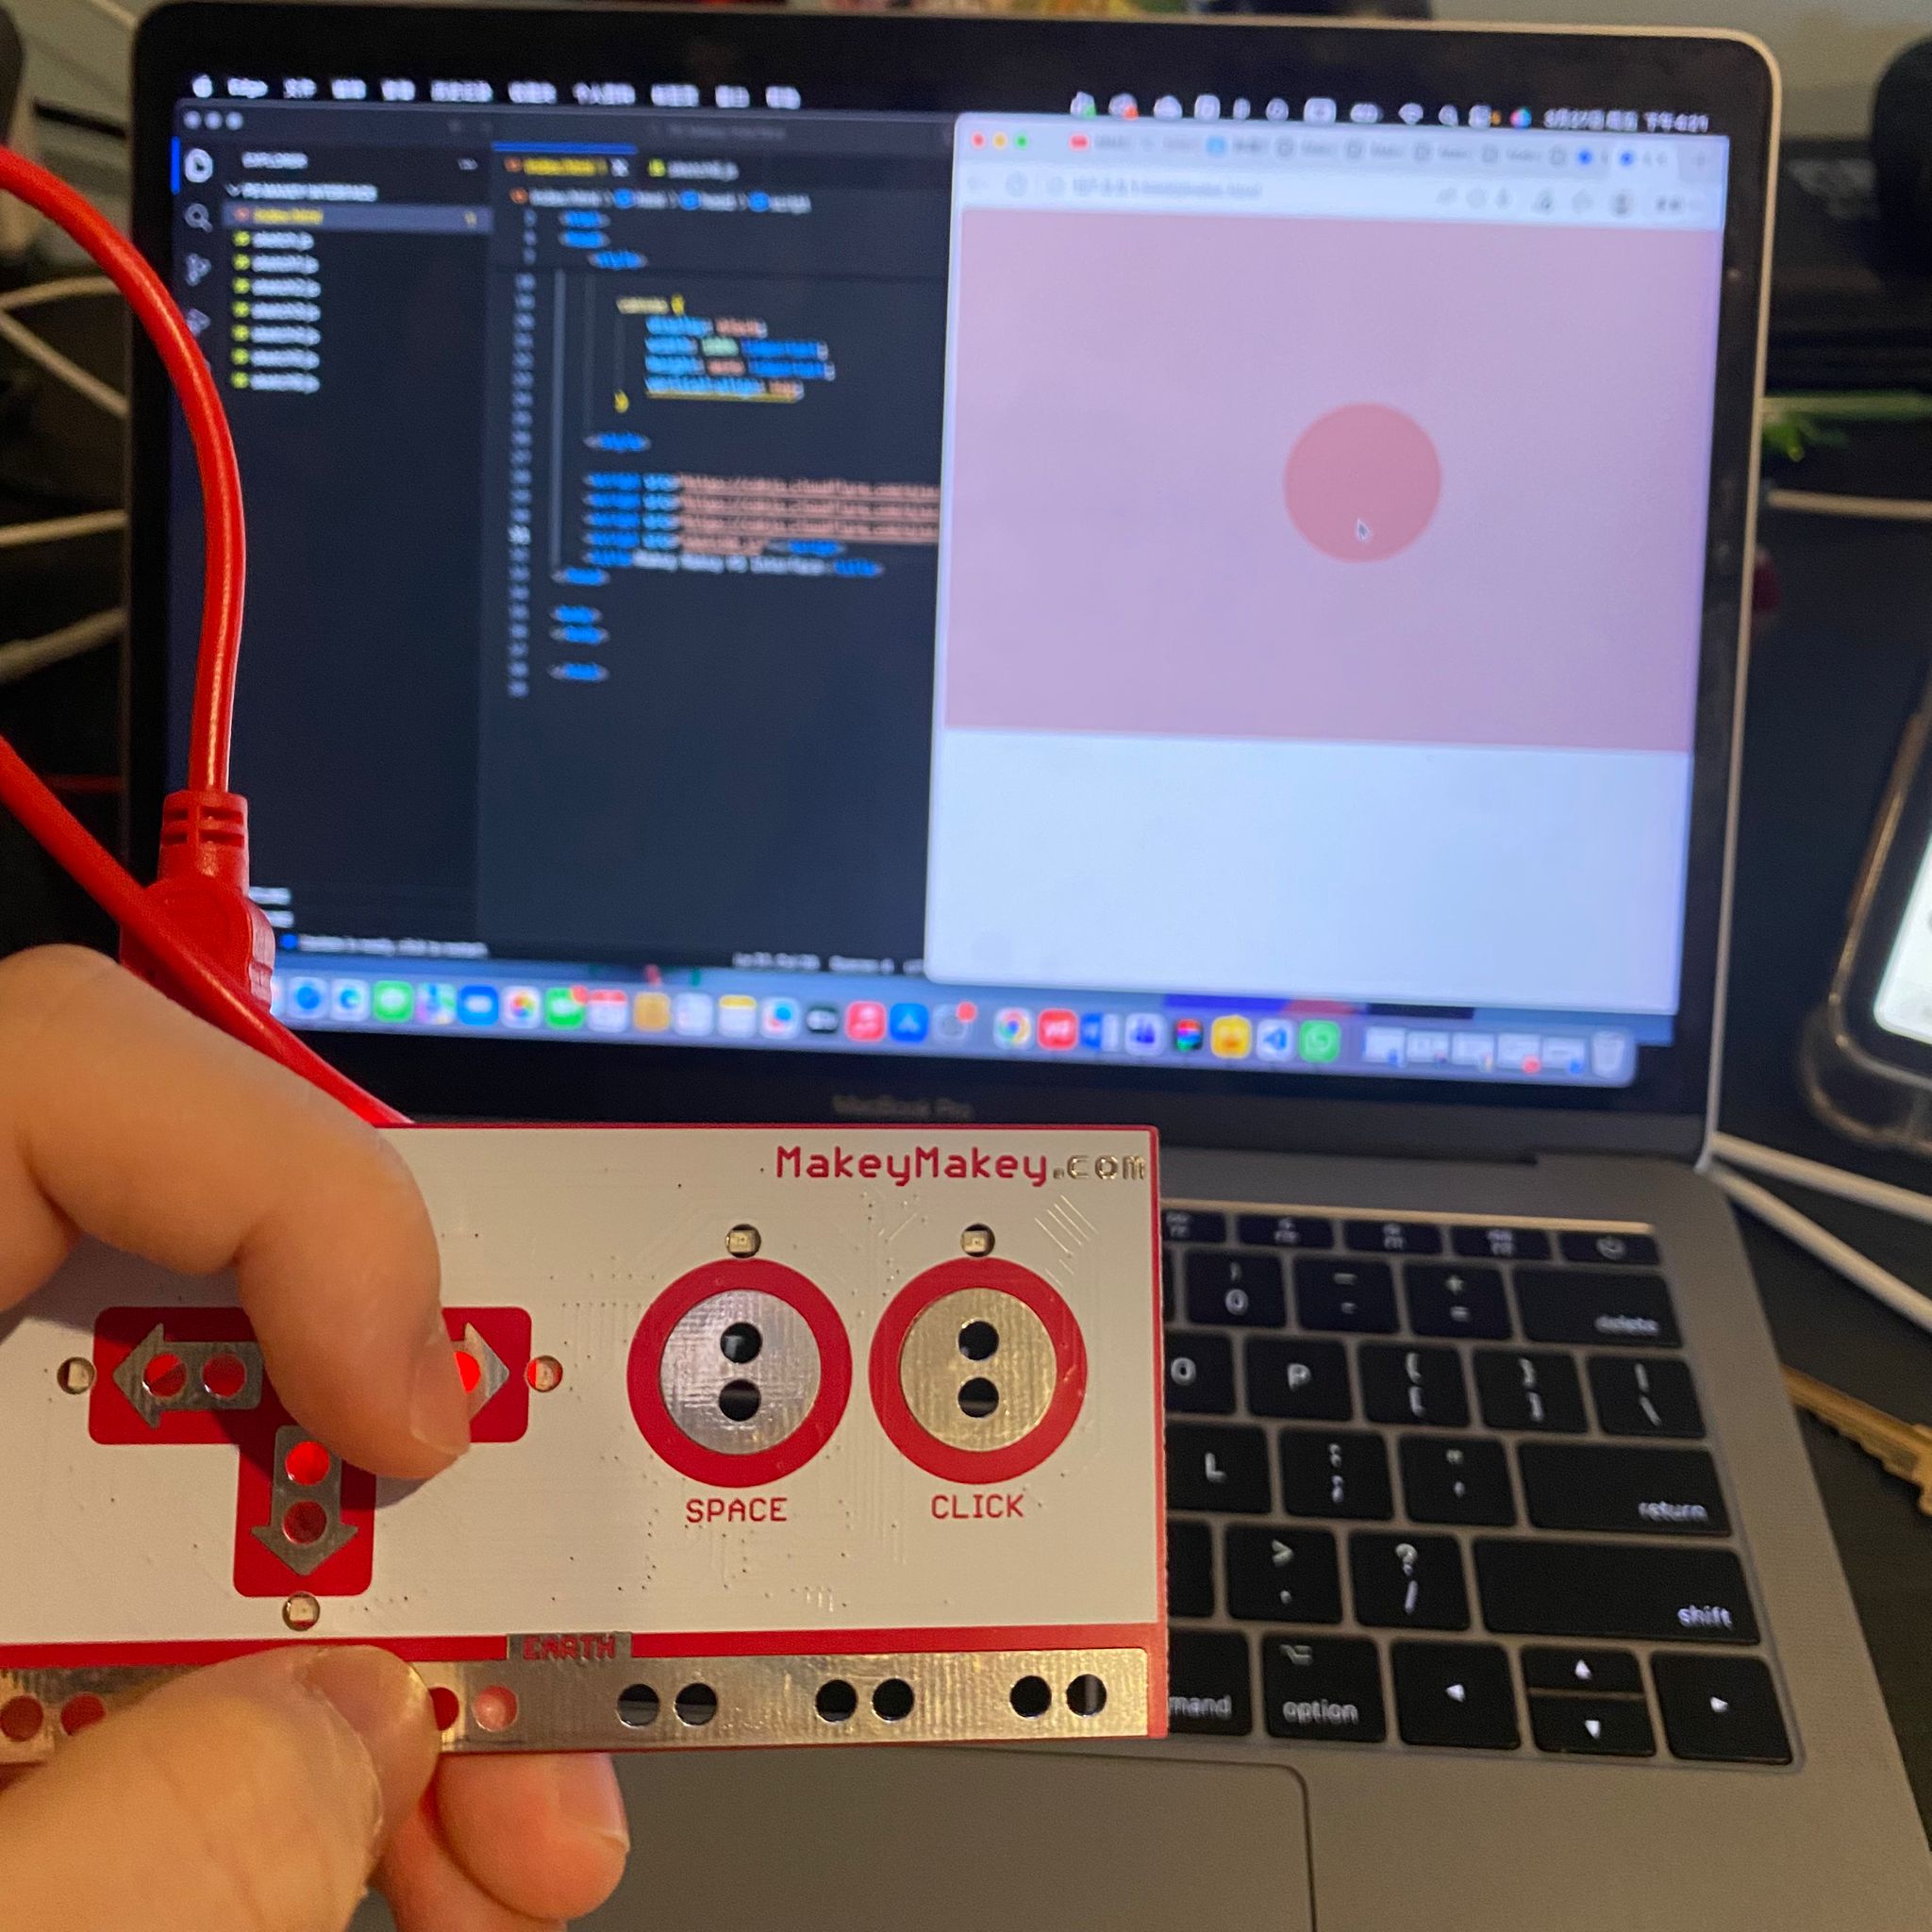
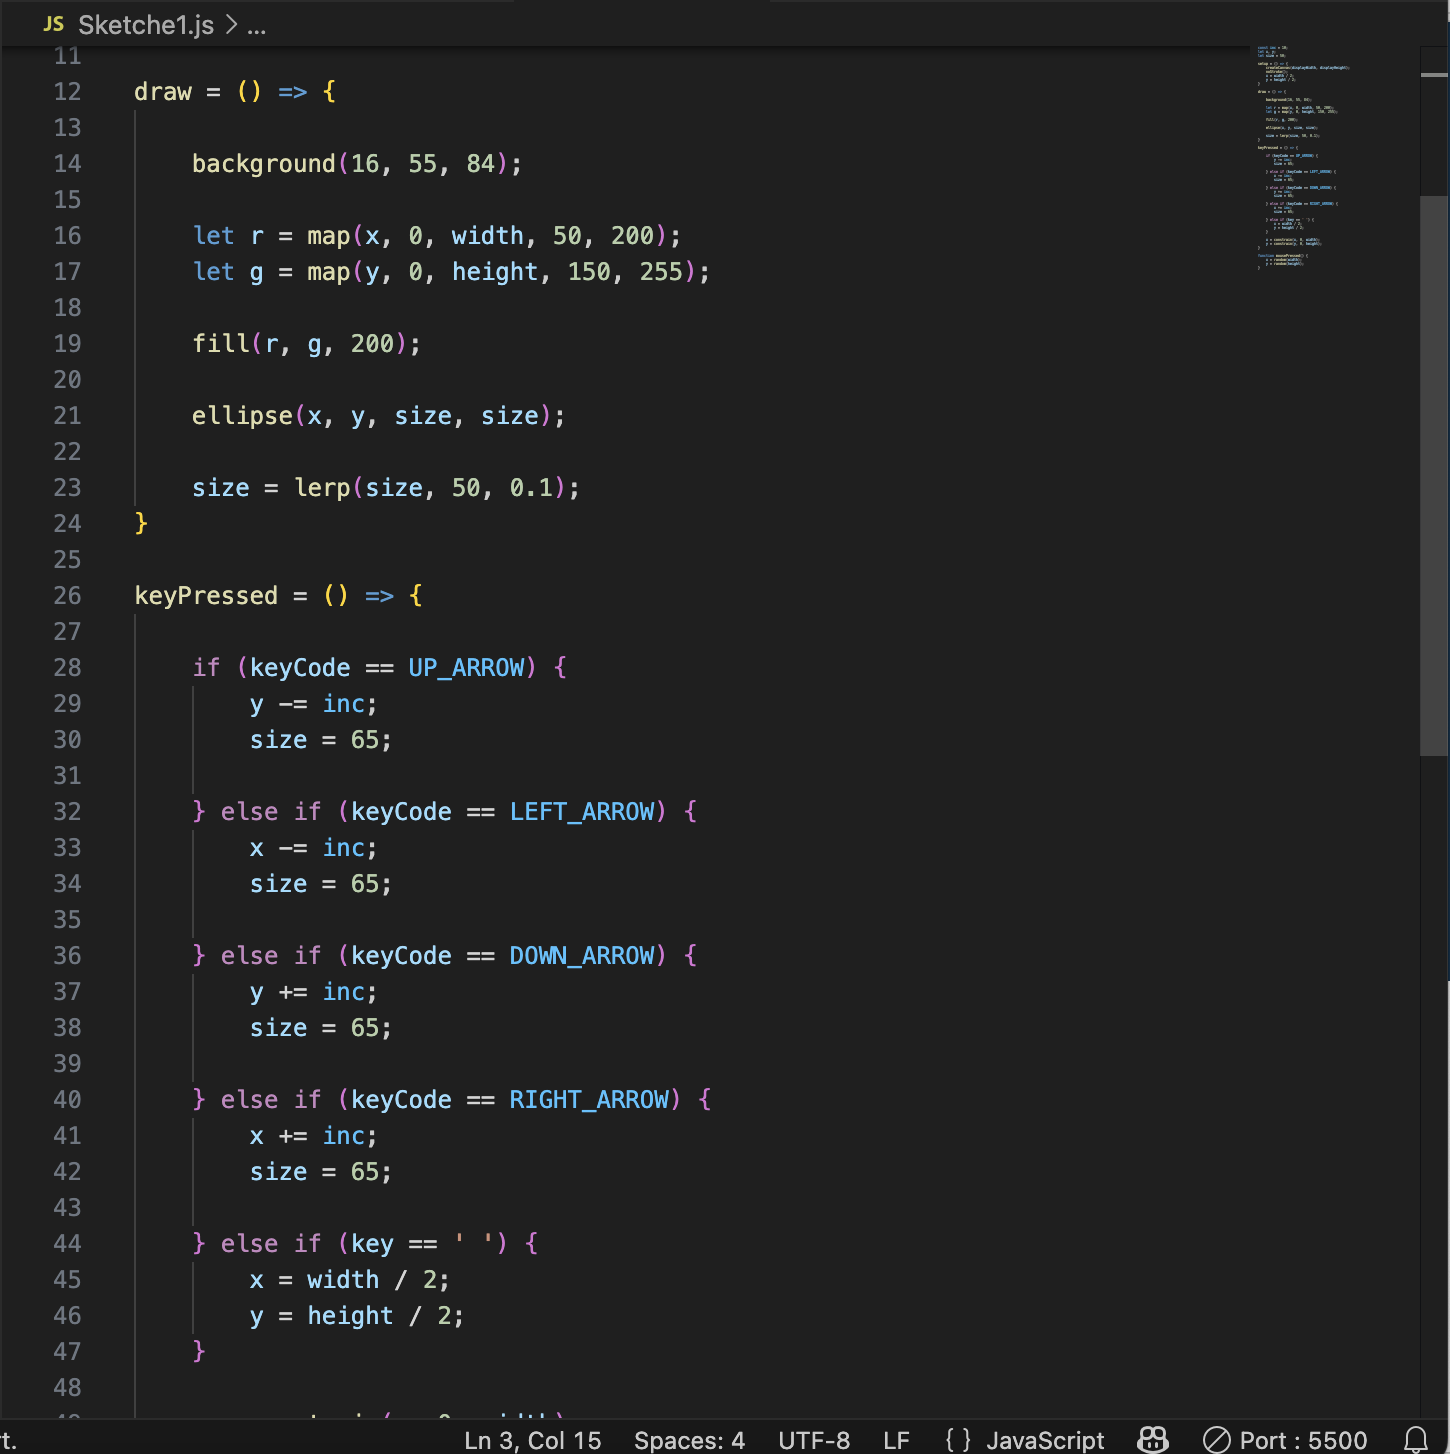
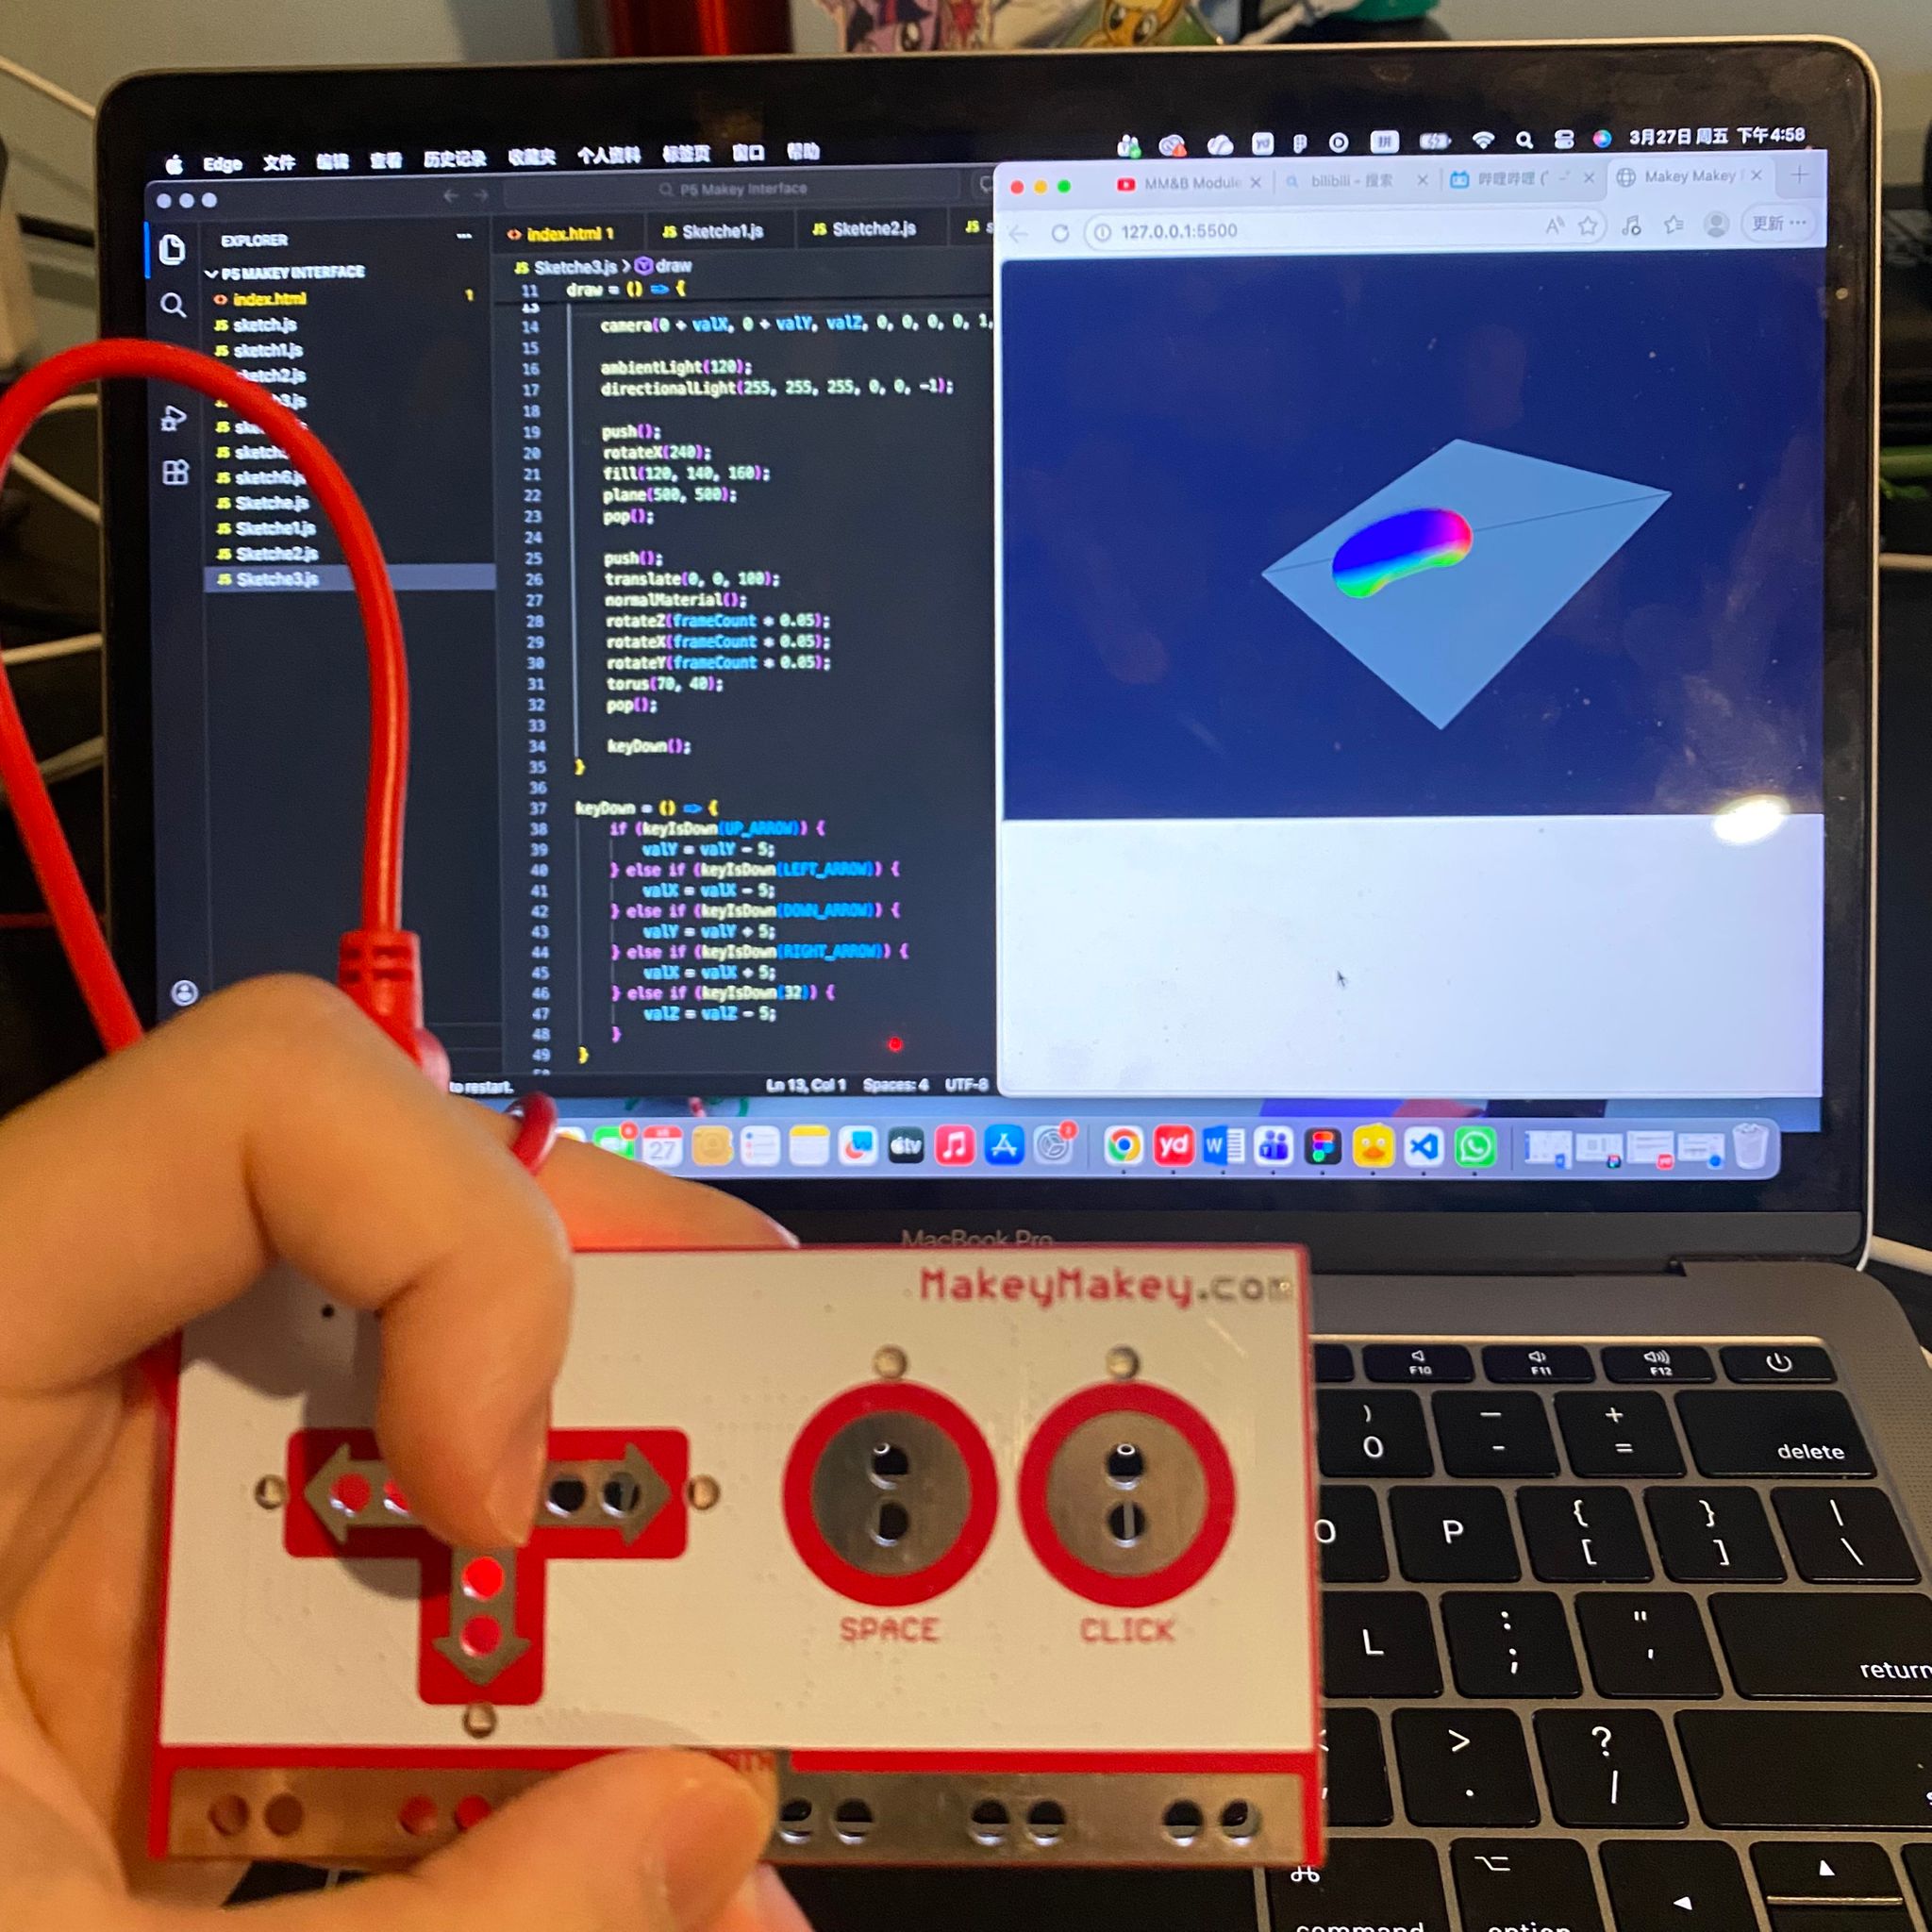
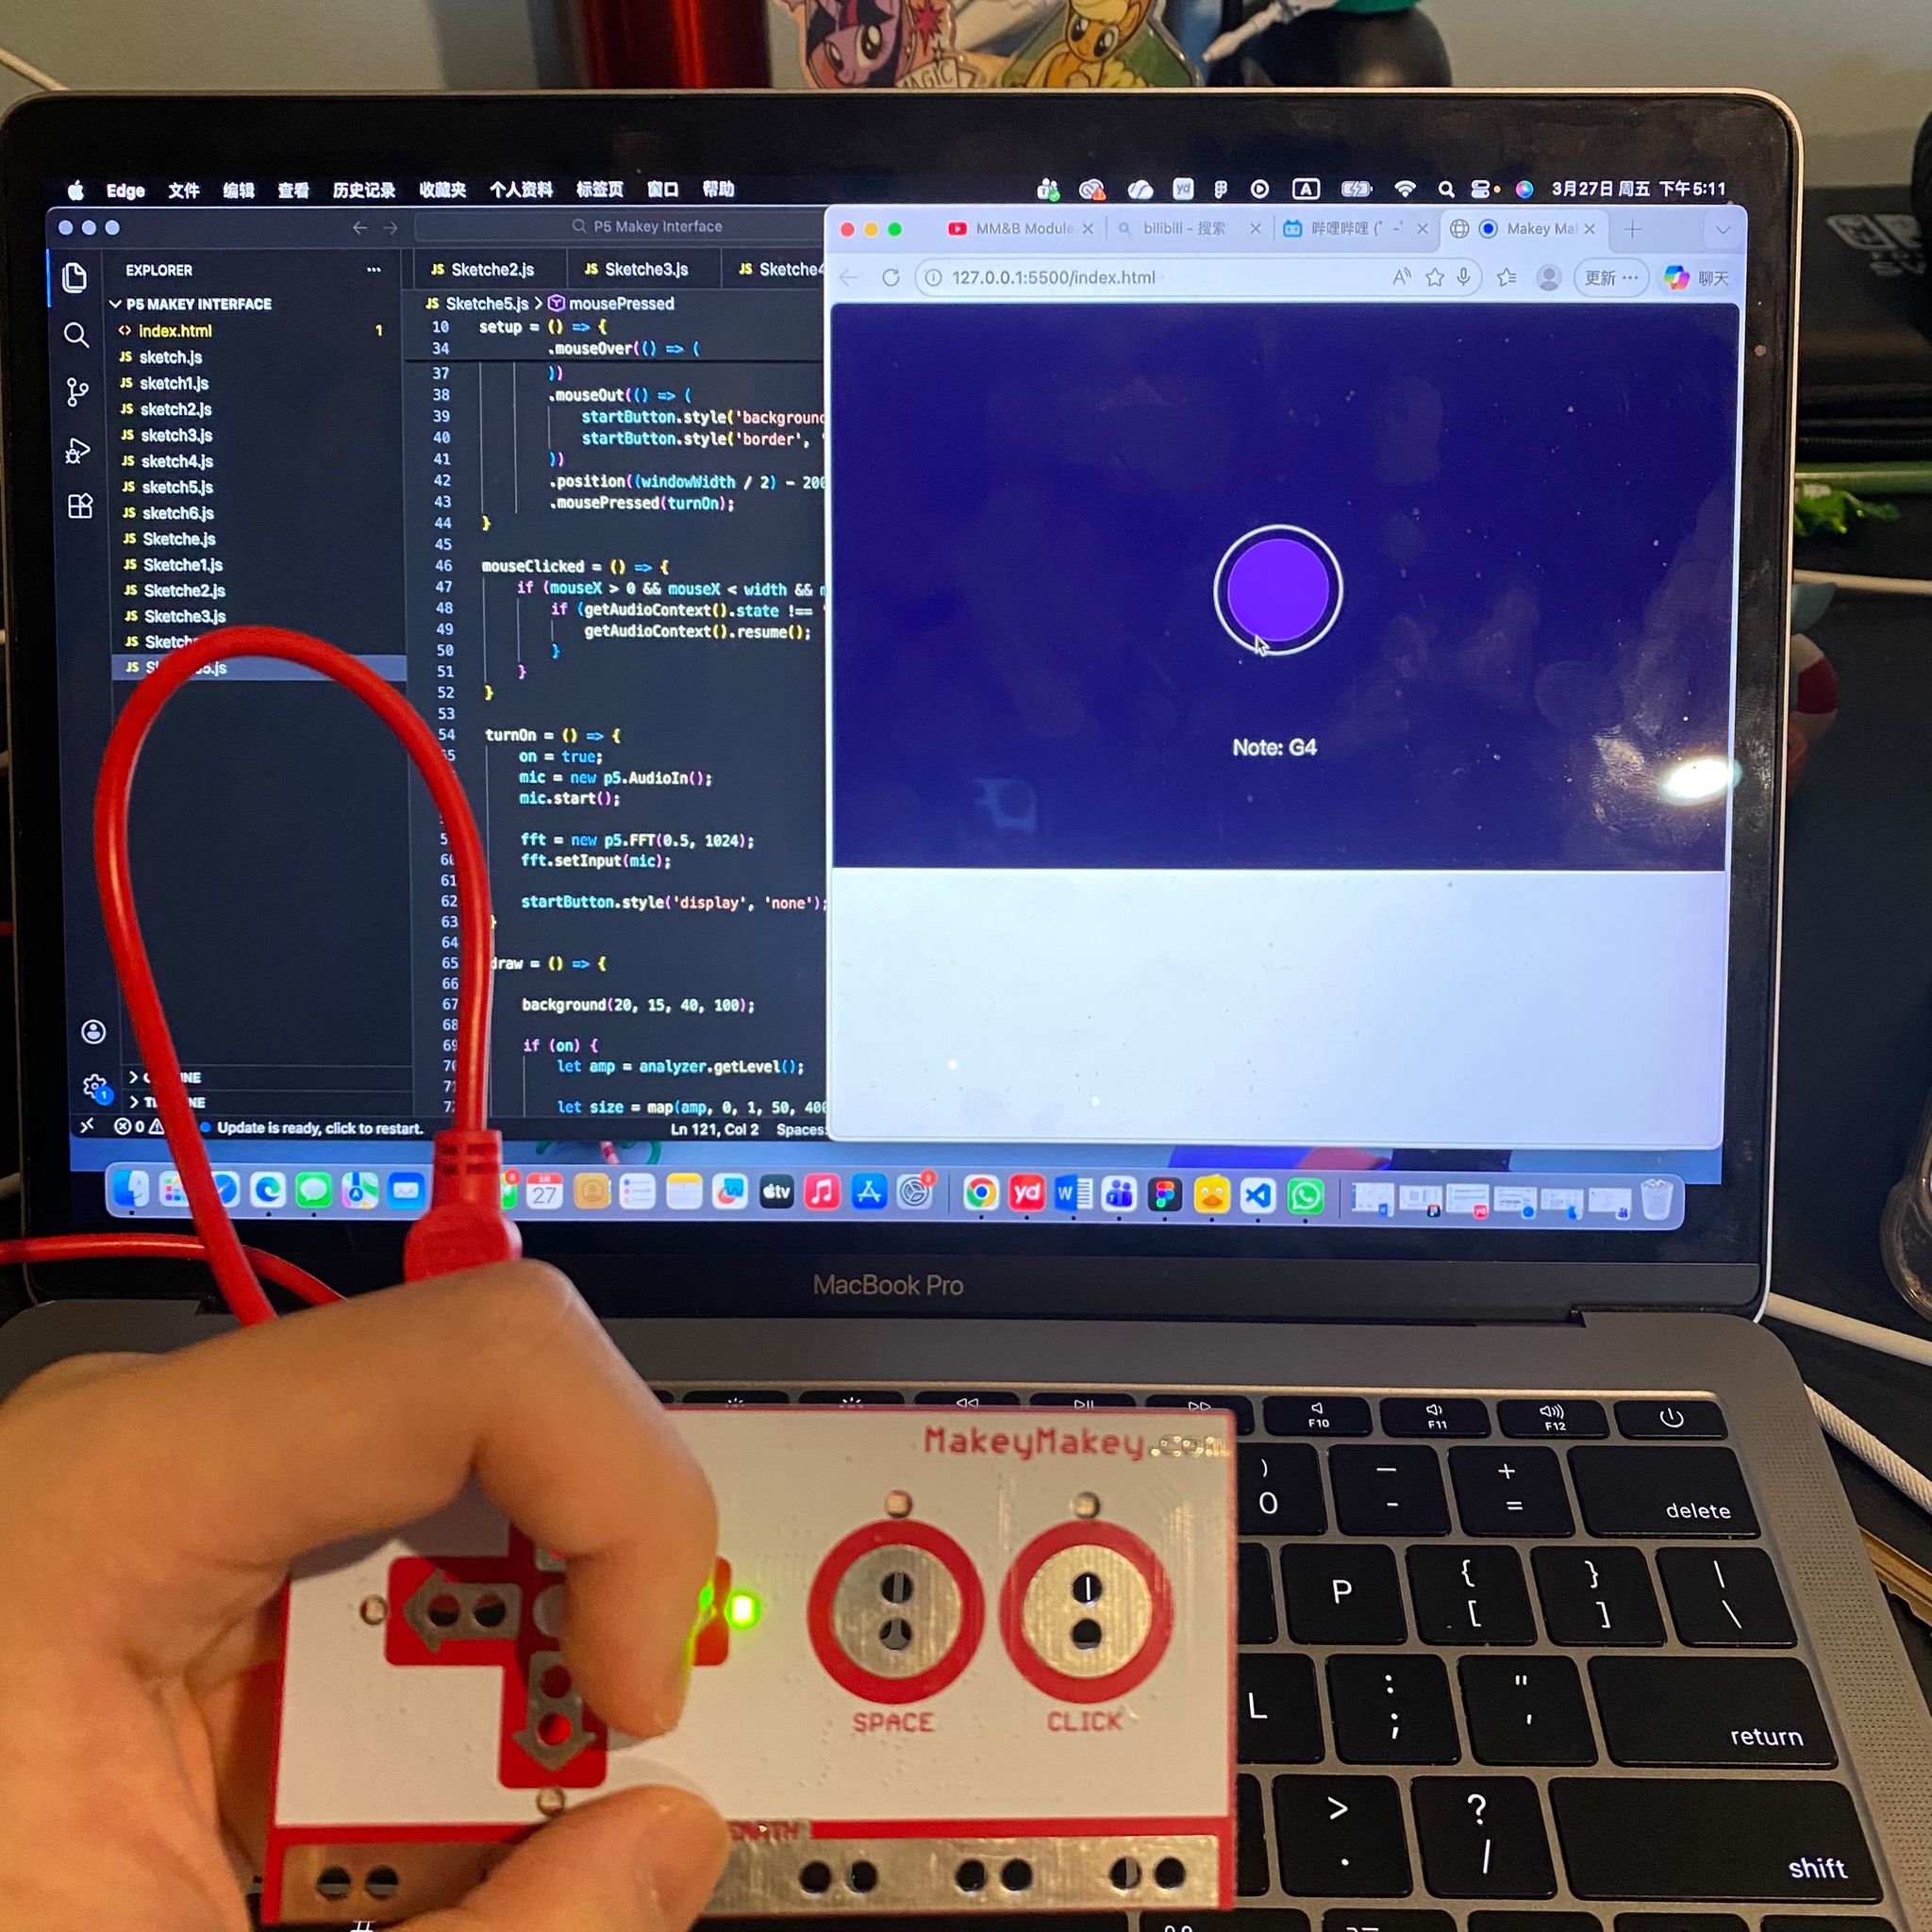
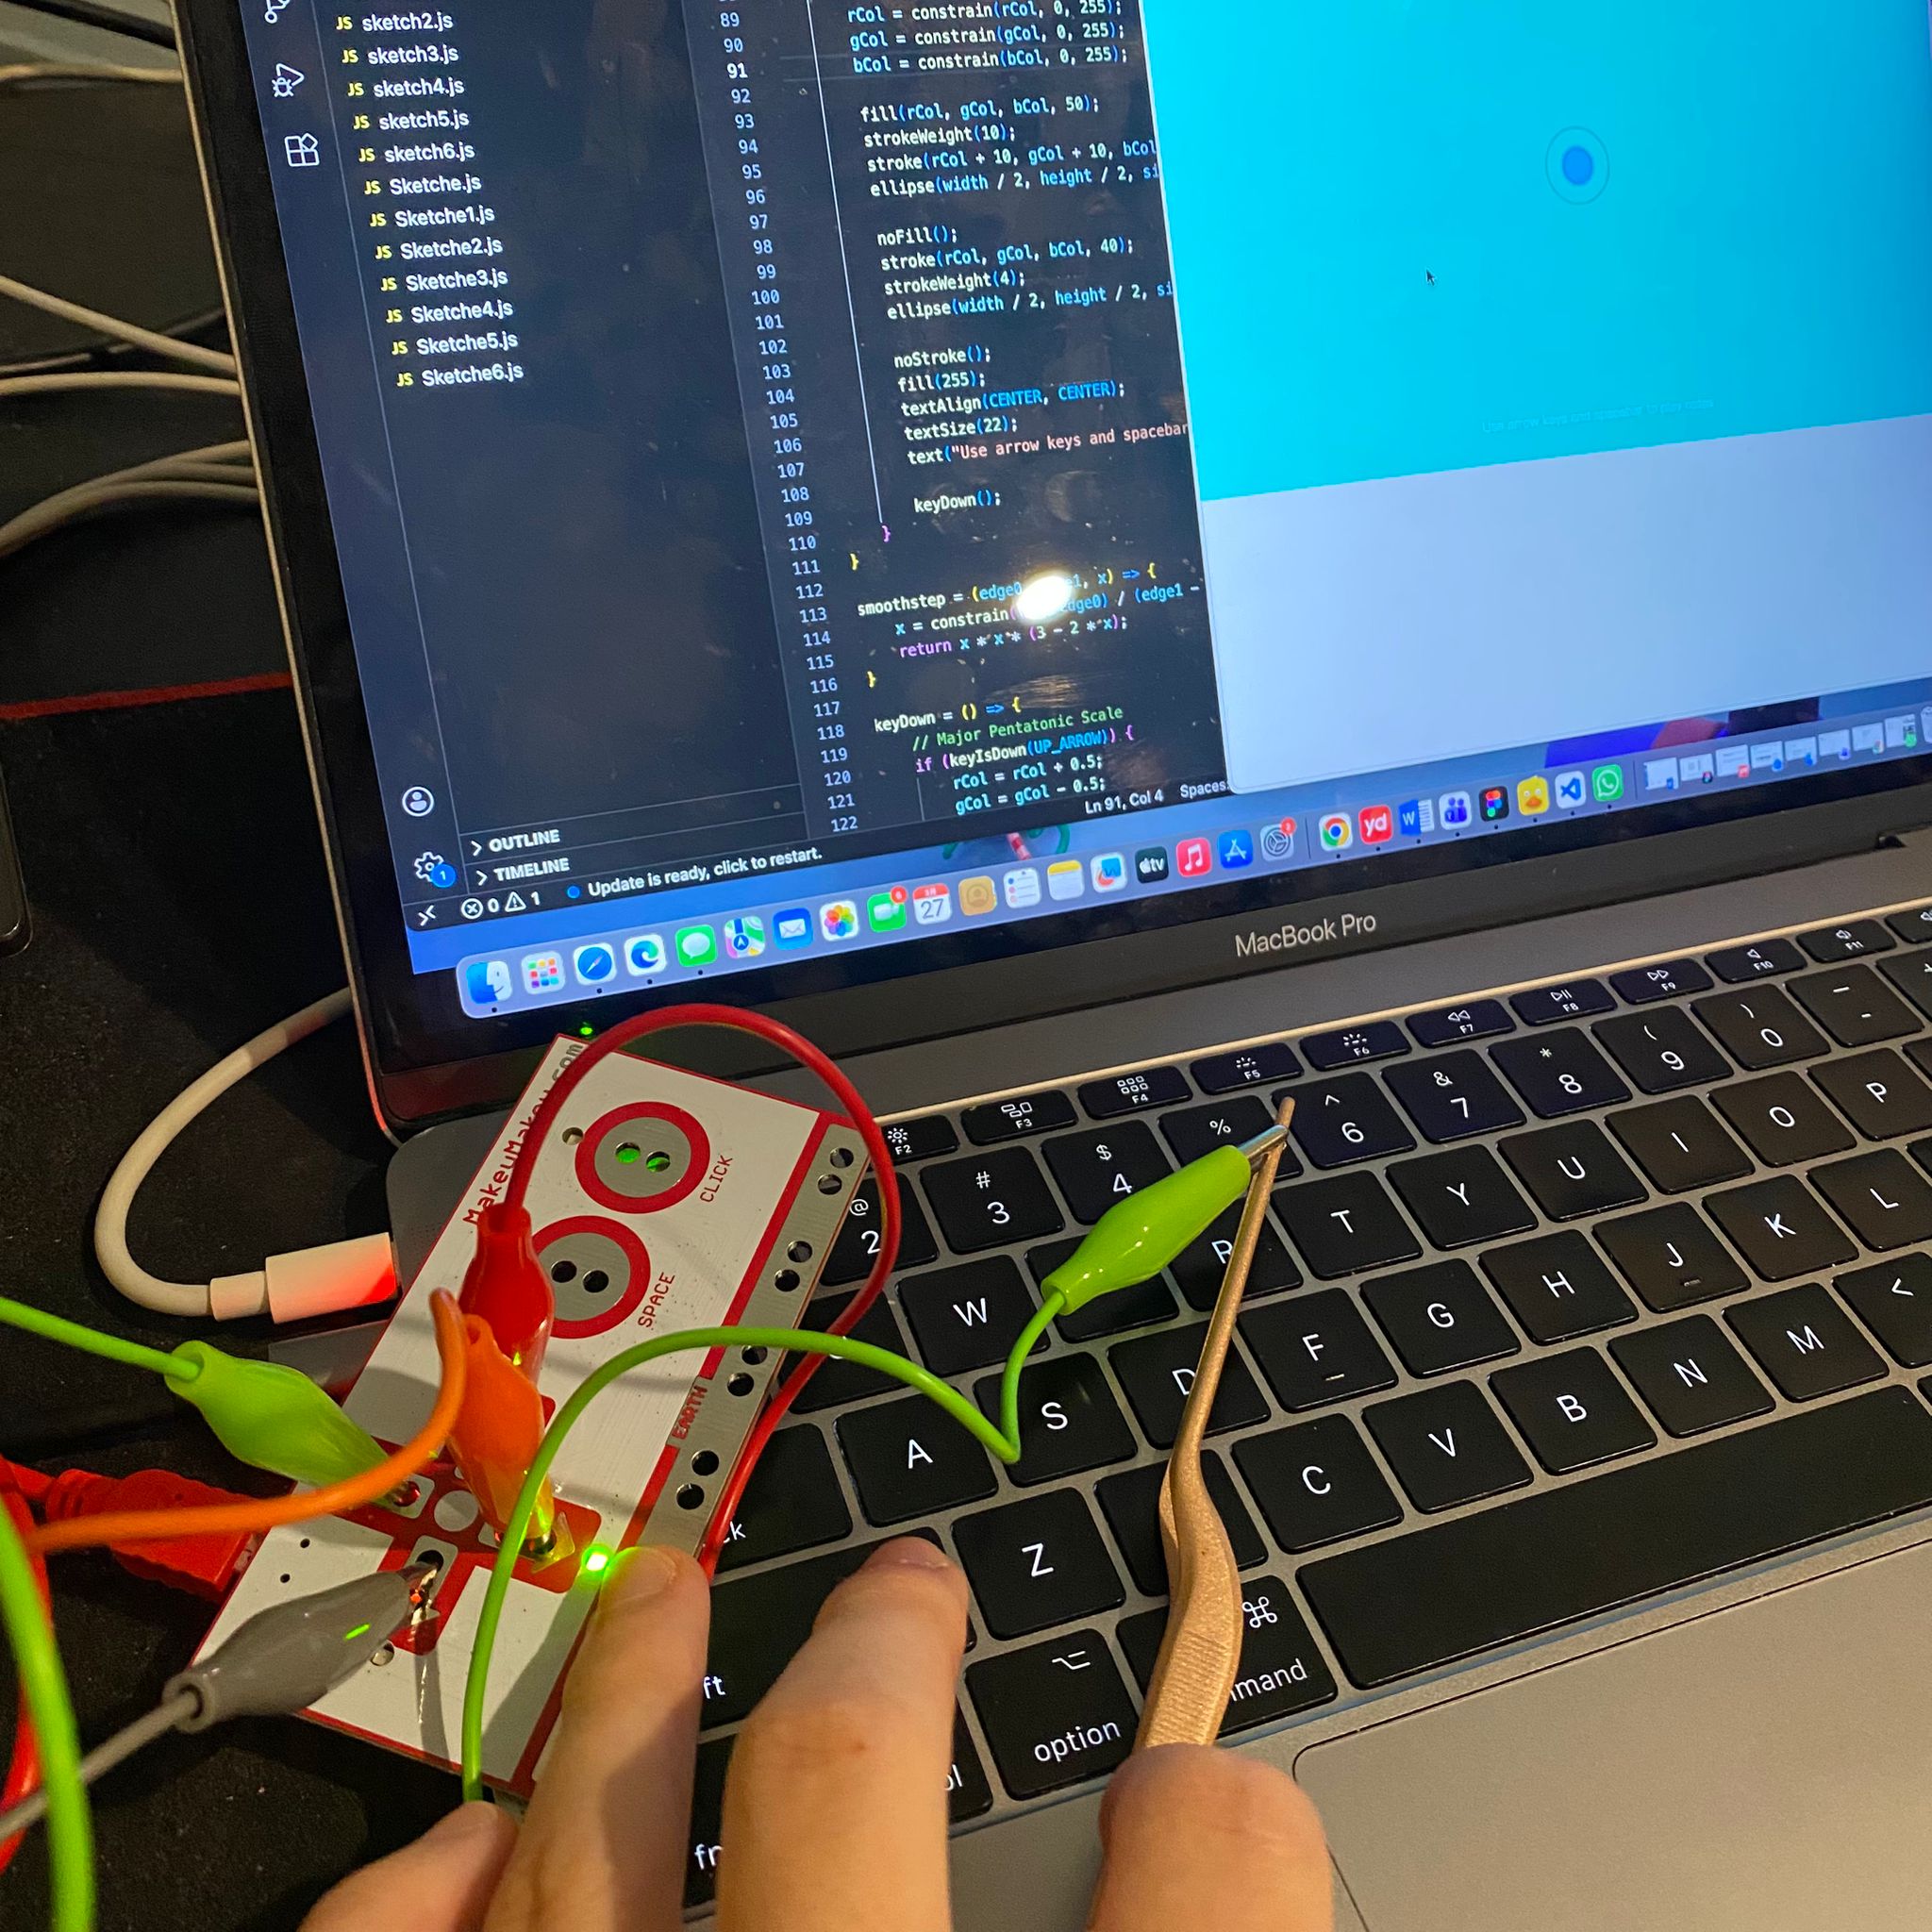
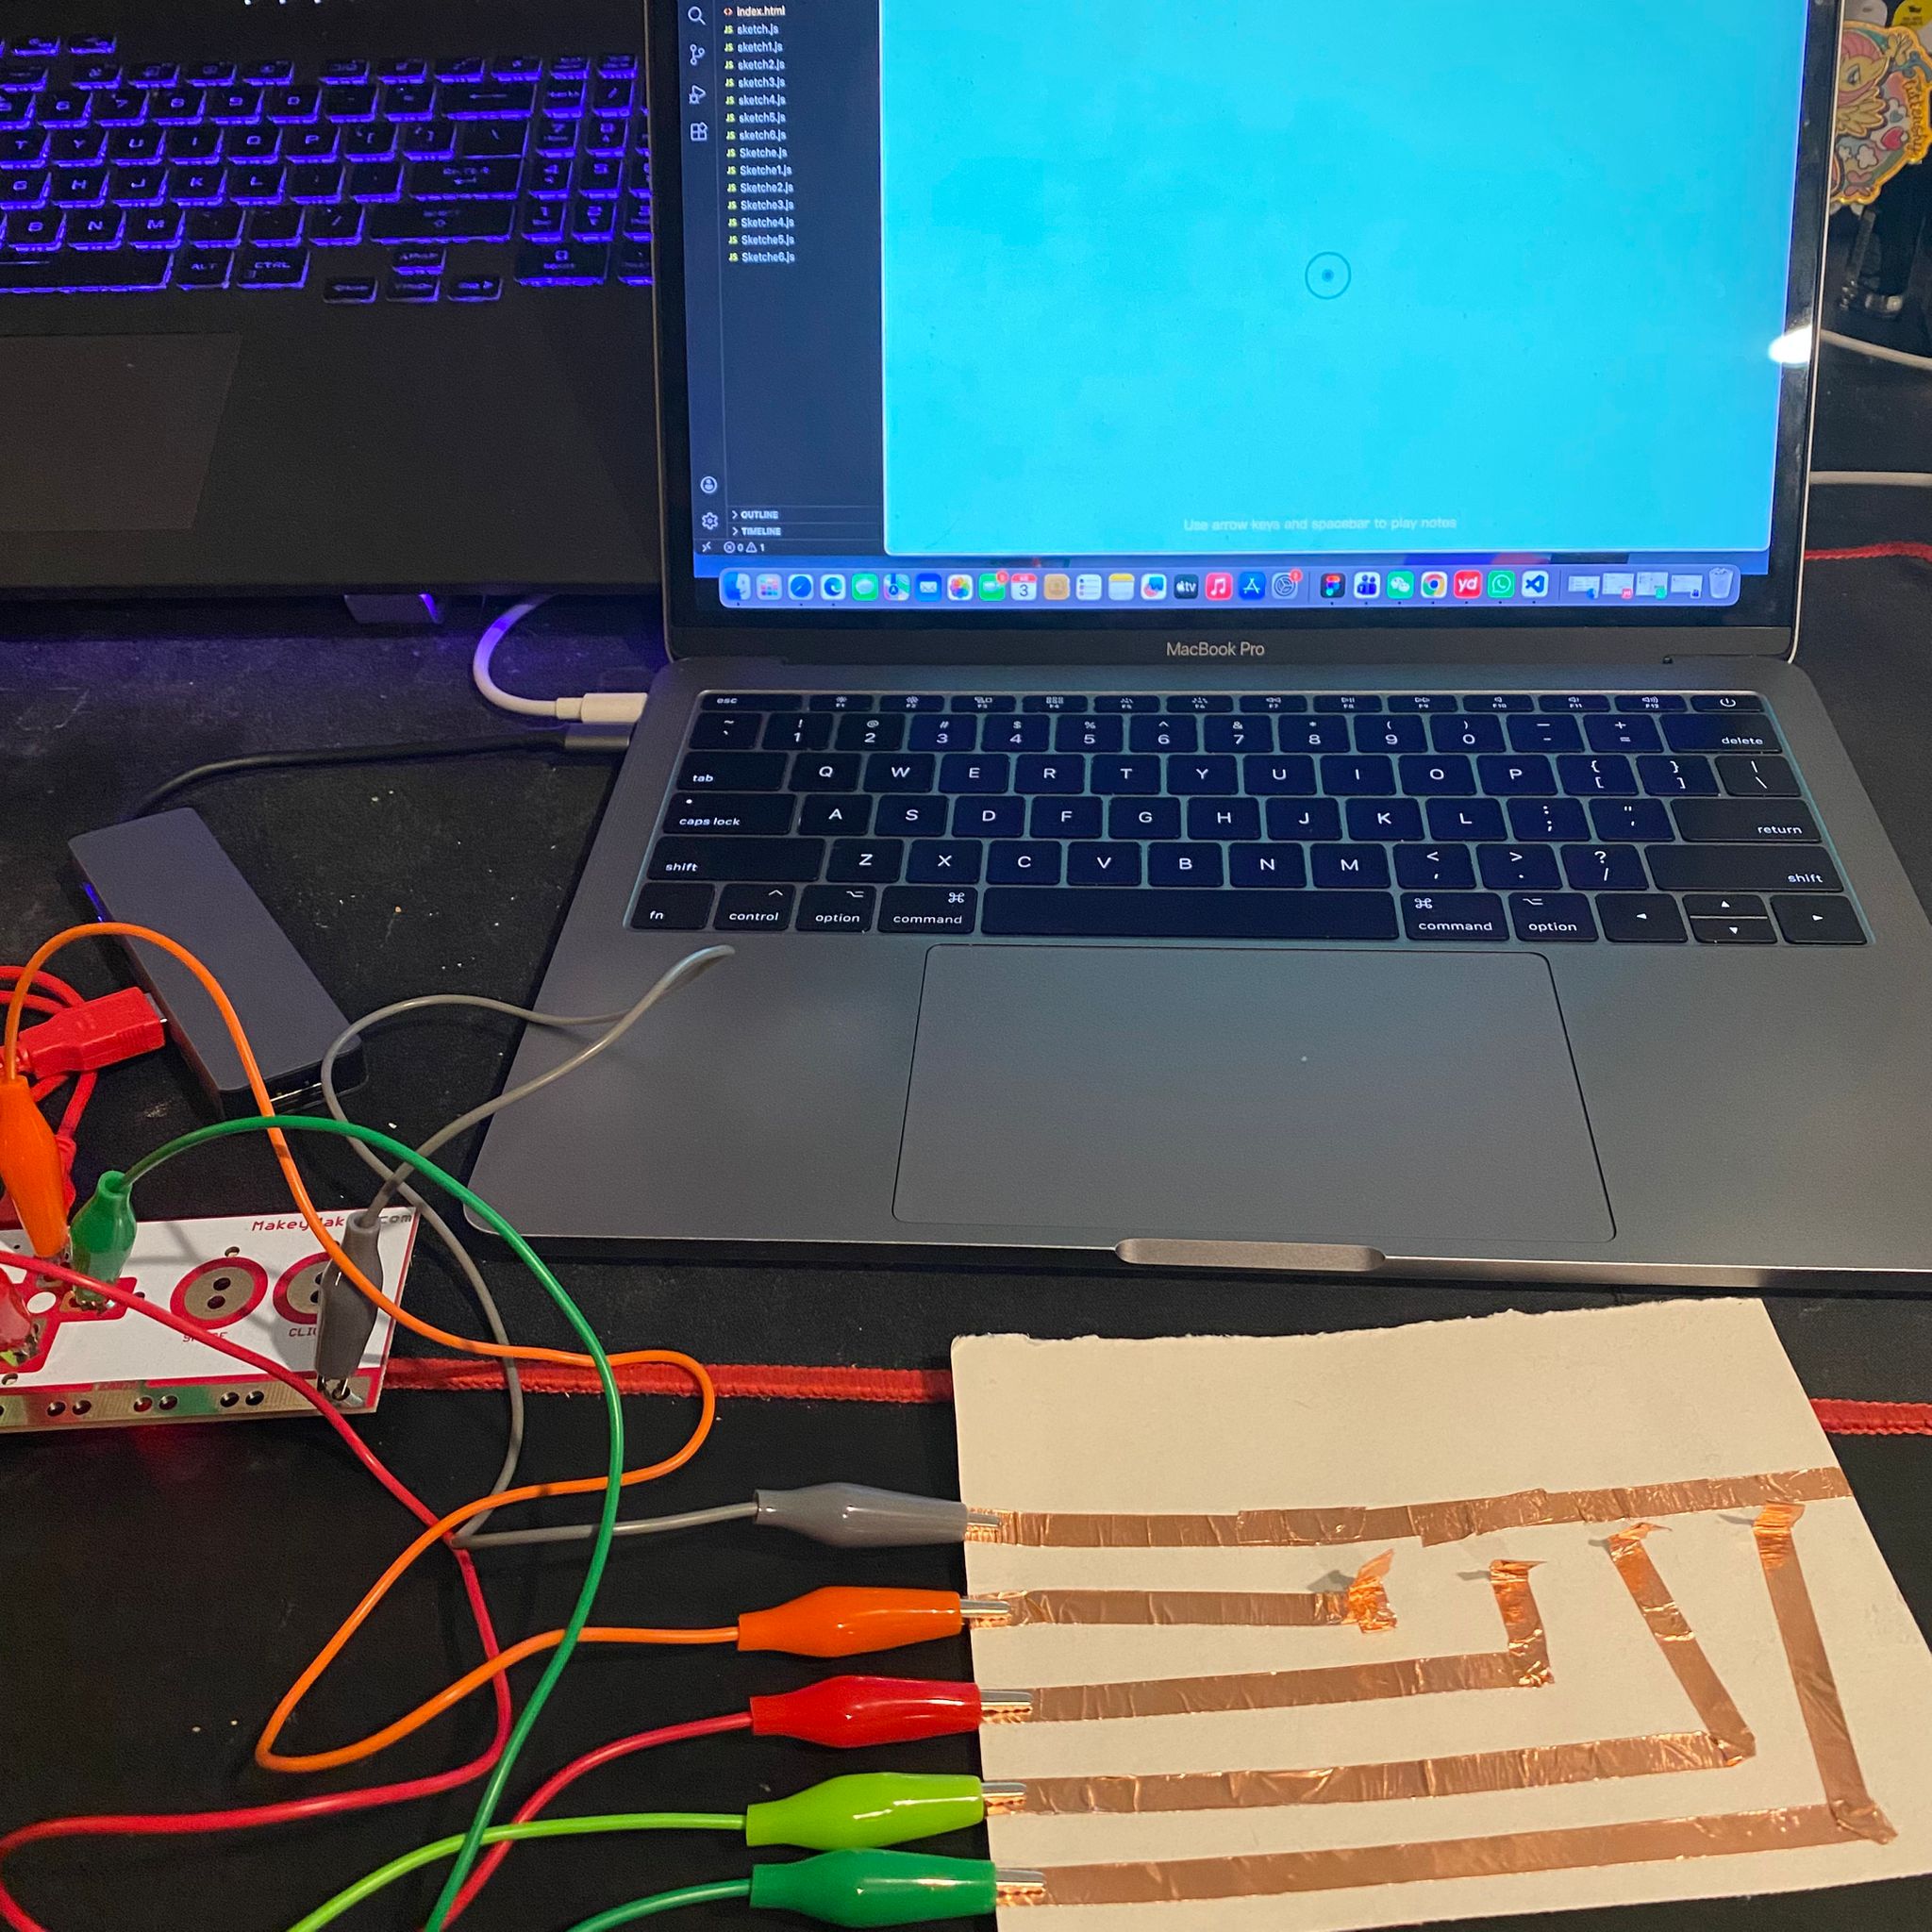
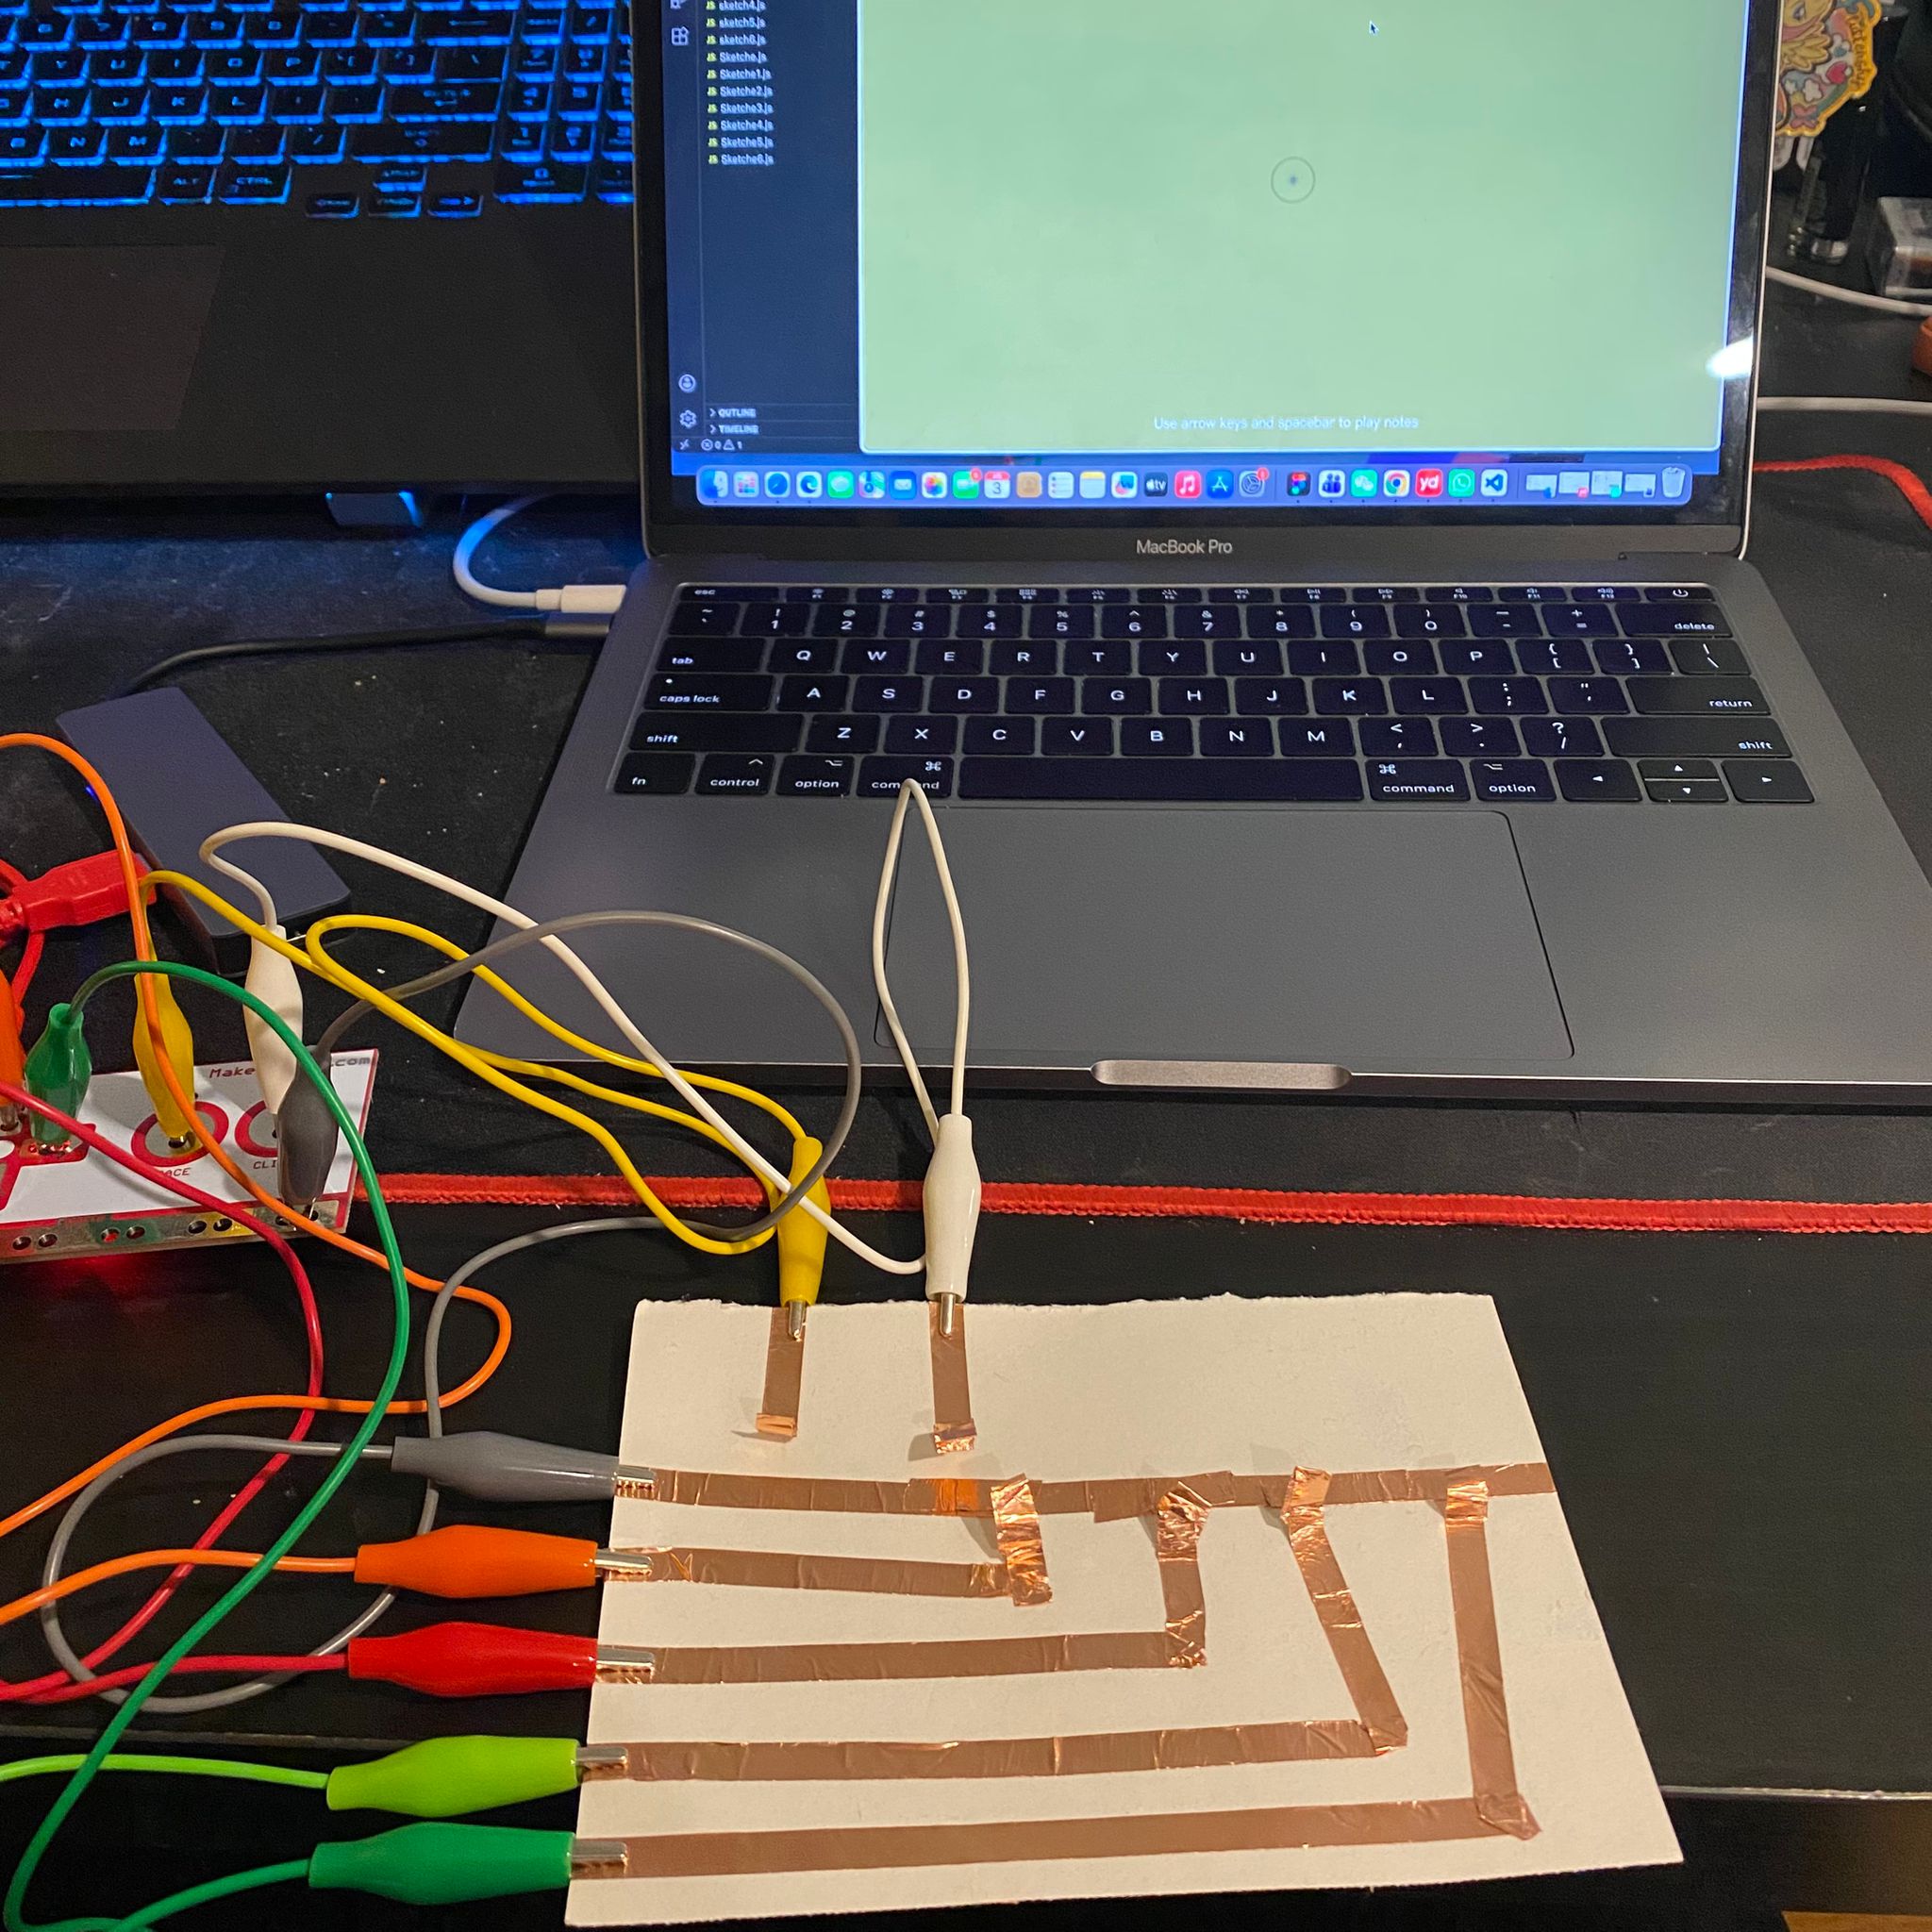
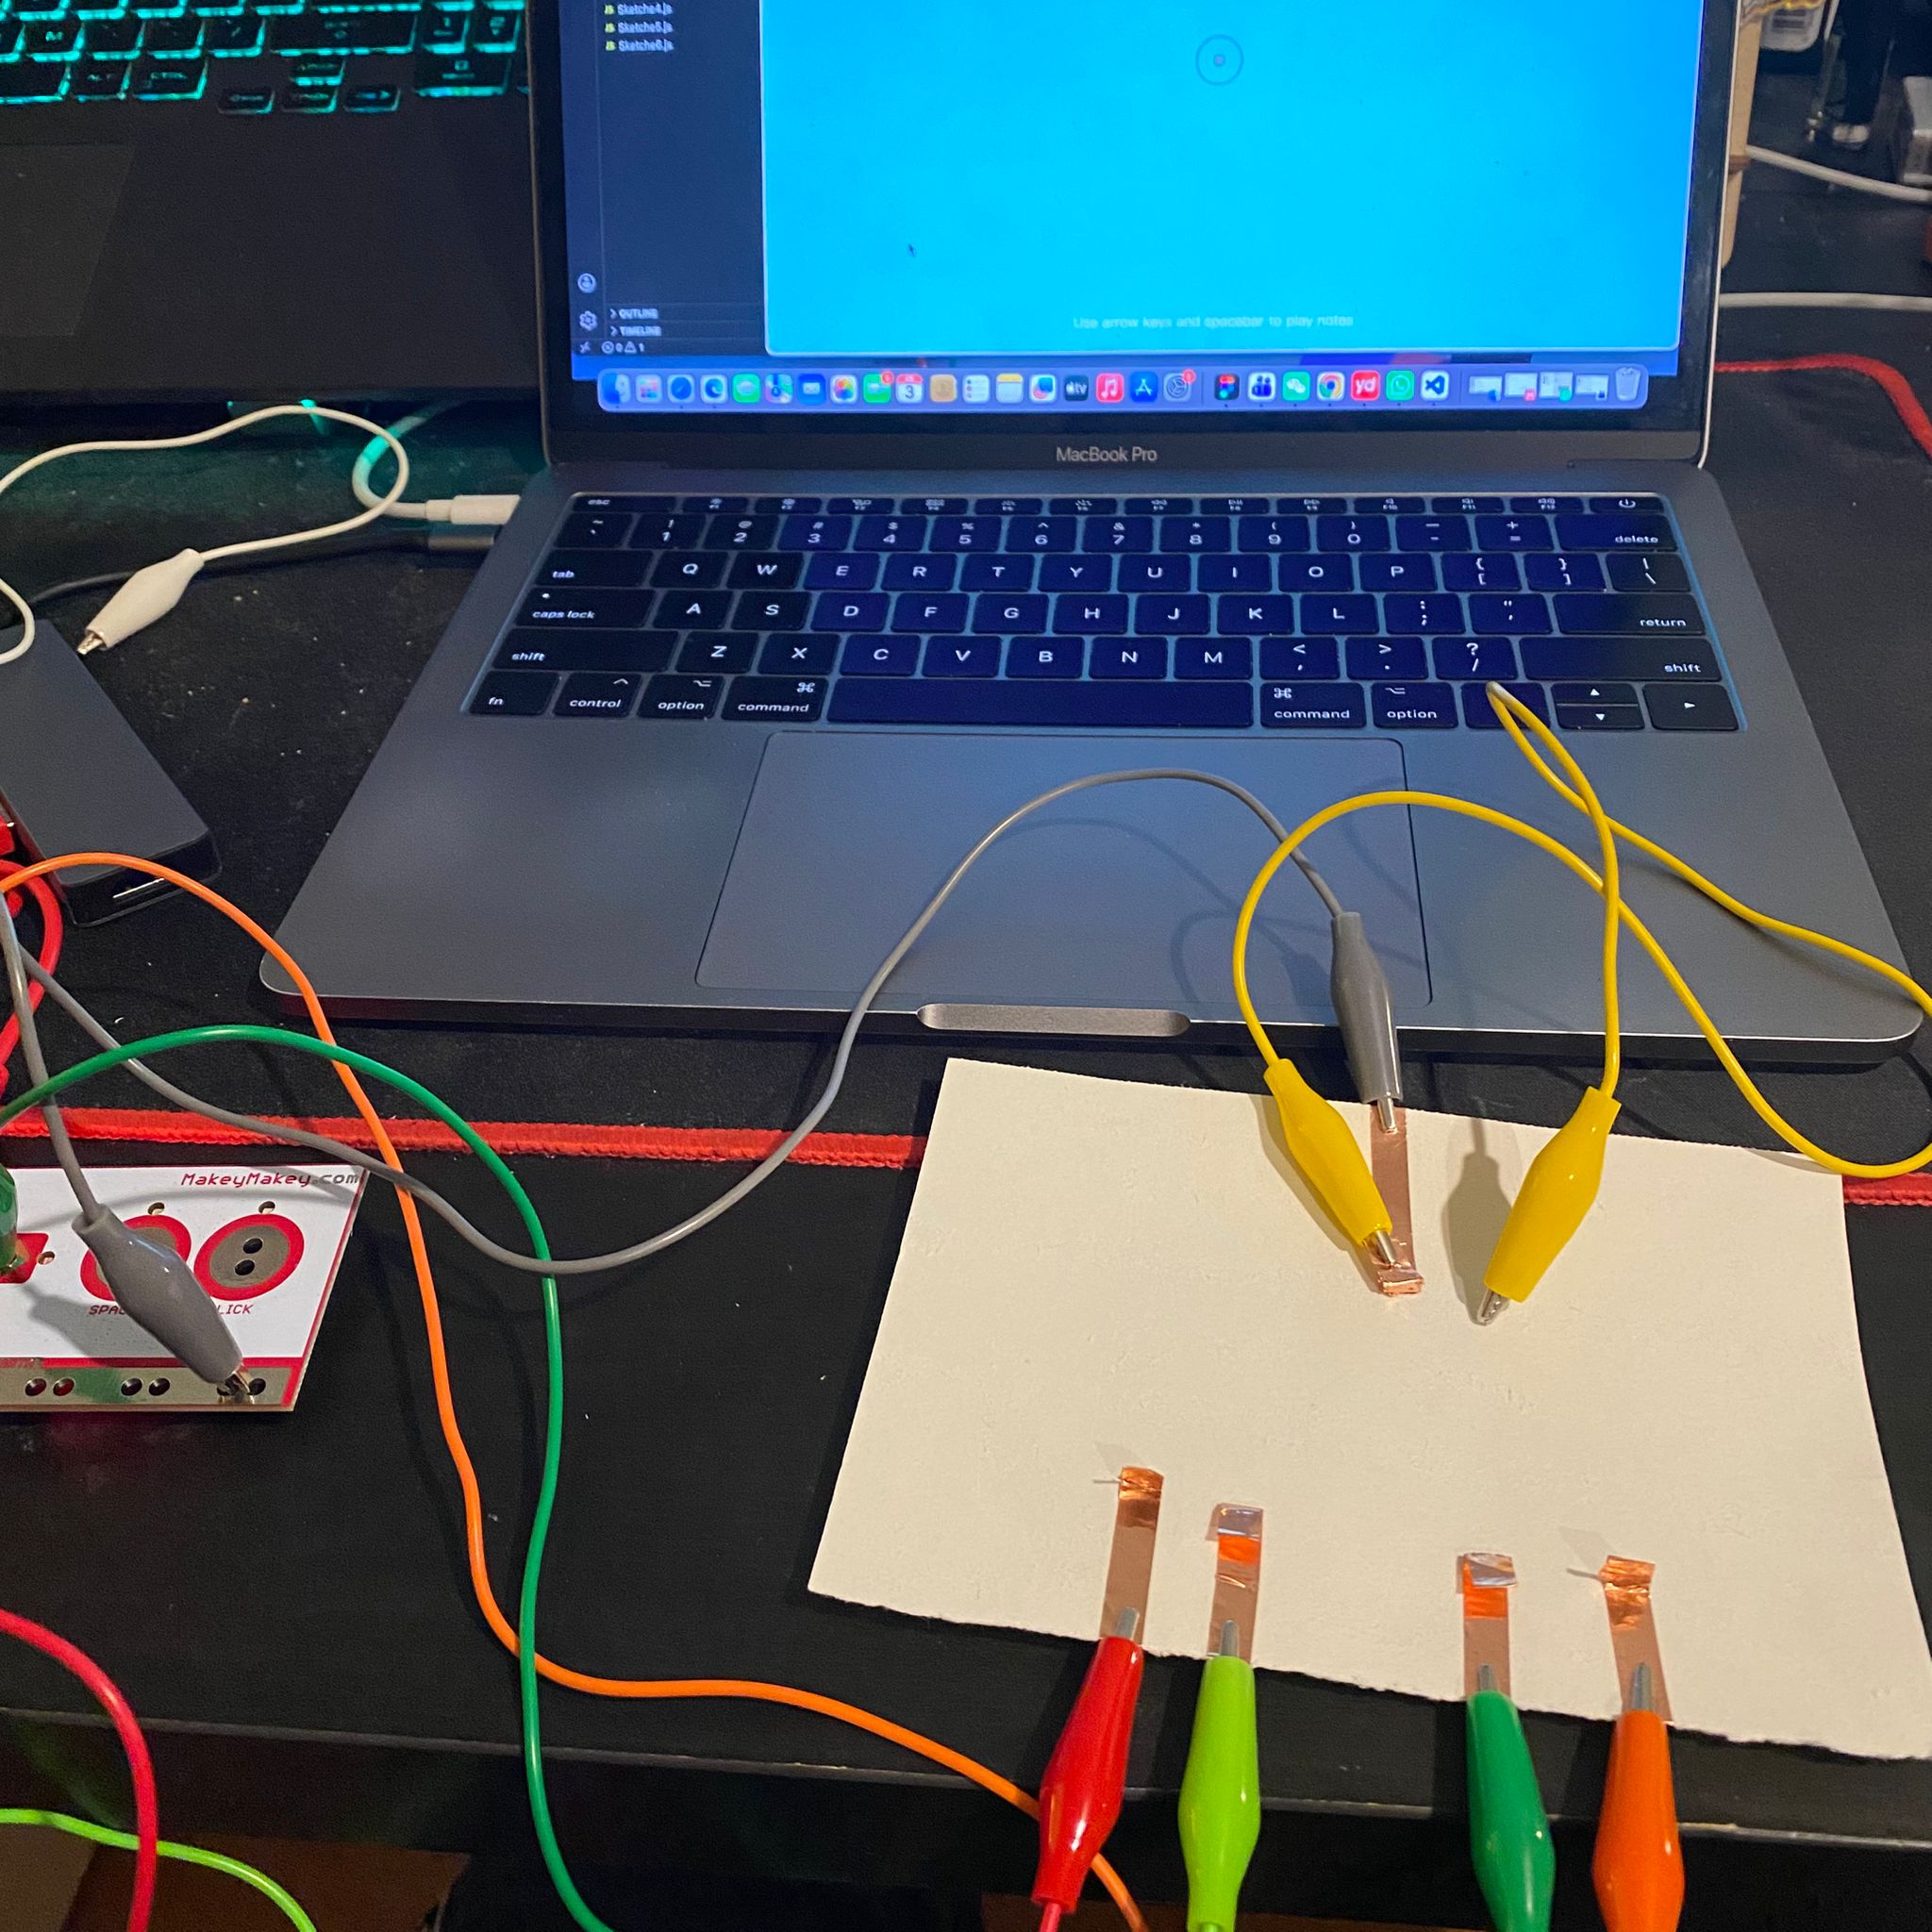
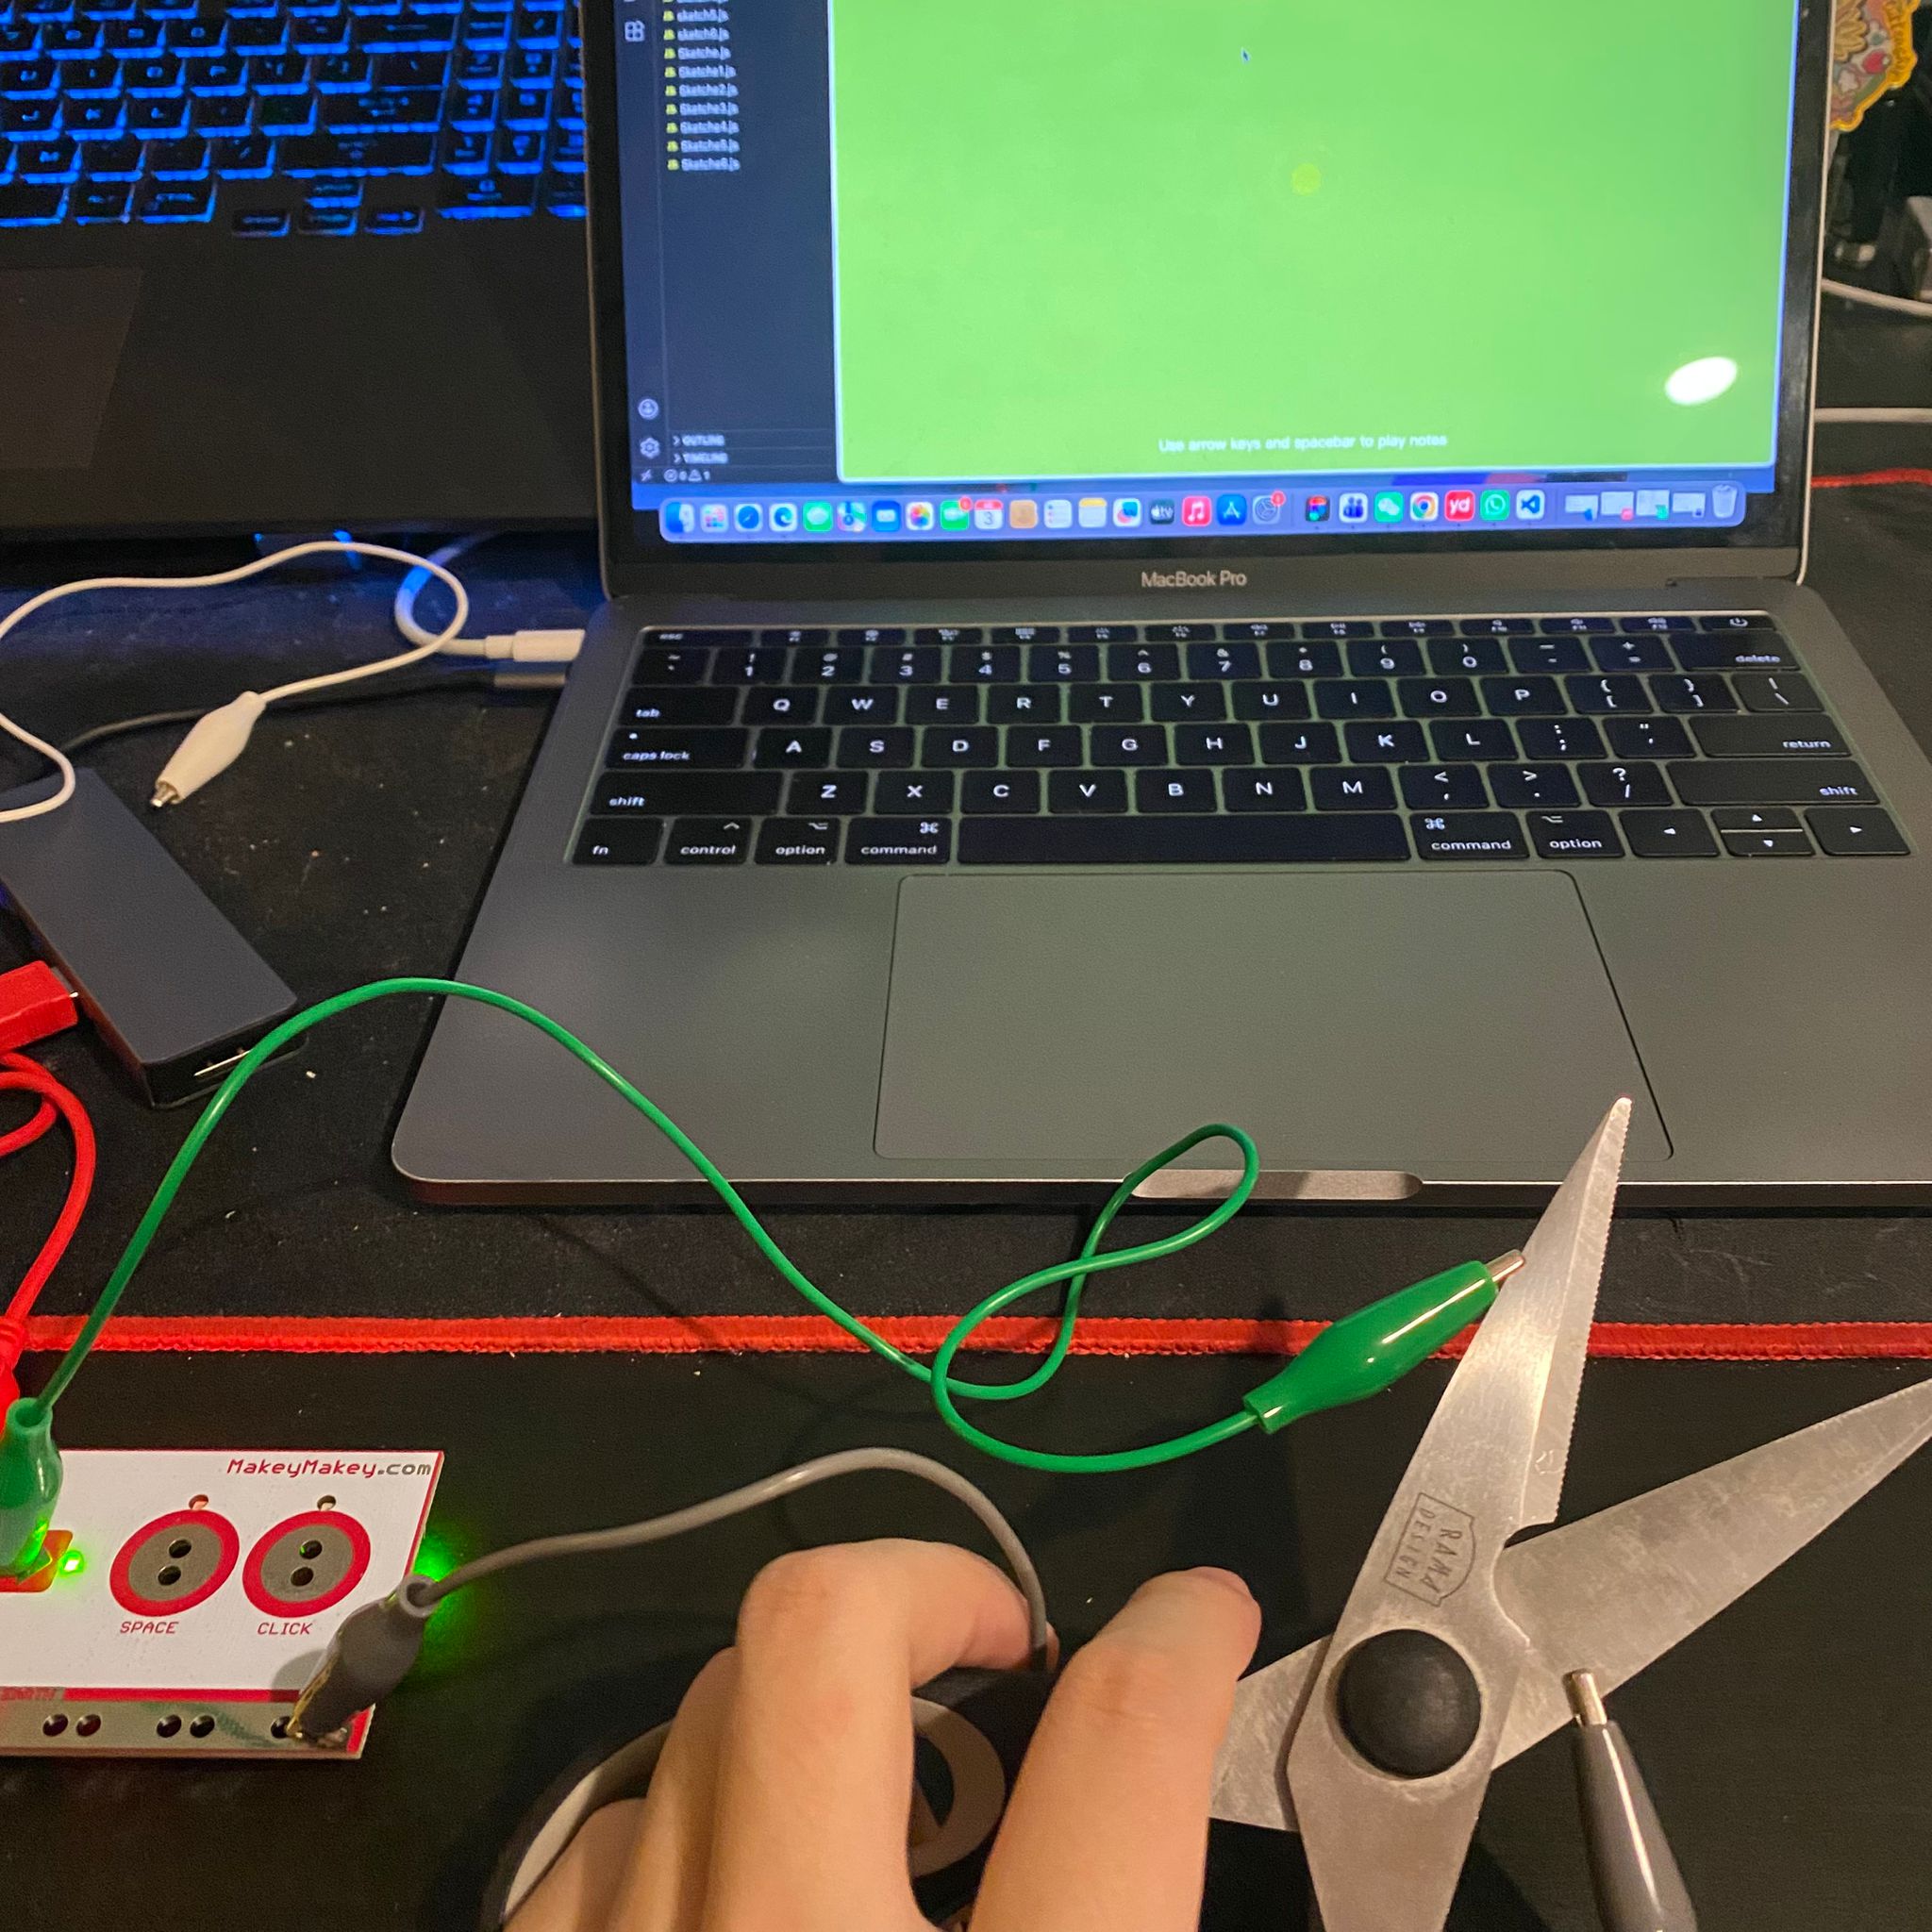
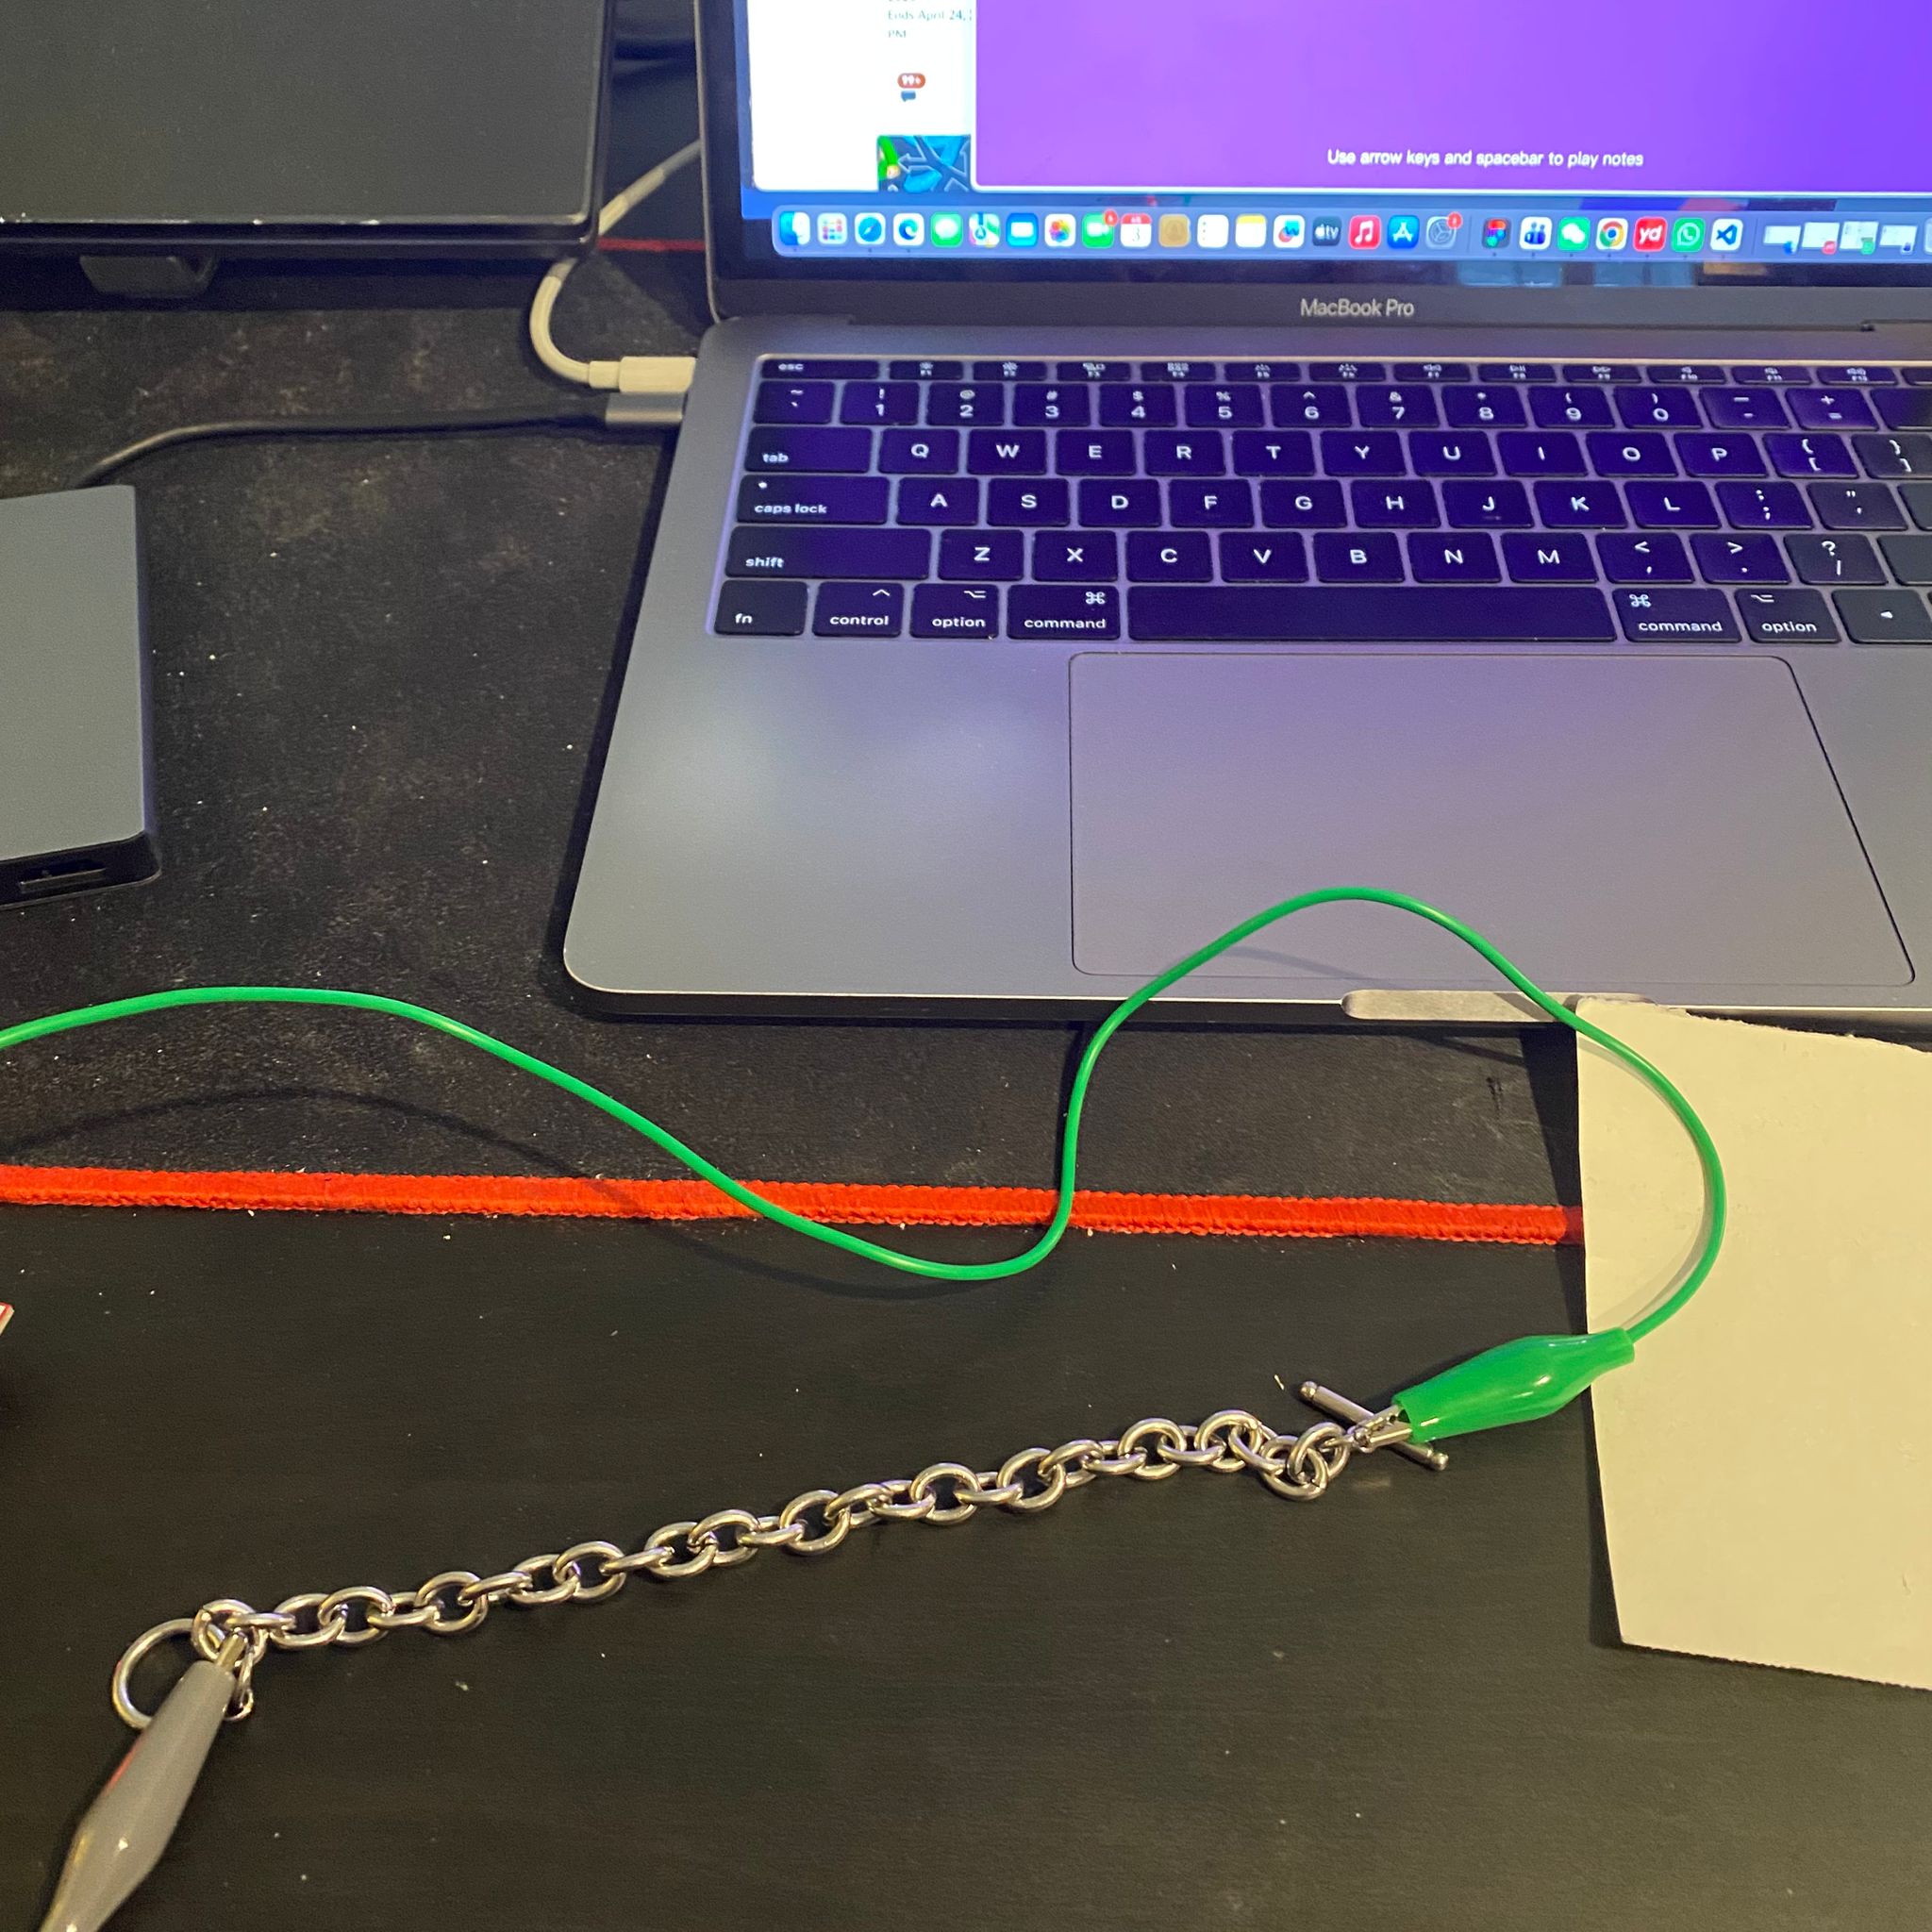
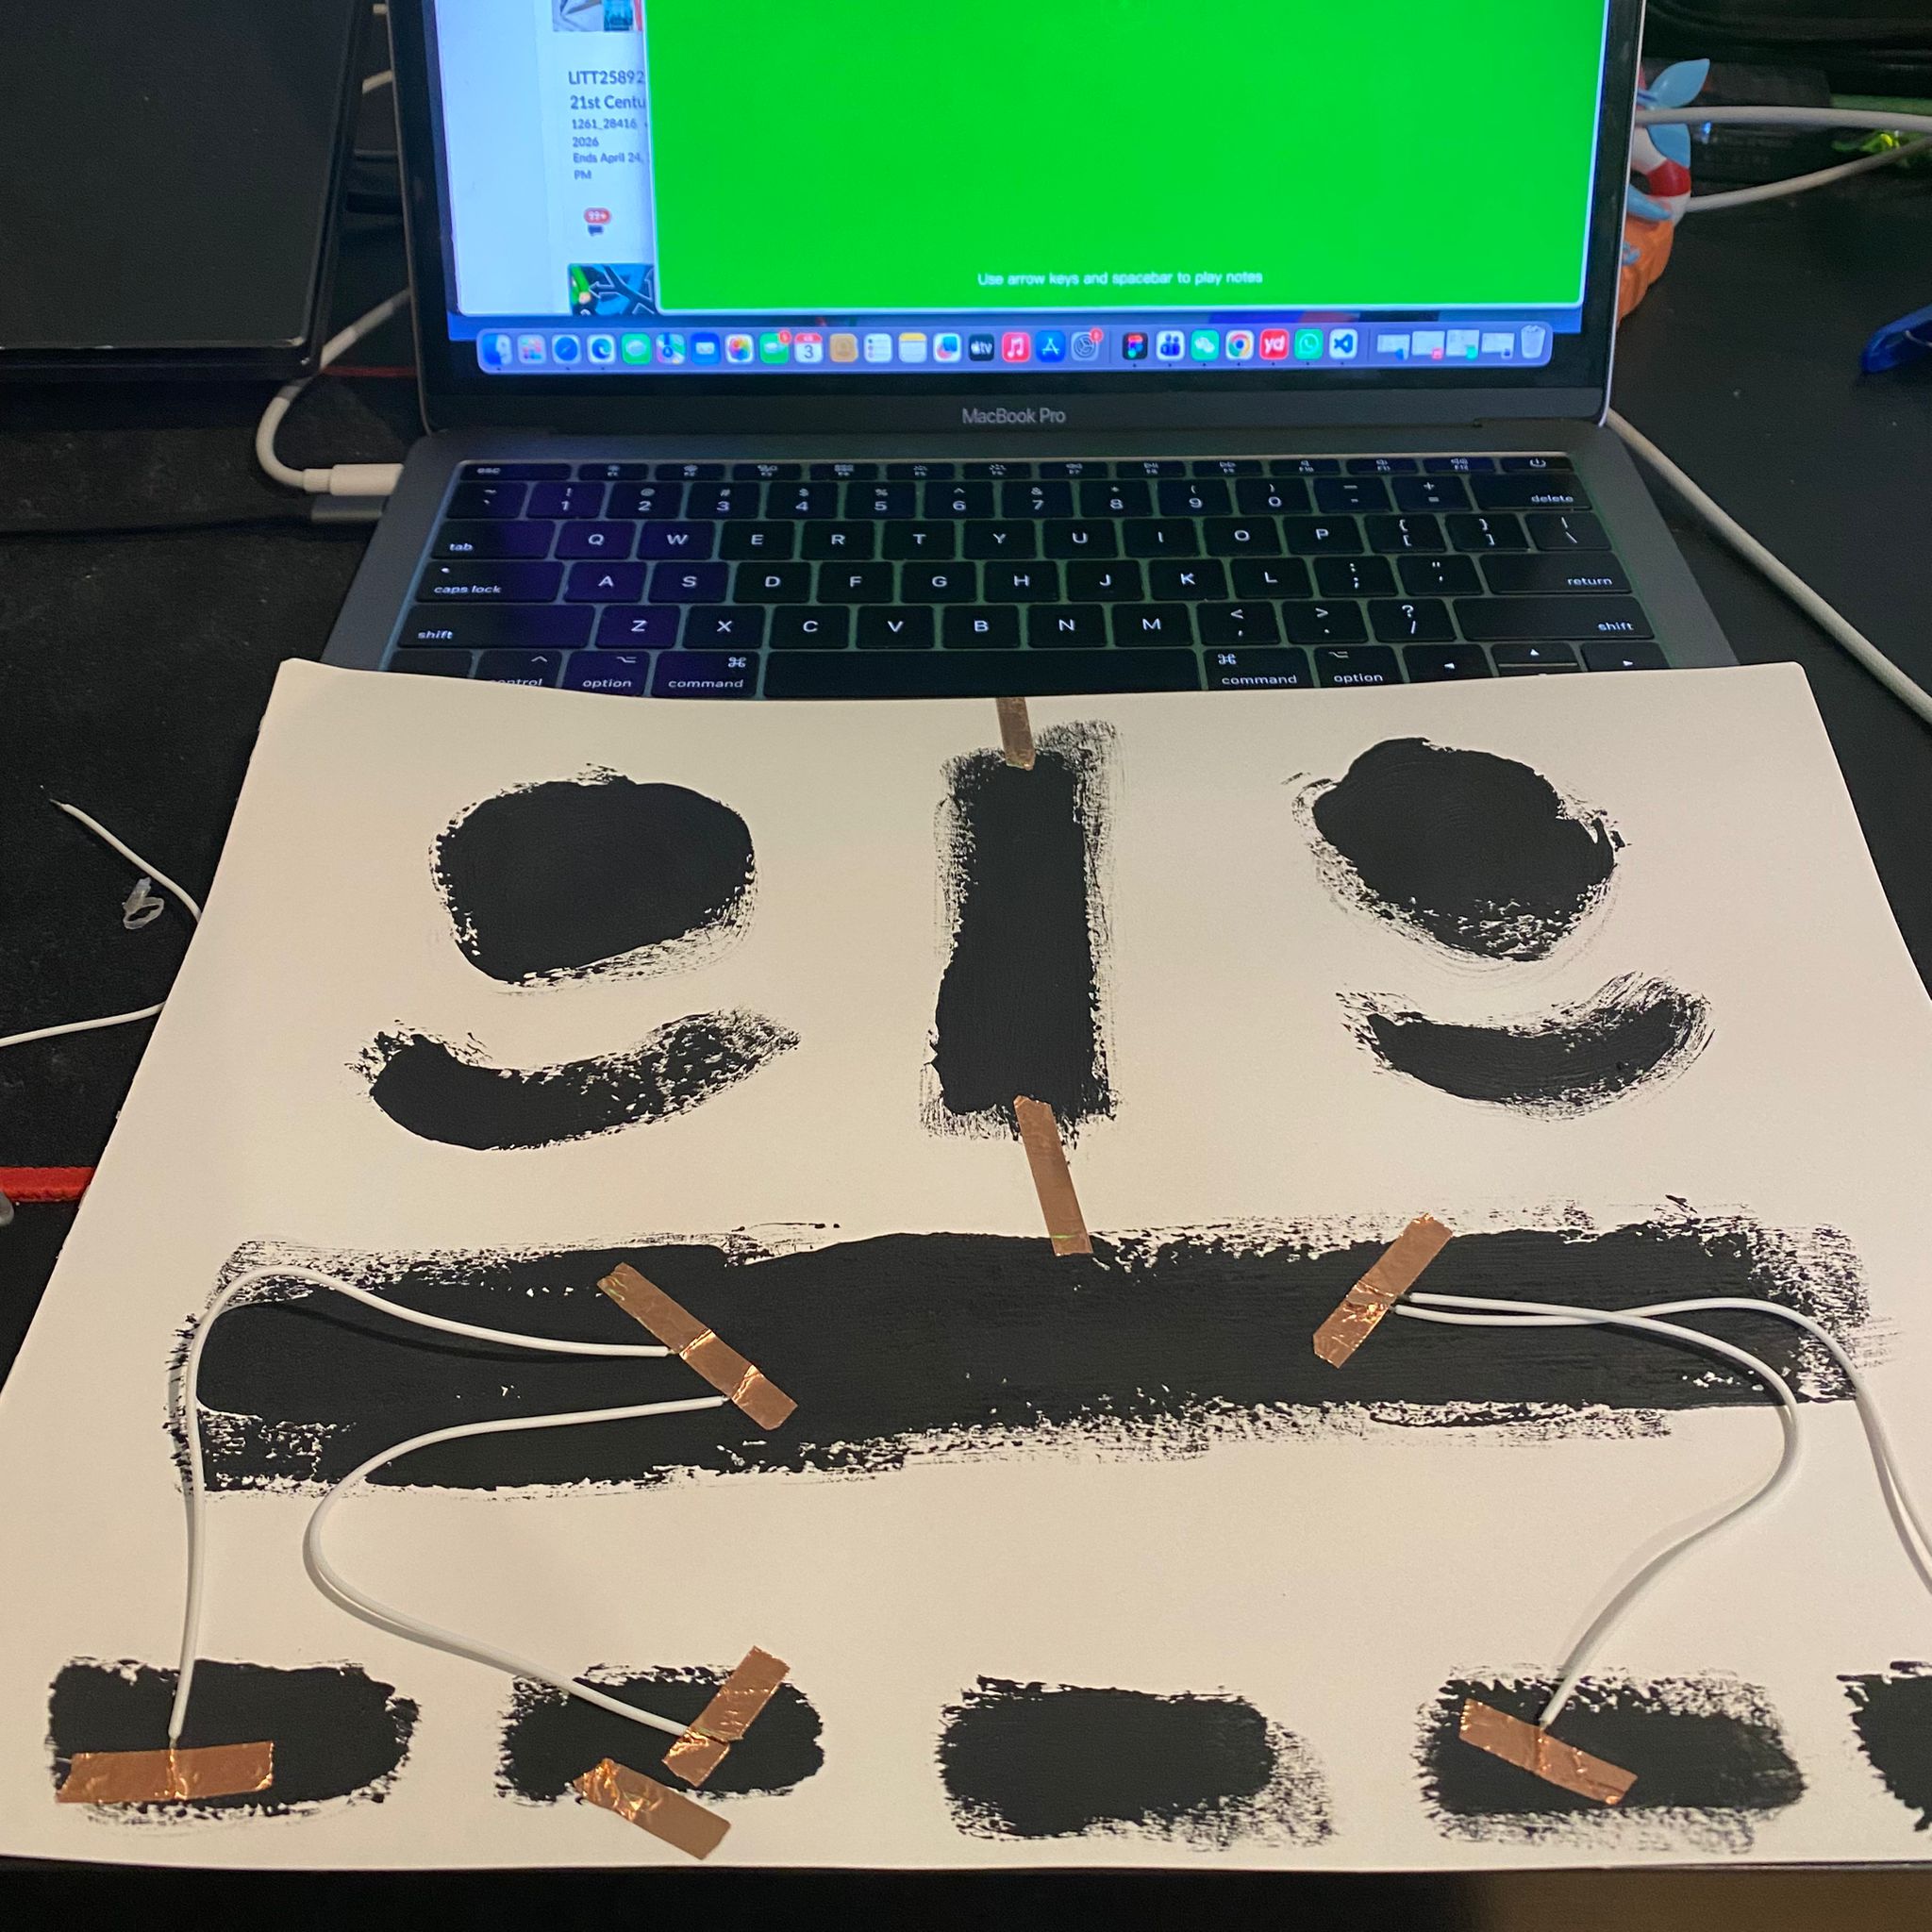
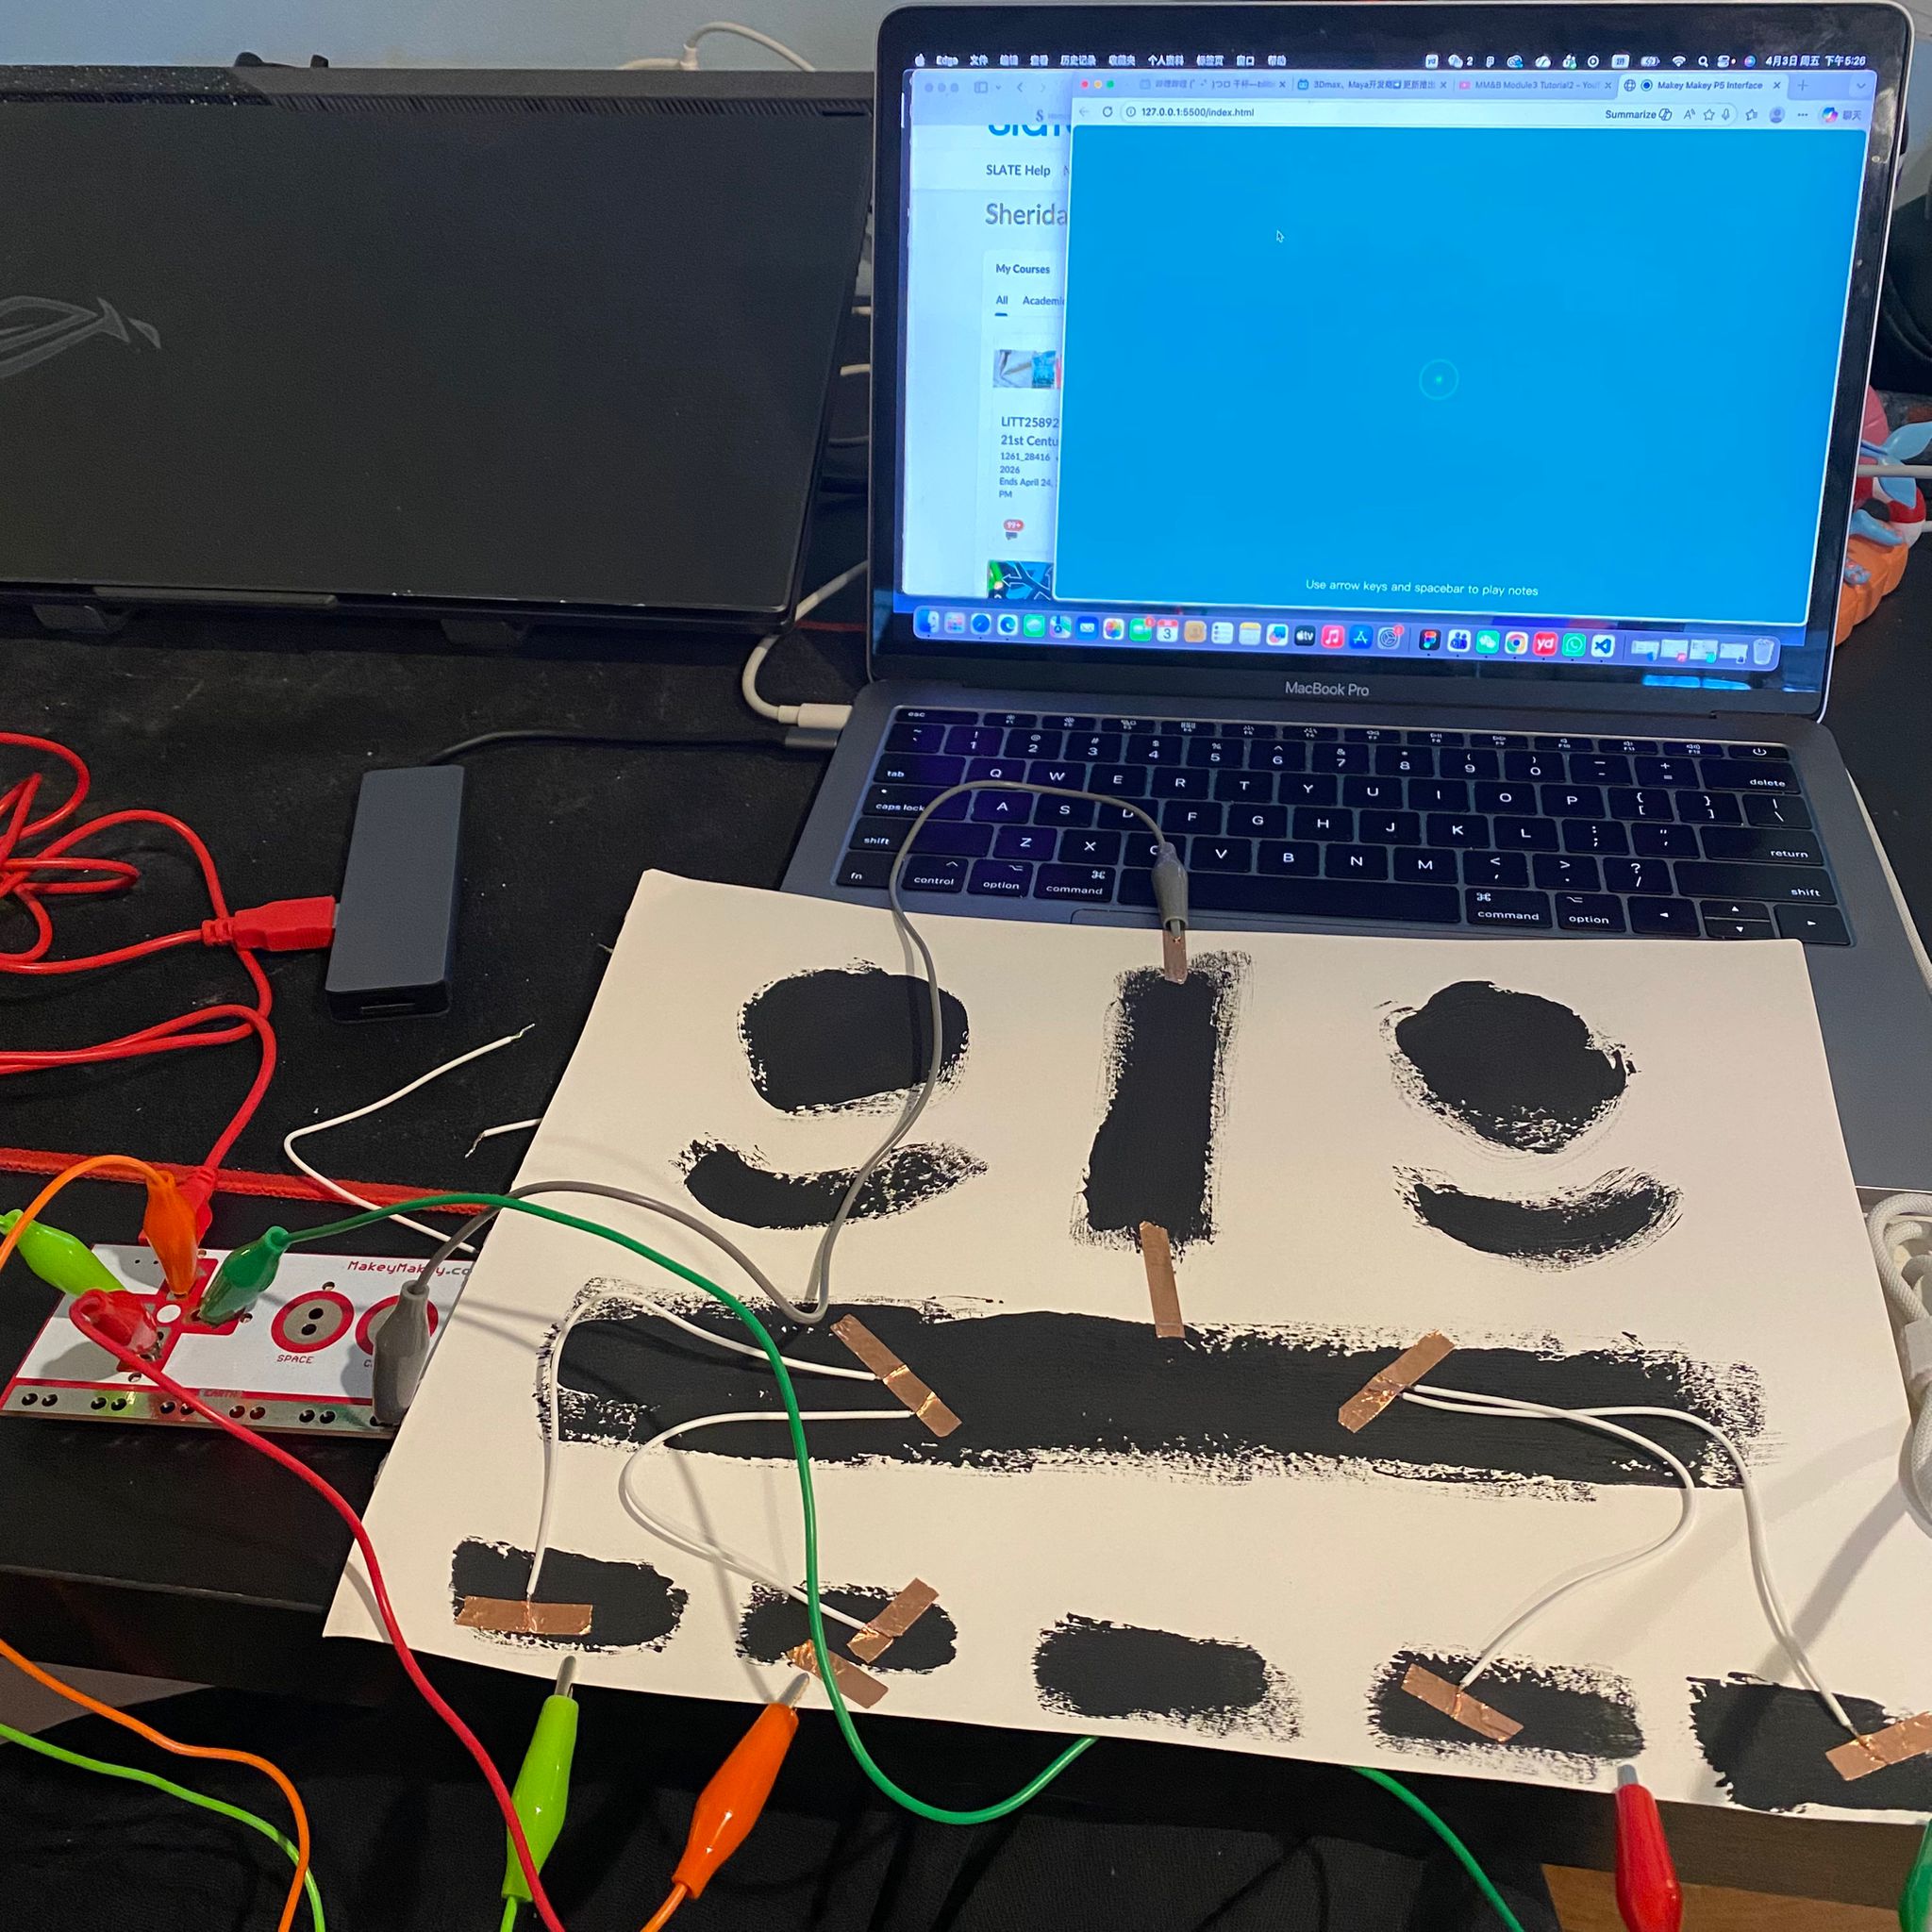
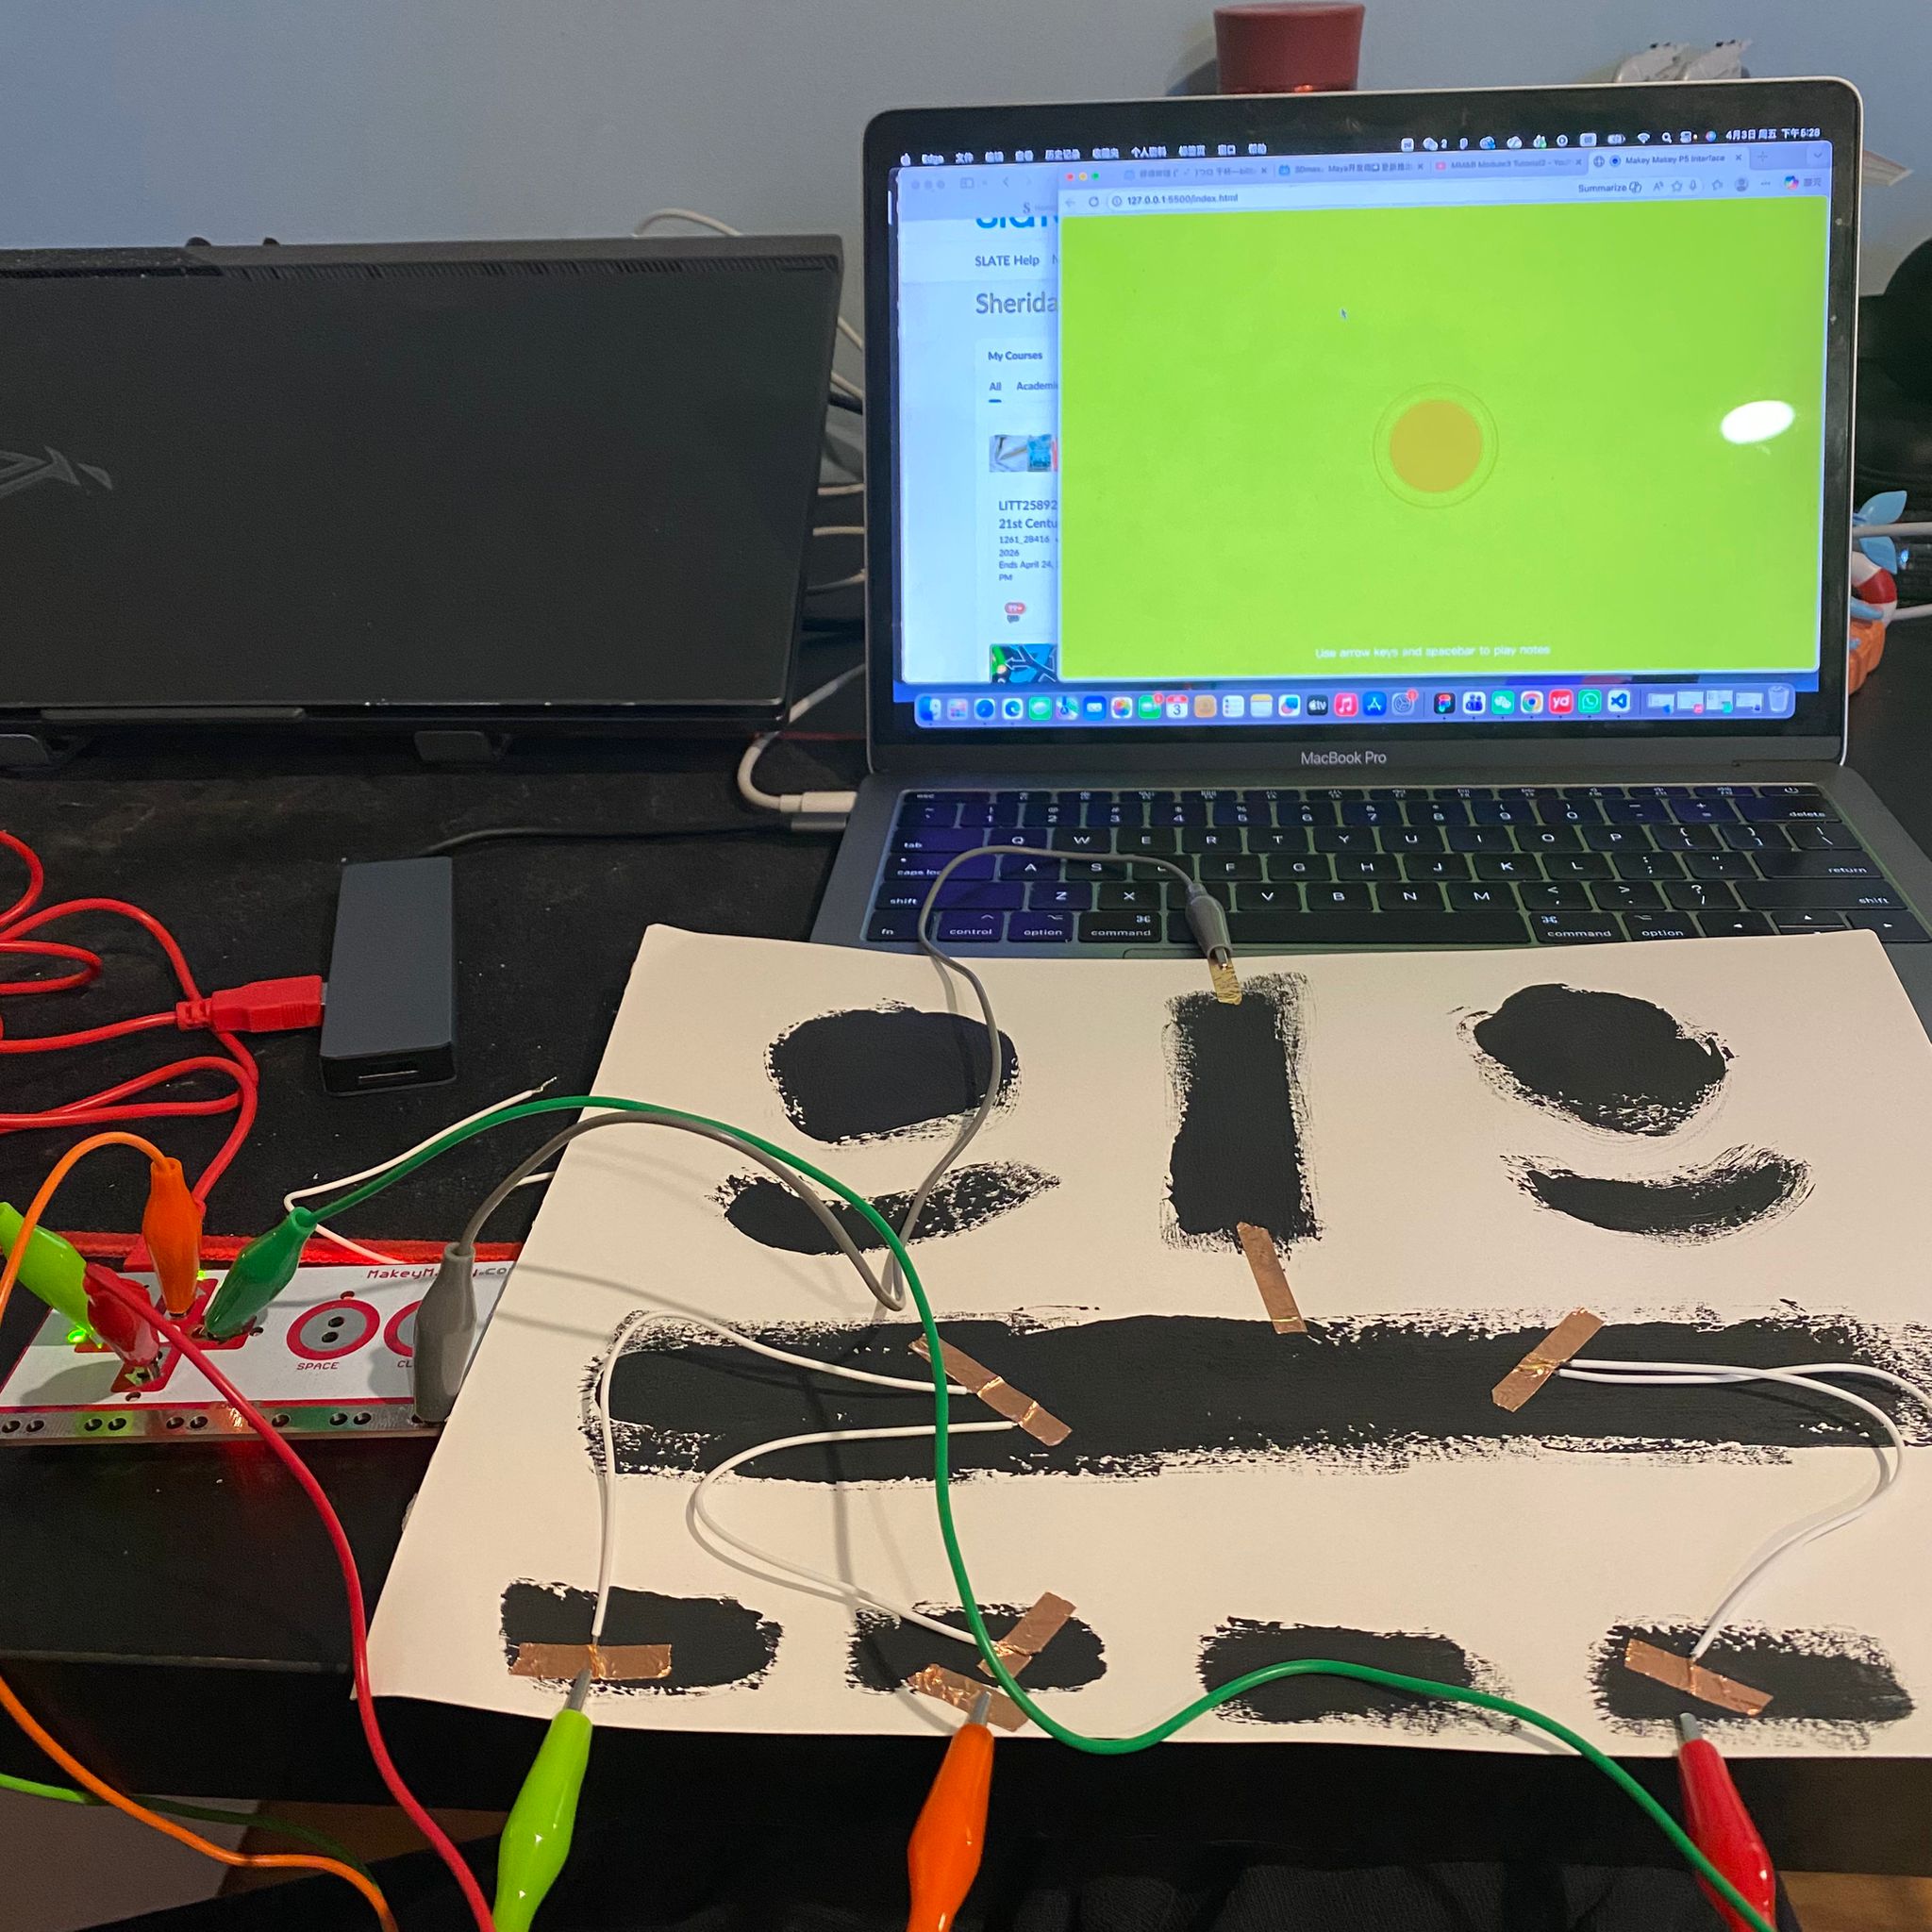
Exploration about Touch effect in P5js by using Makey Makey
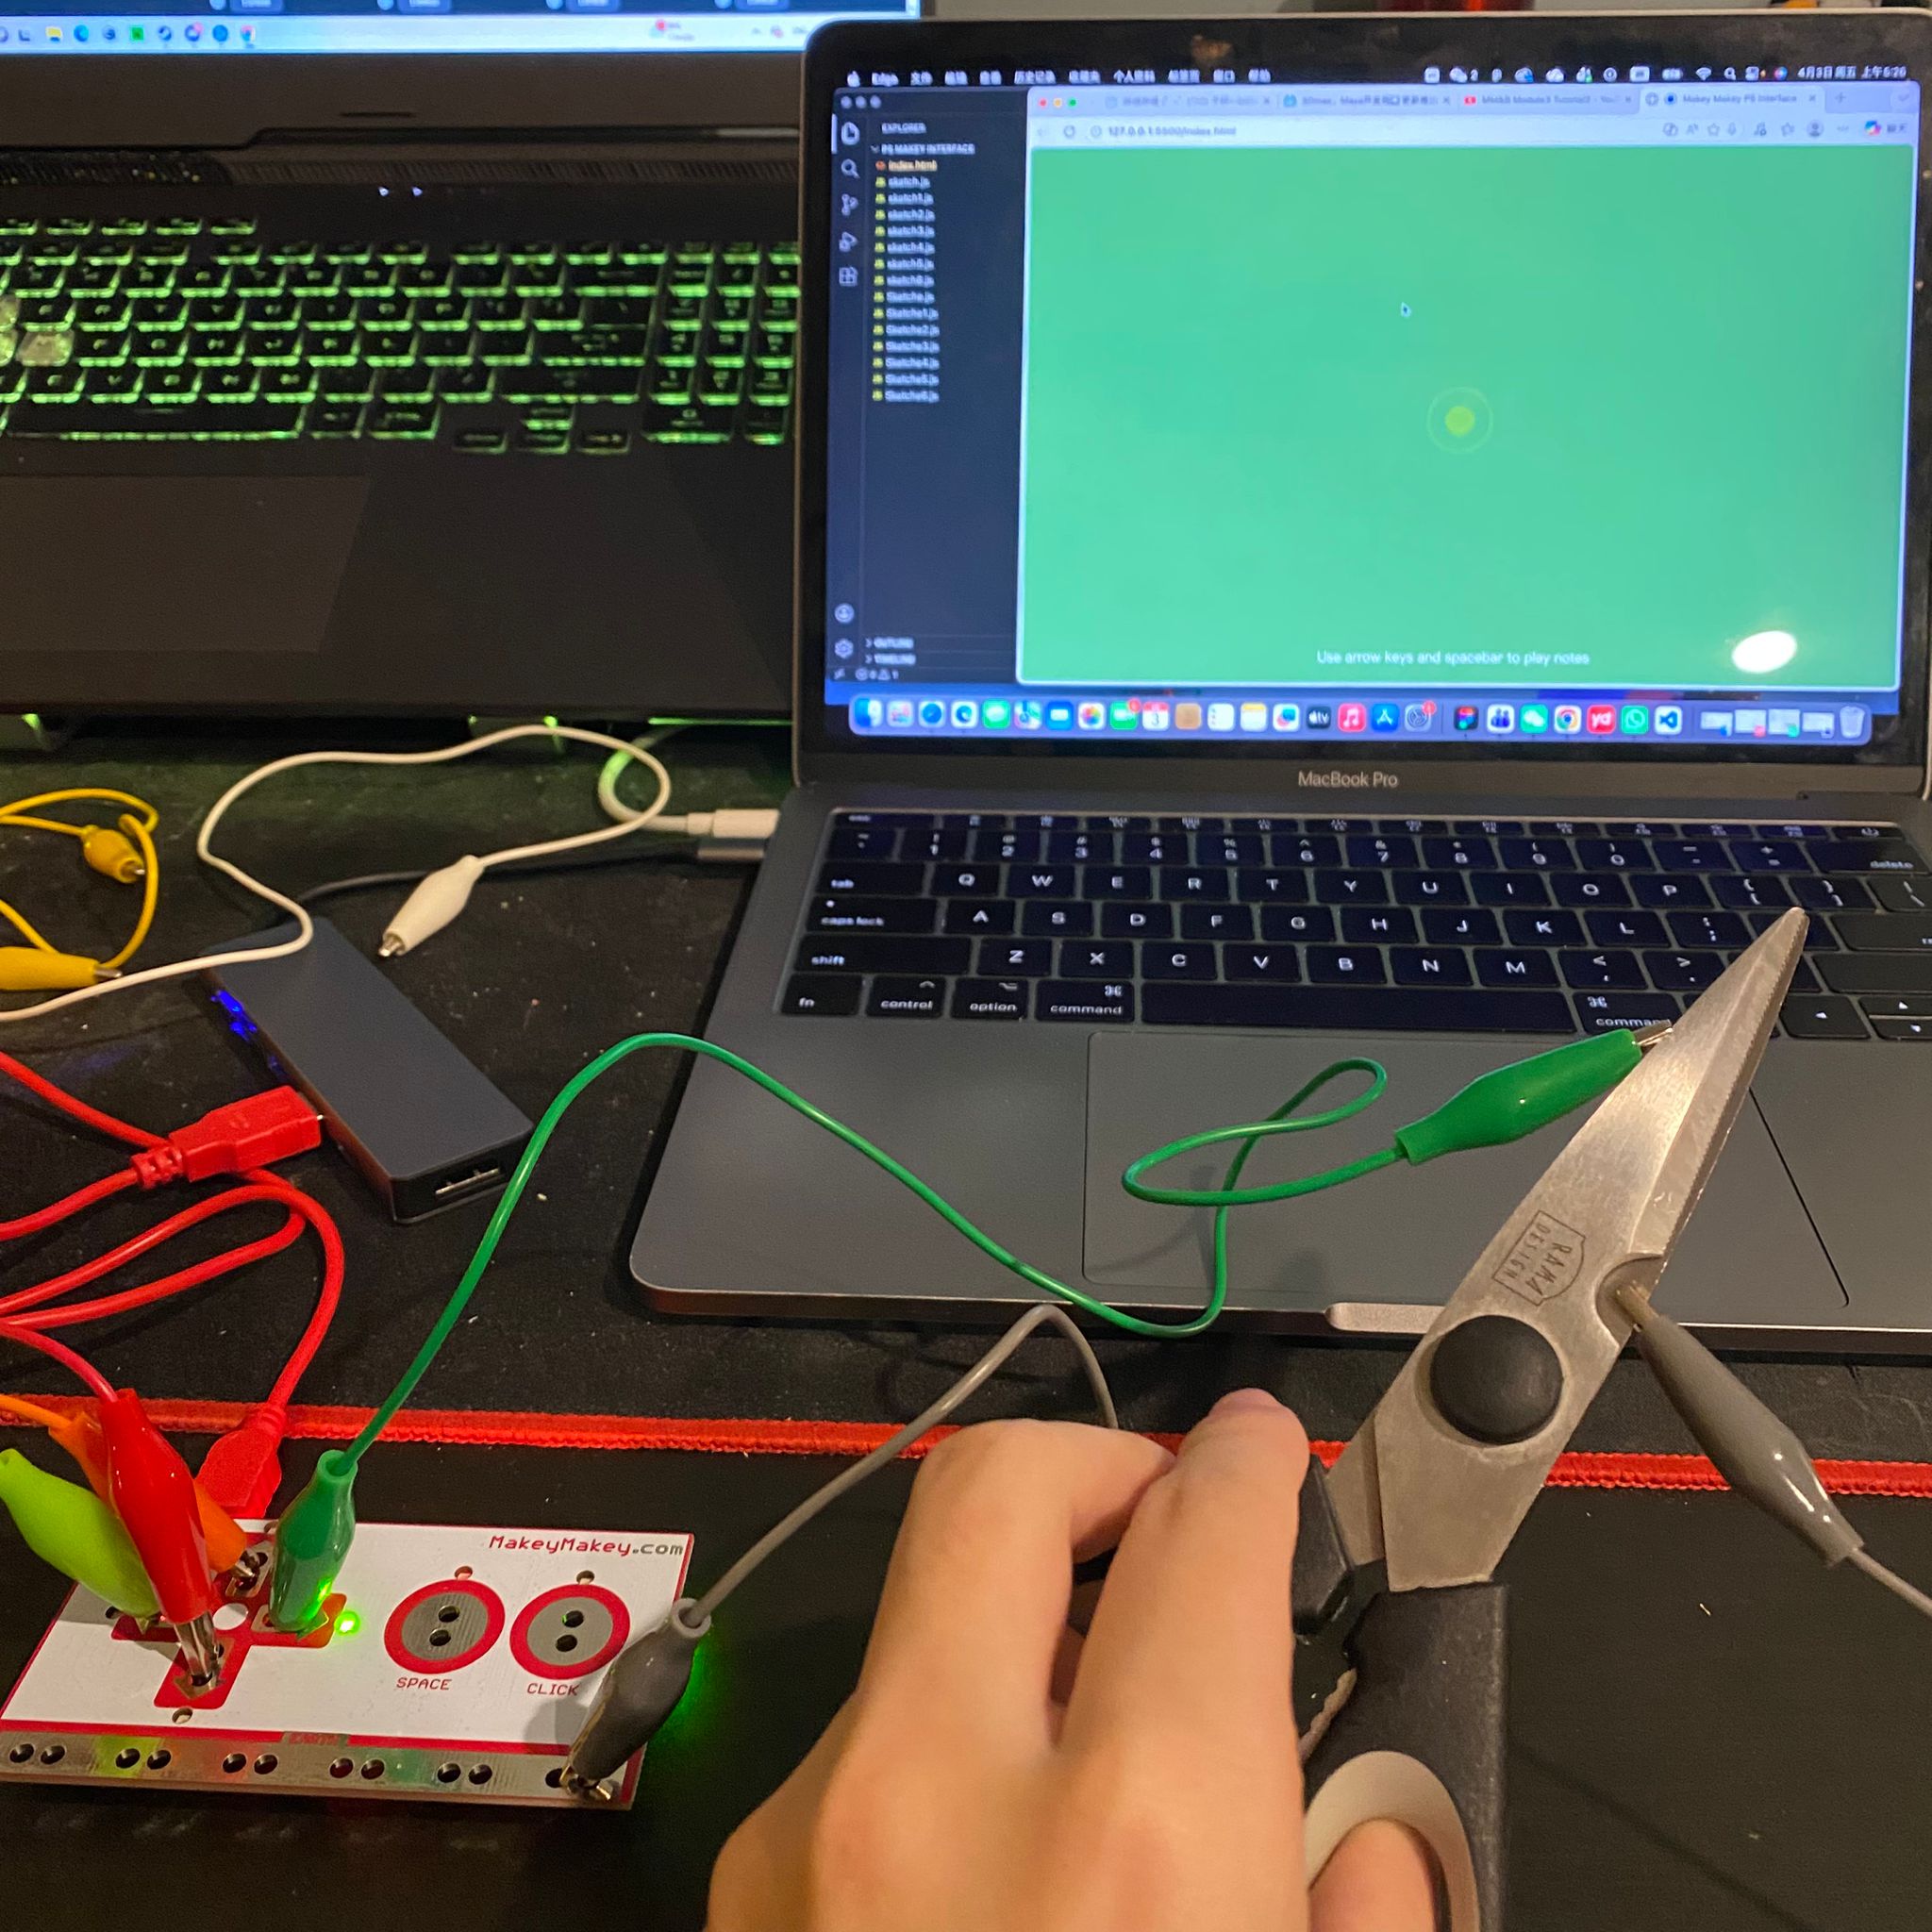
Activity 1
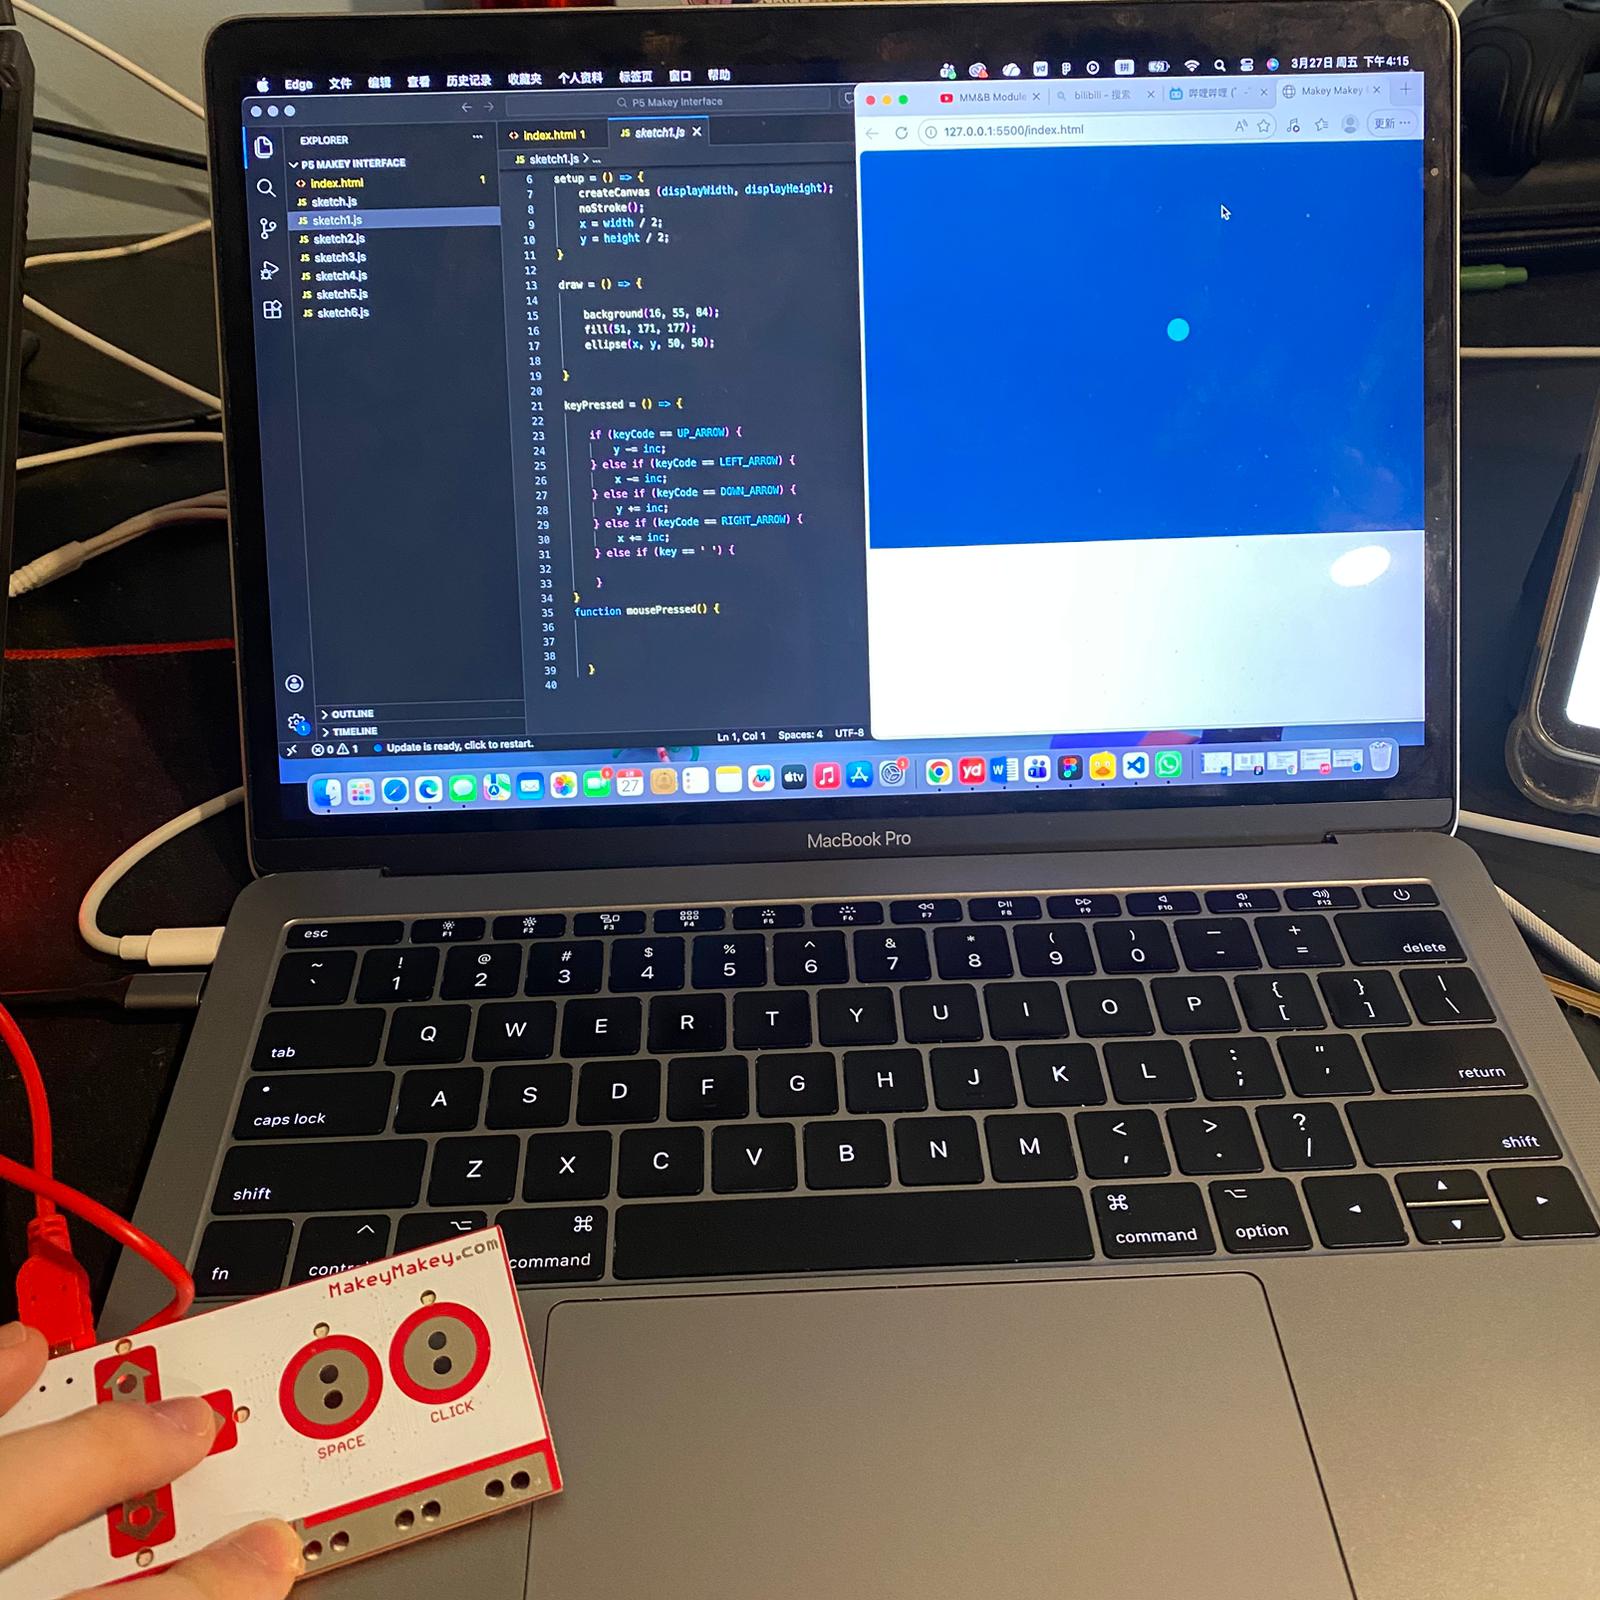

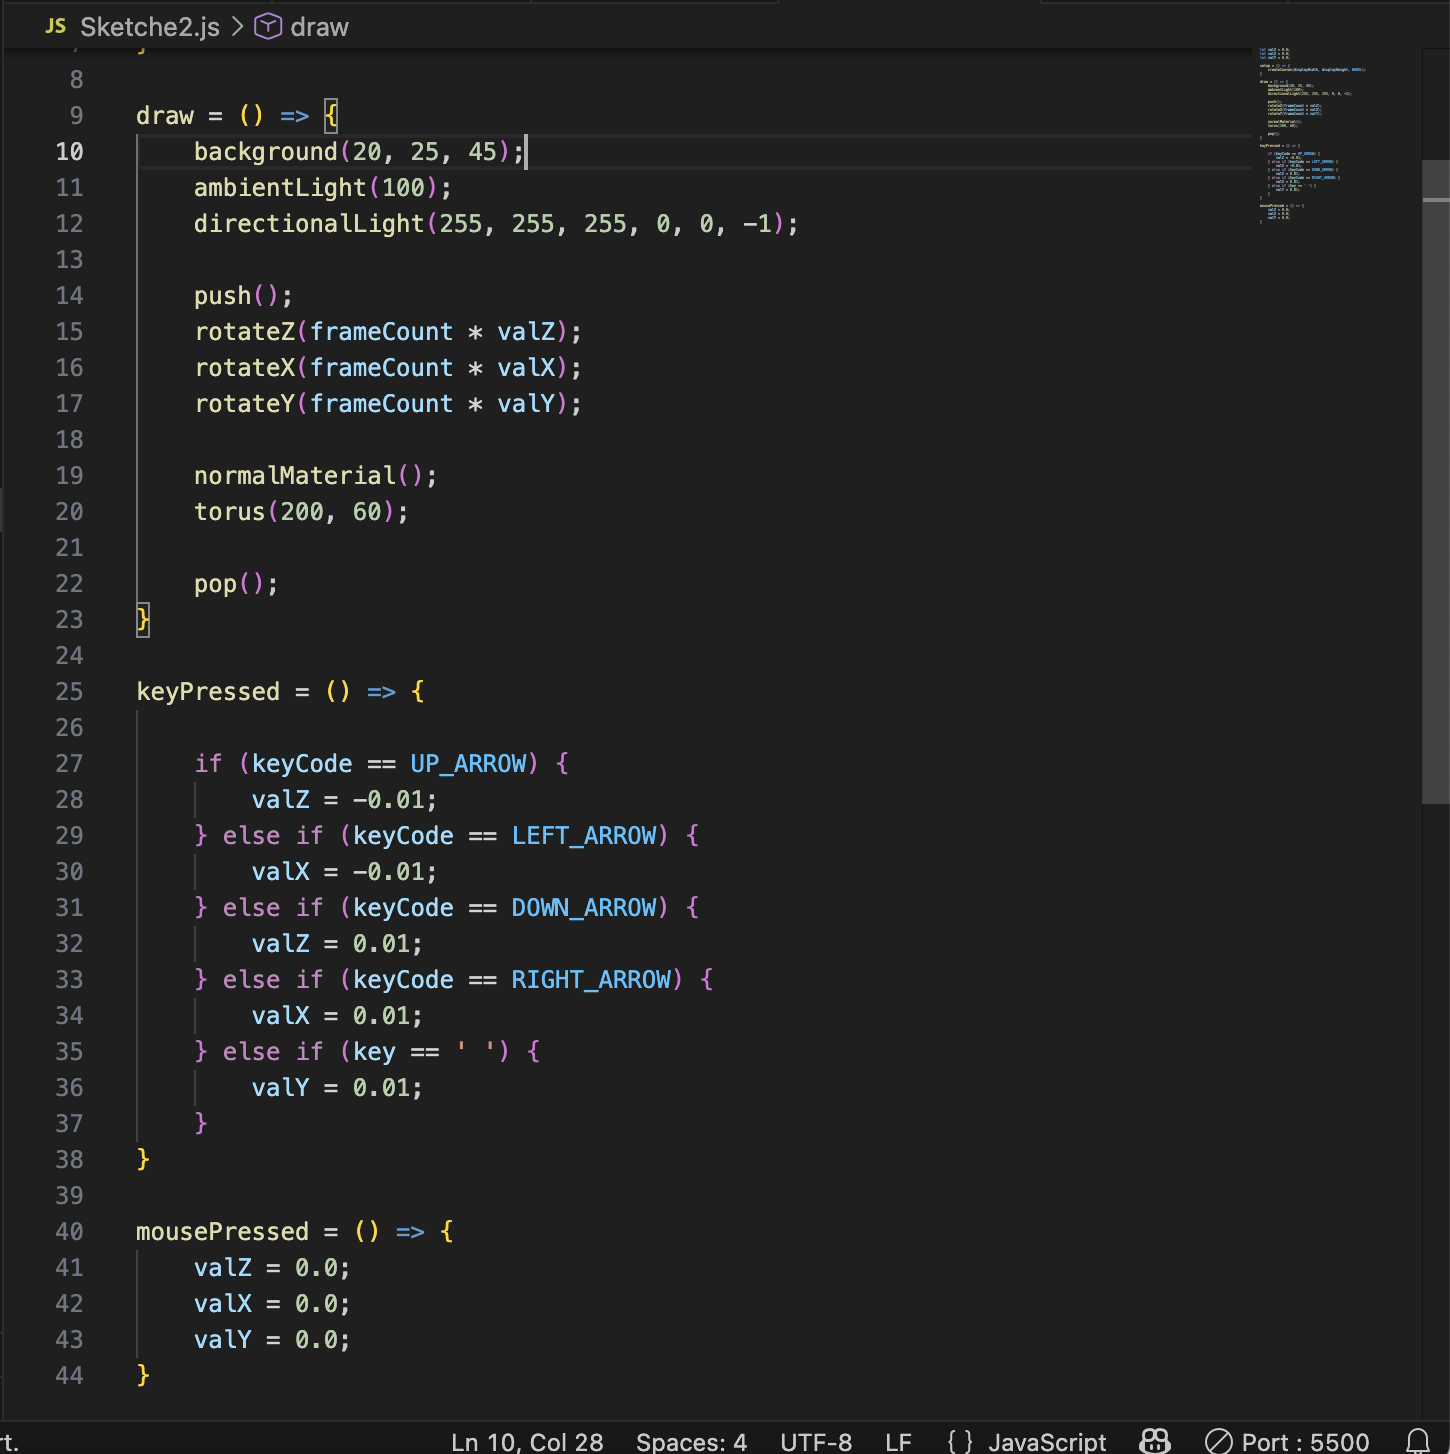

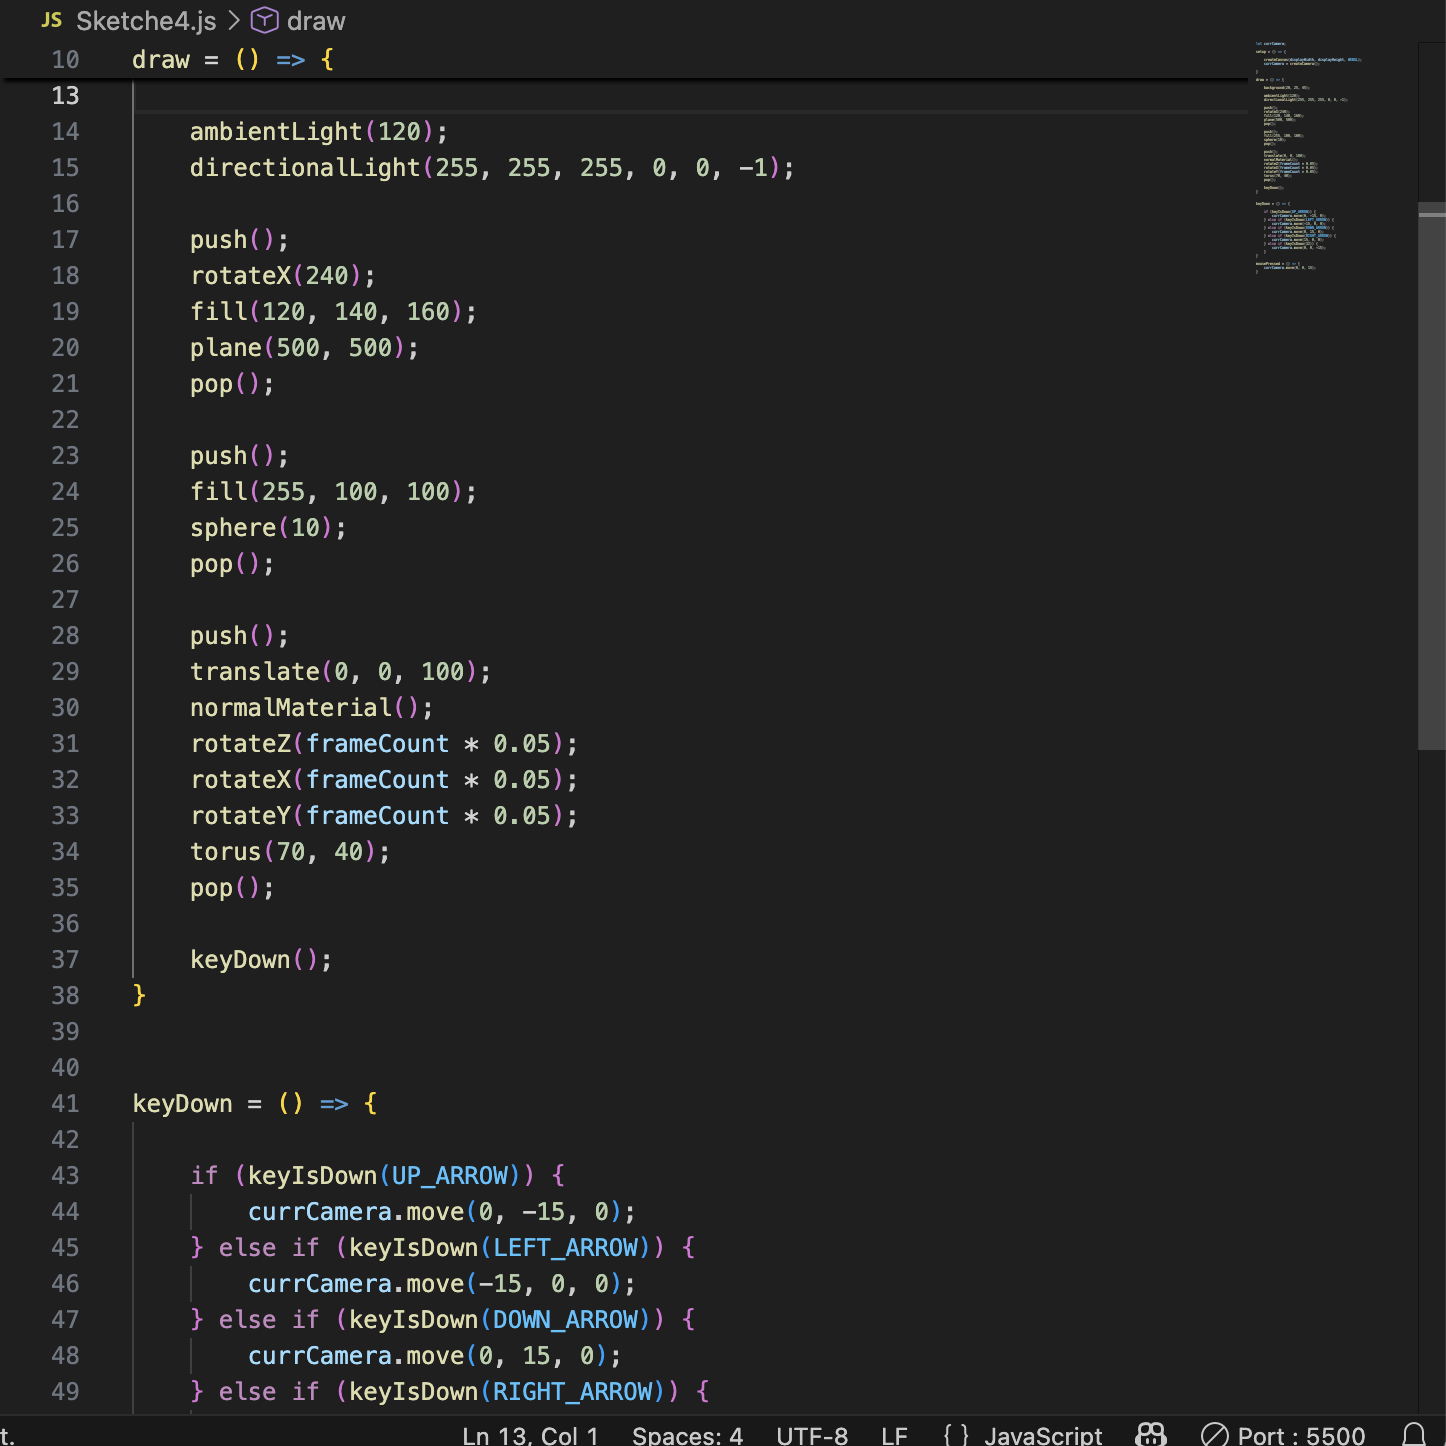
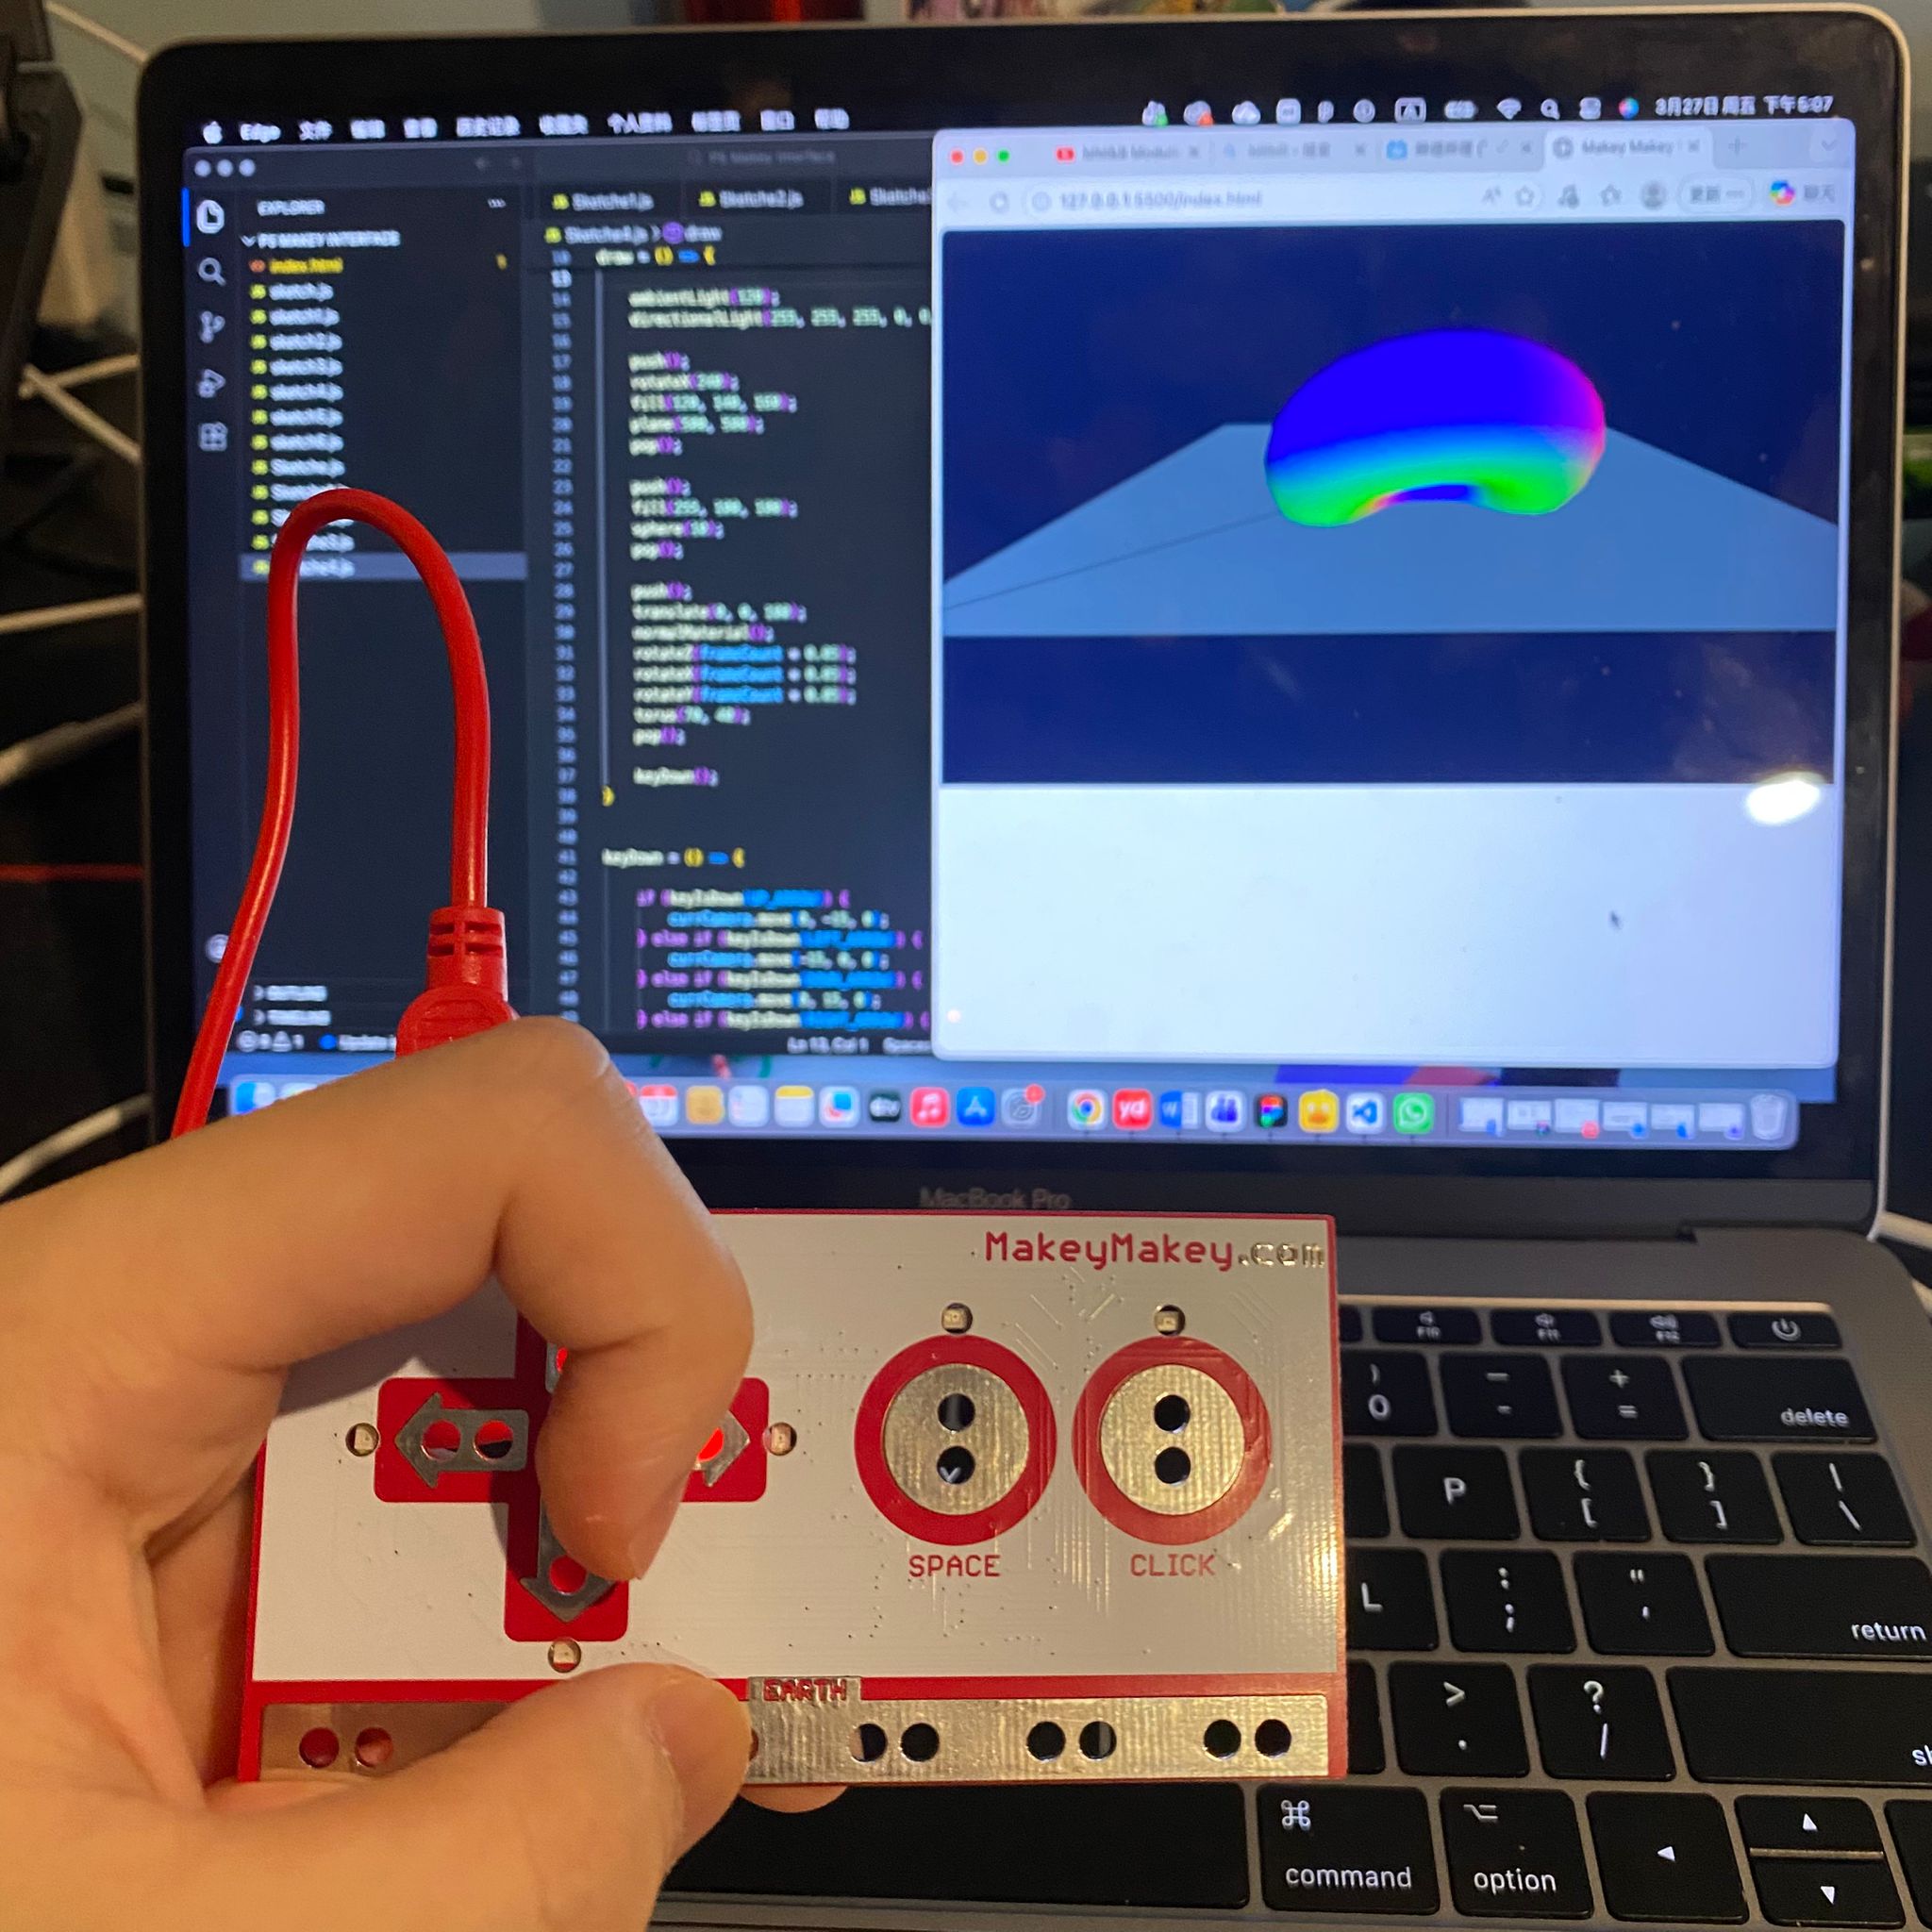
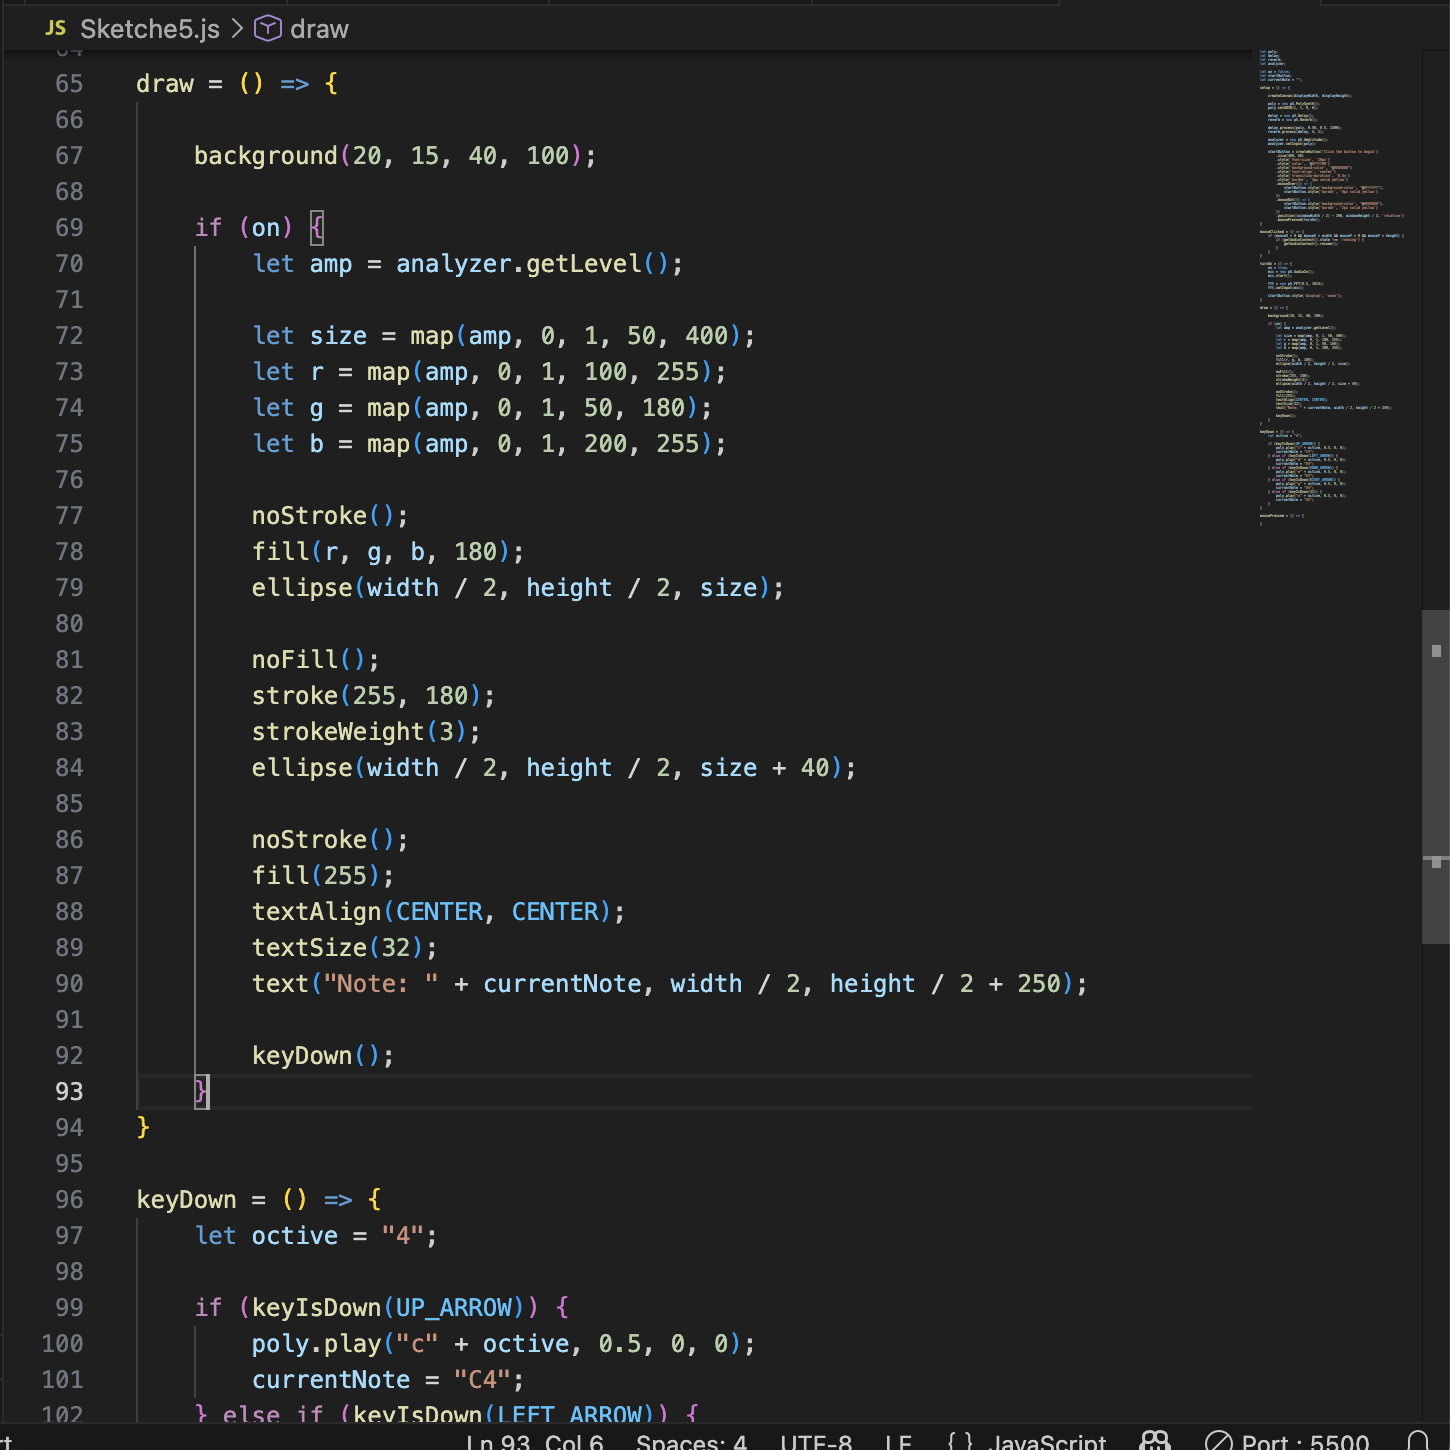
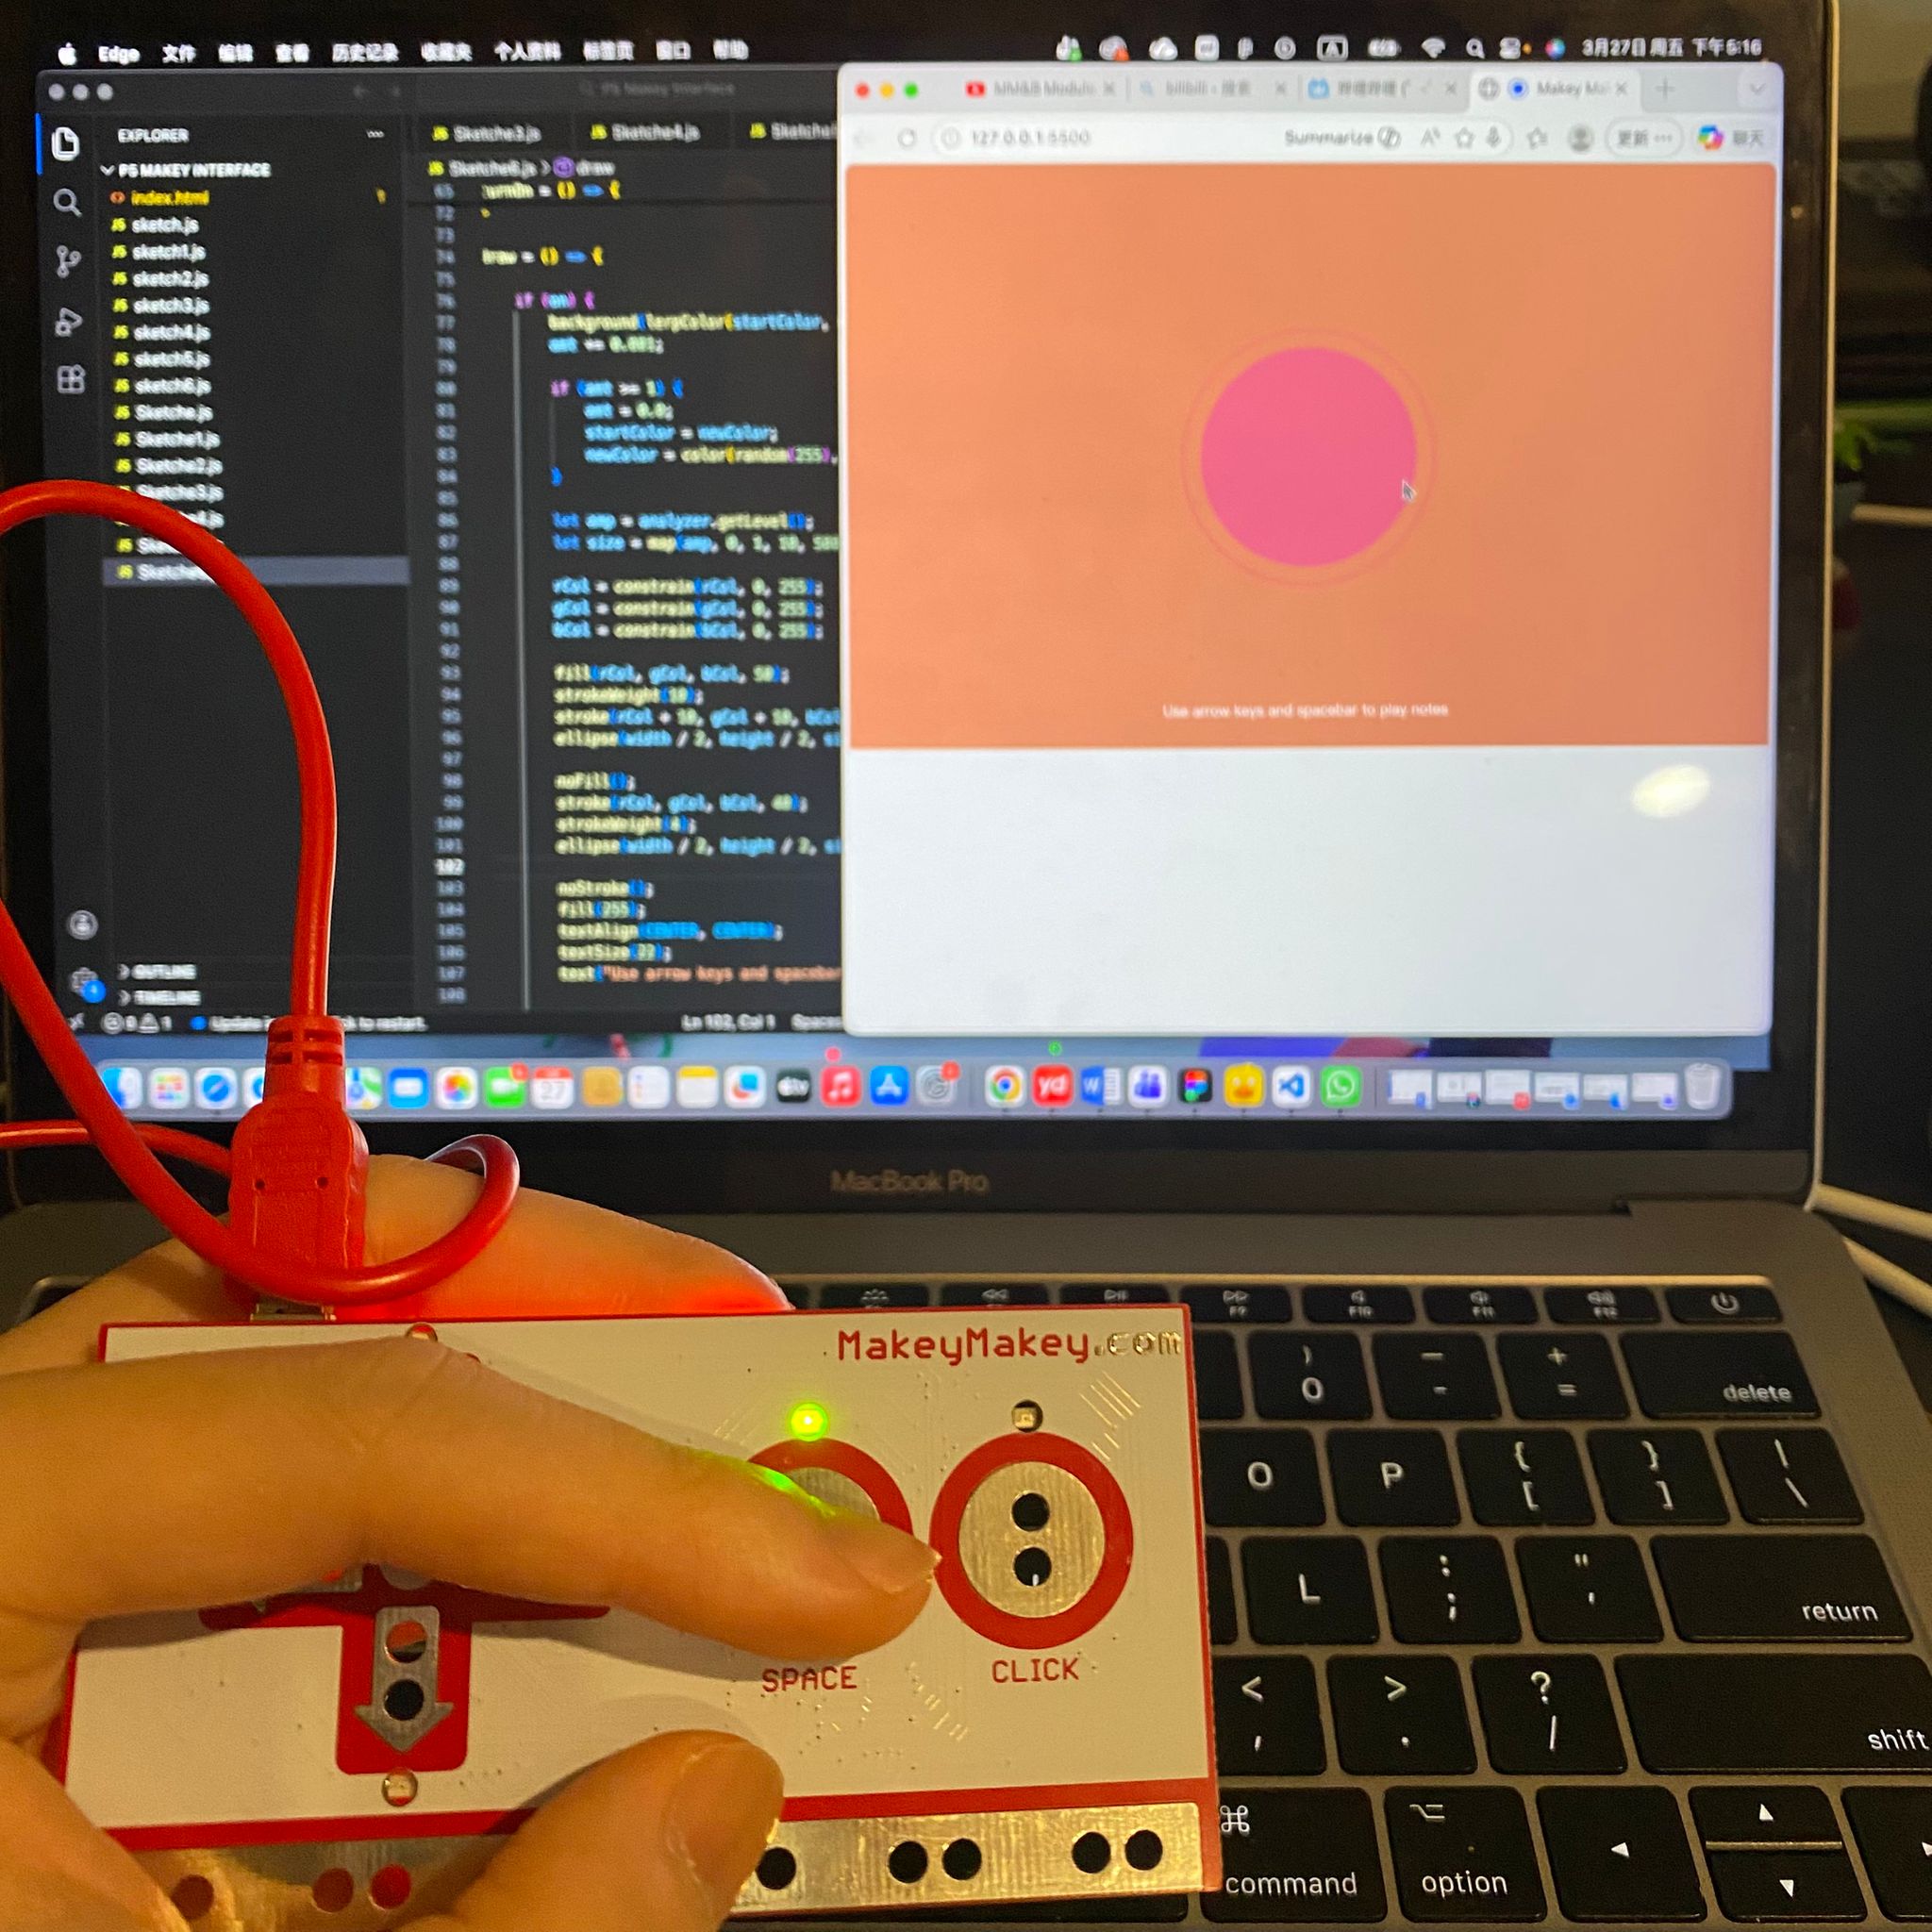
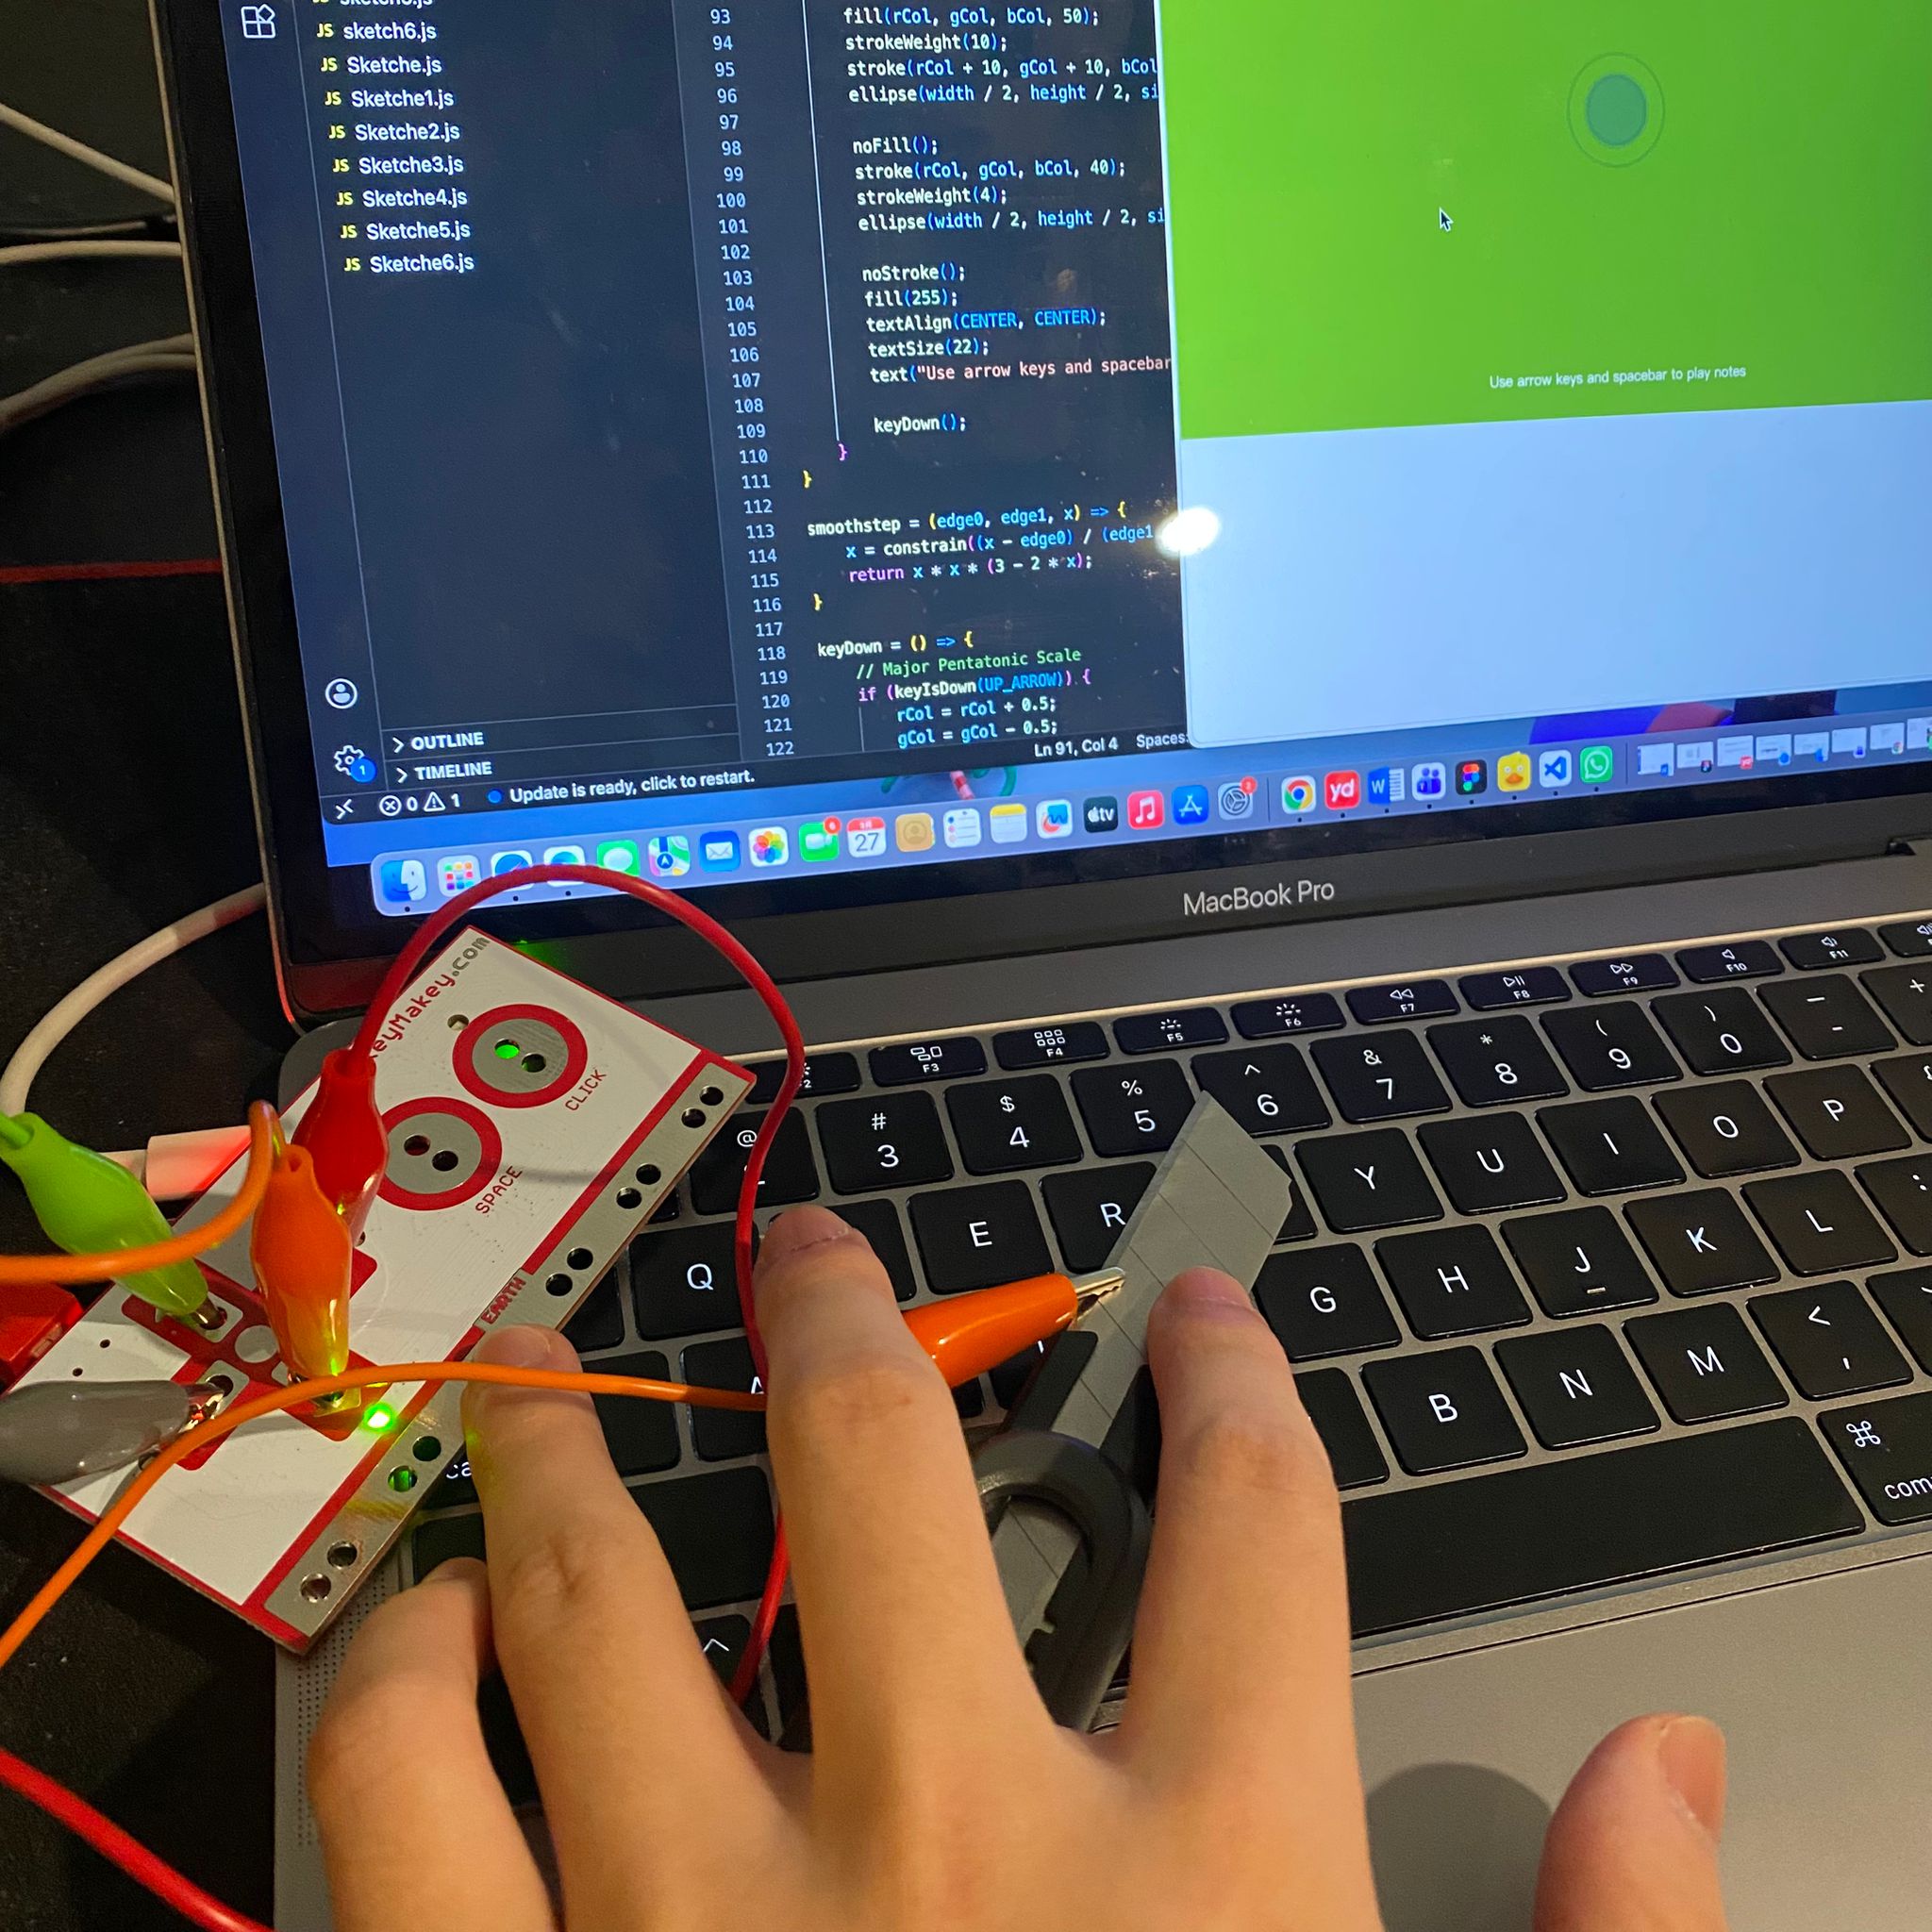
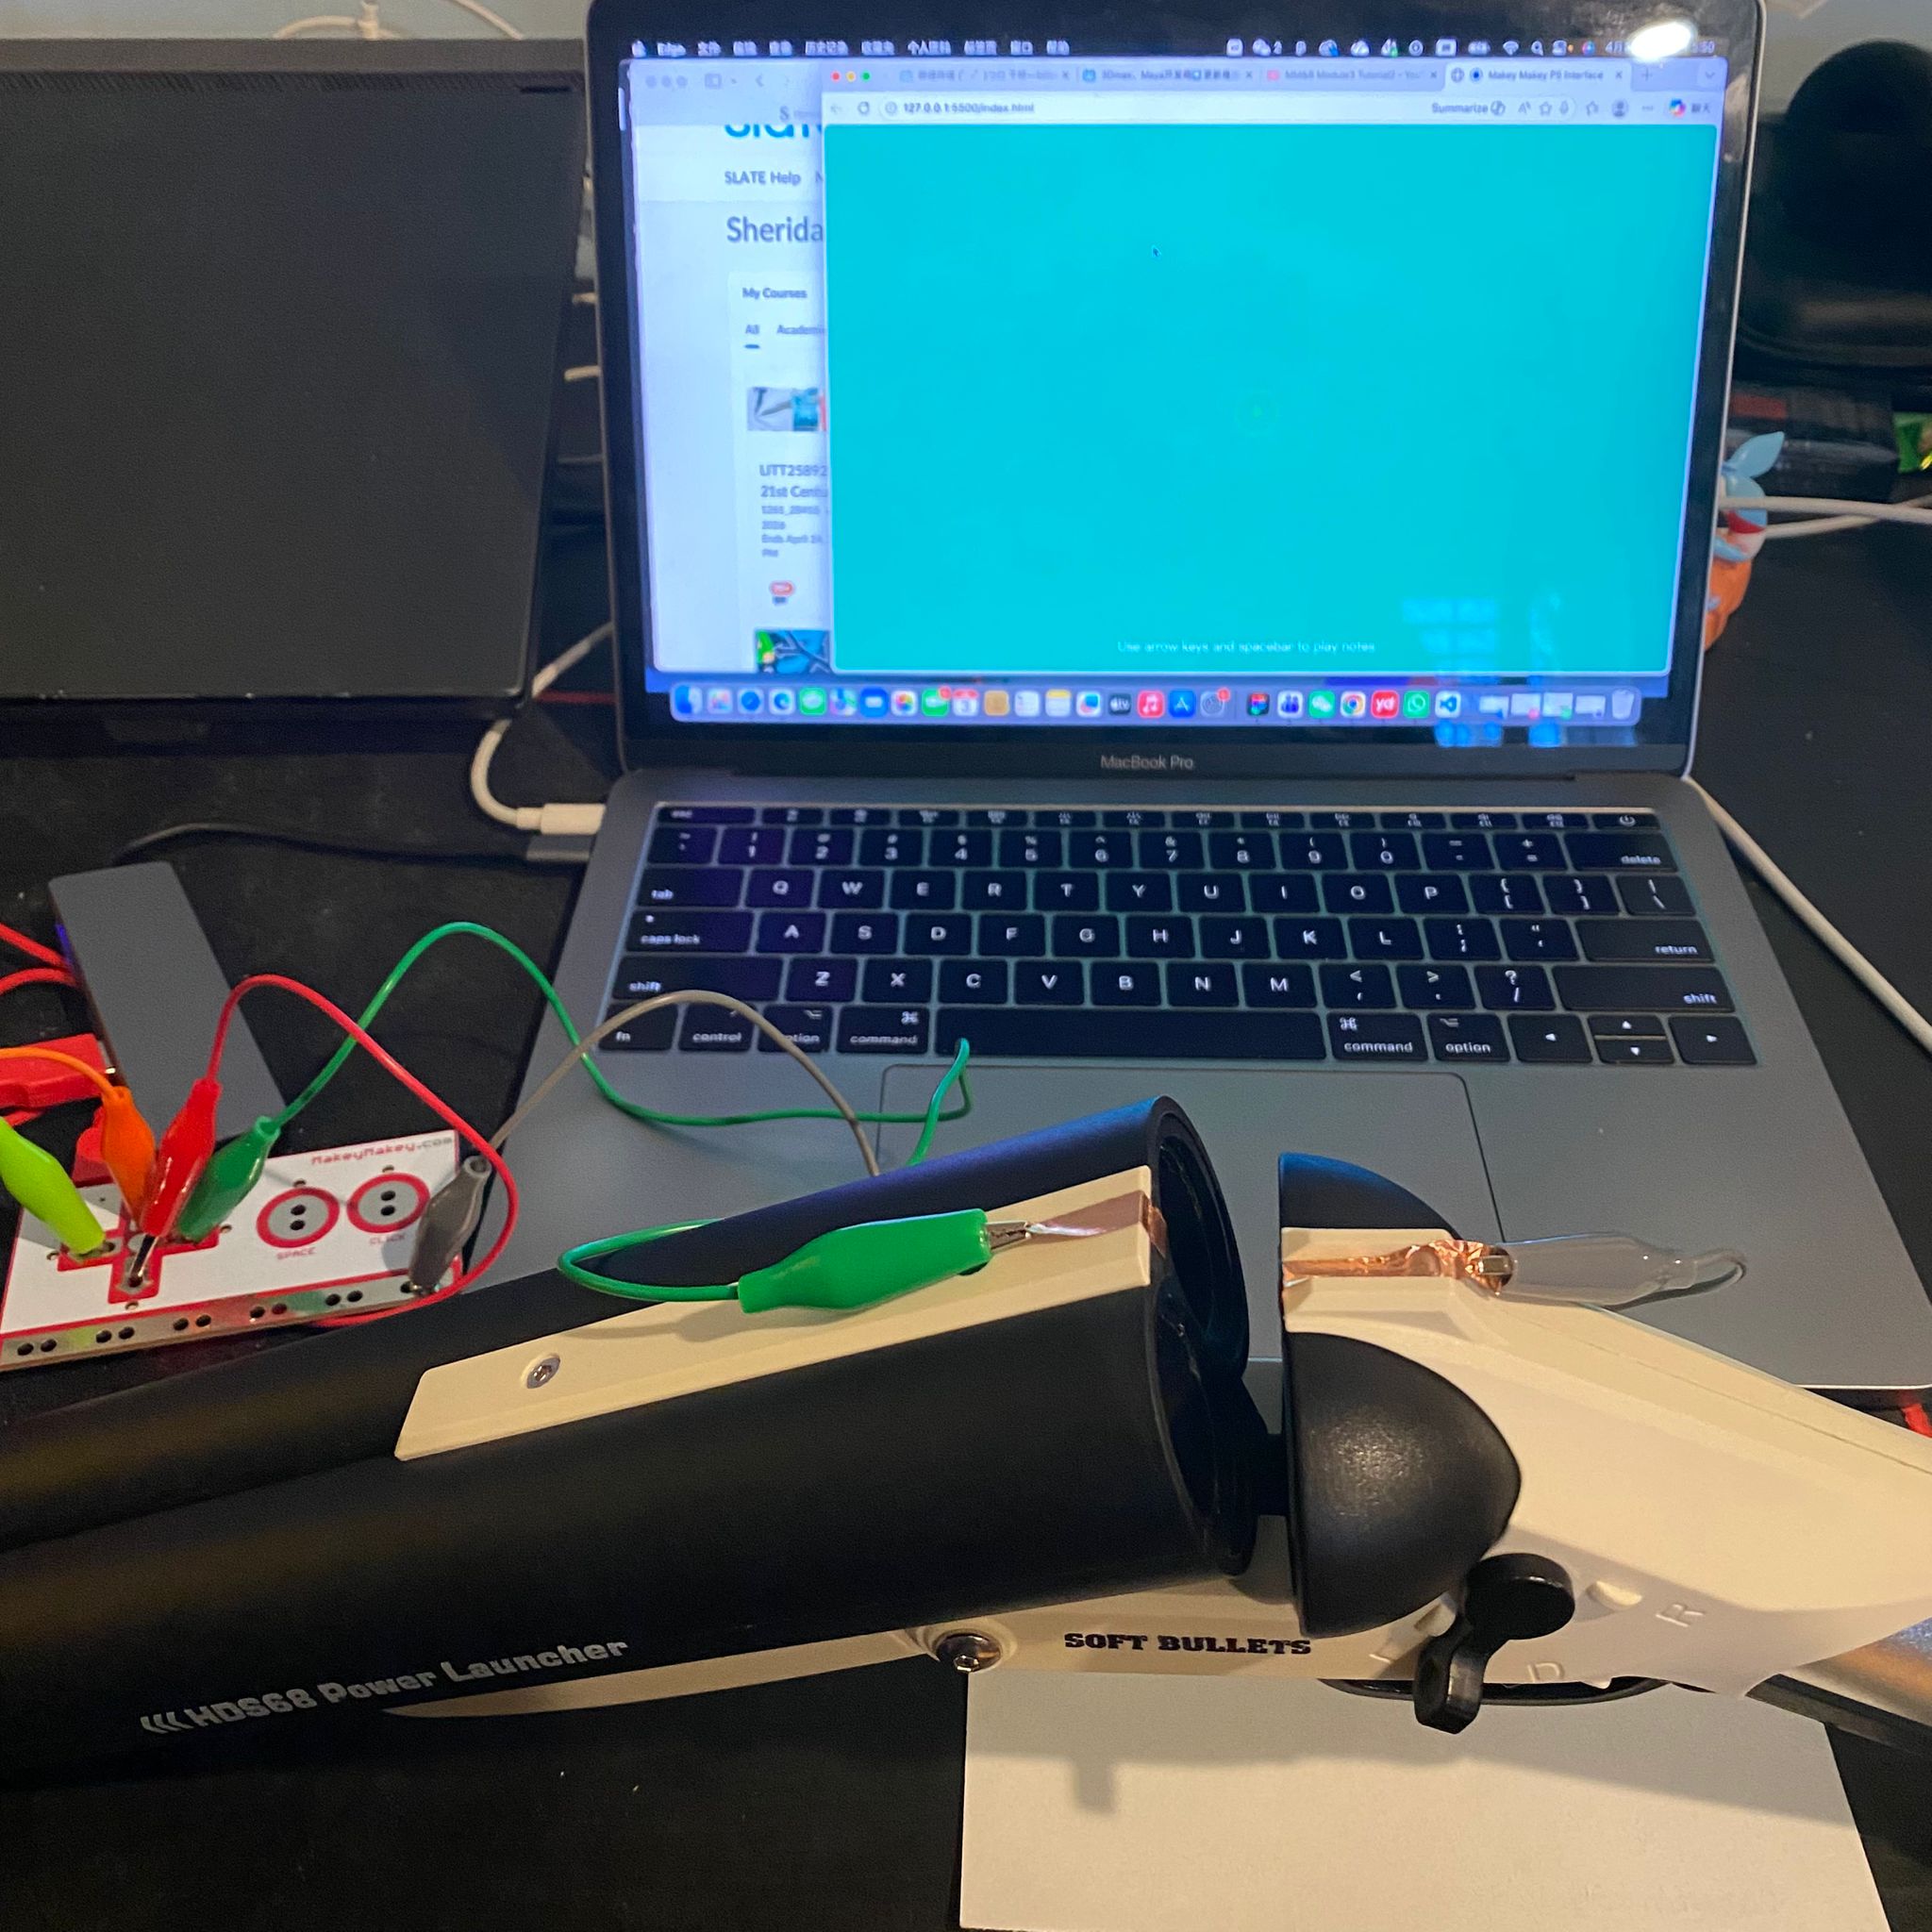
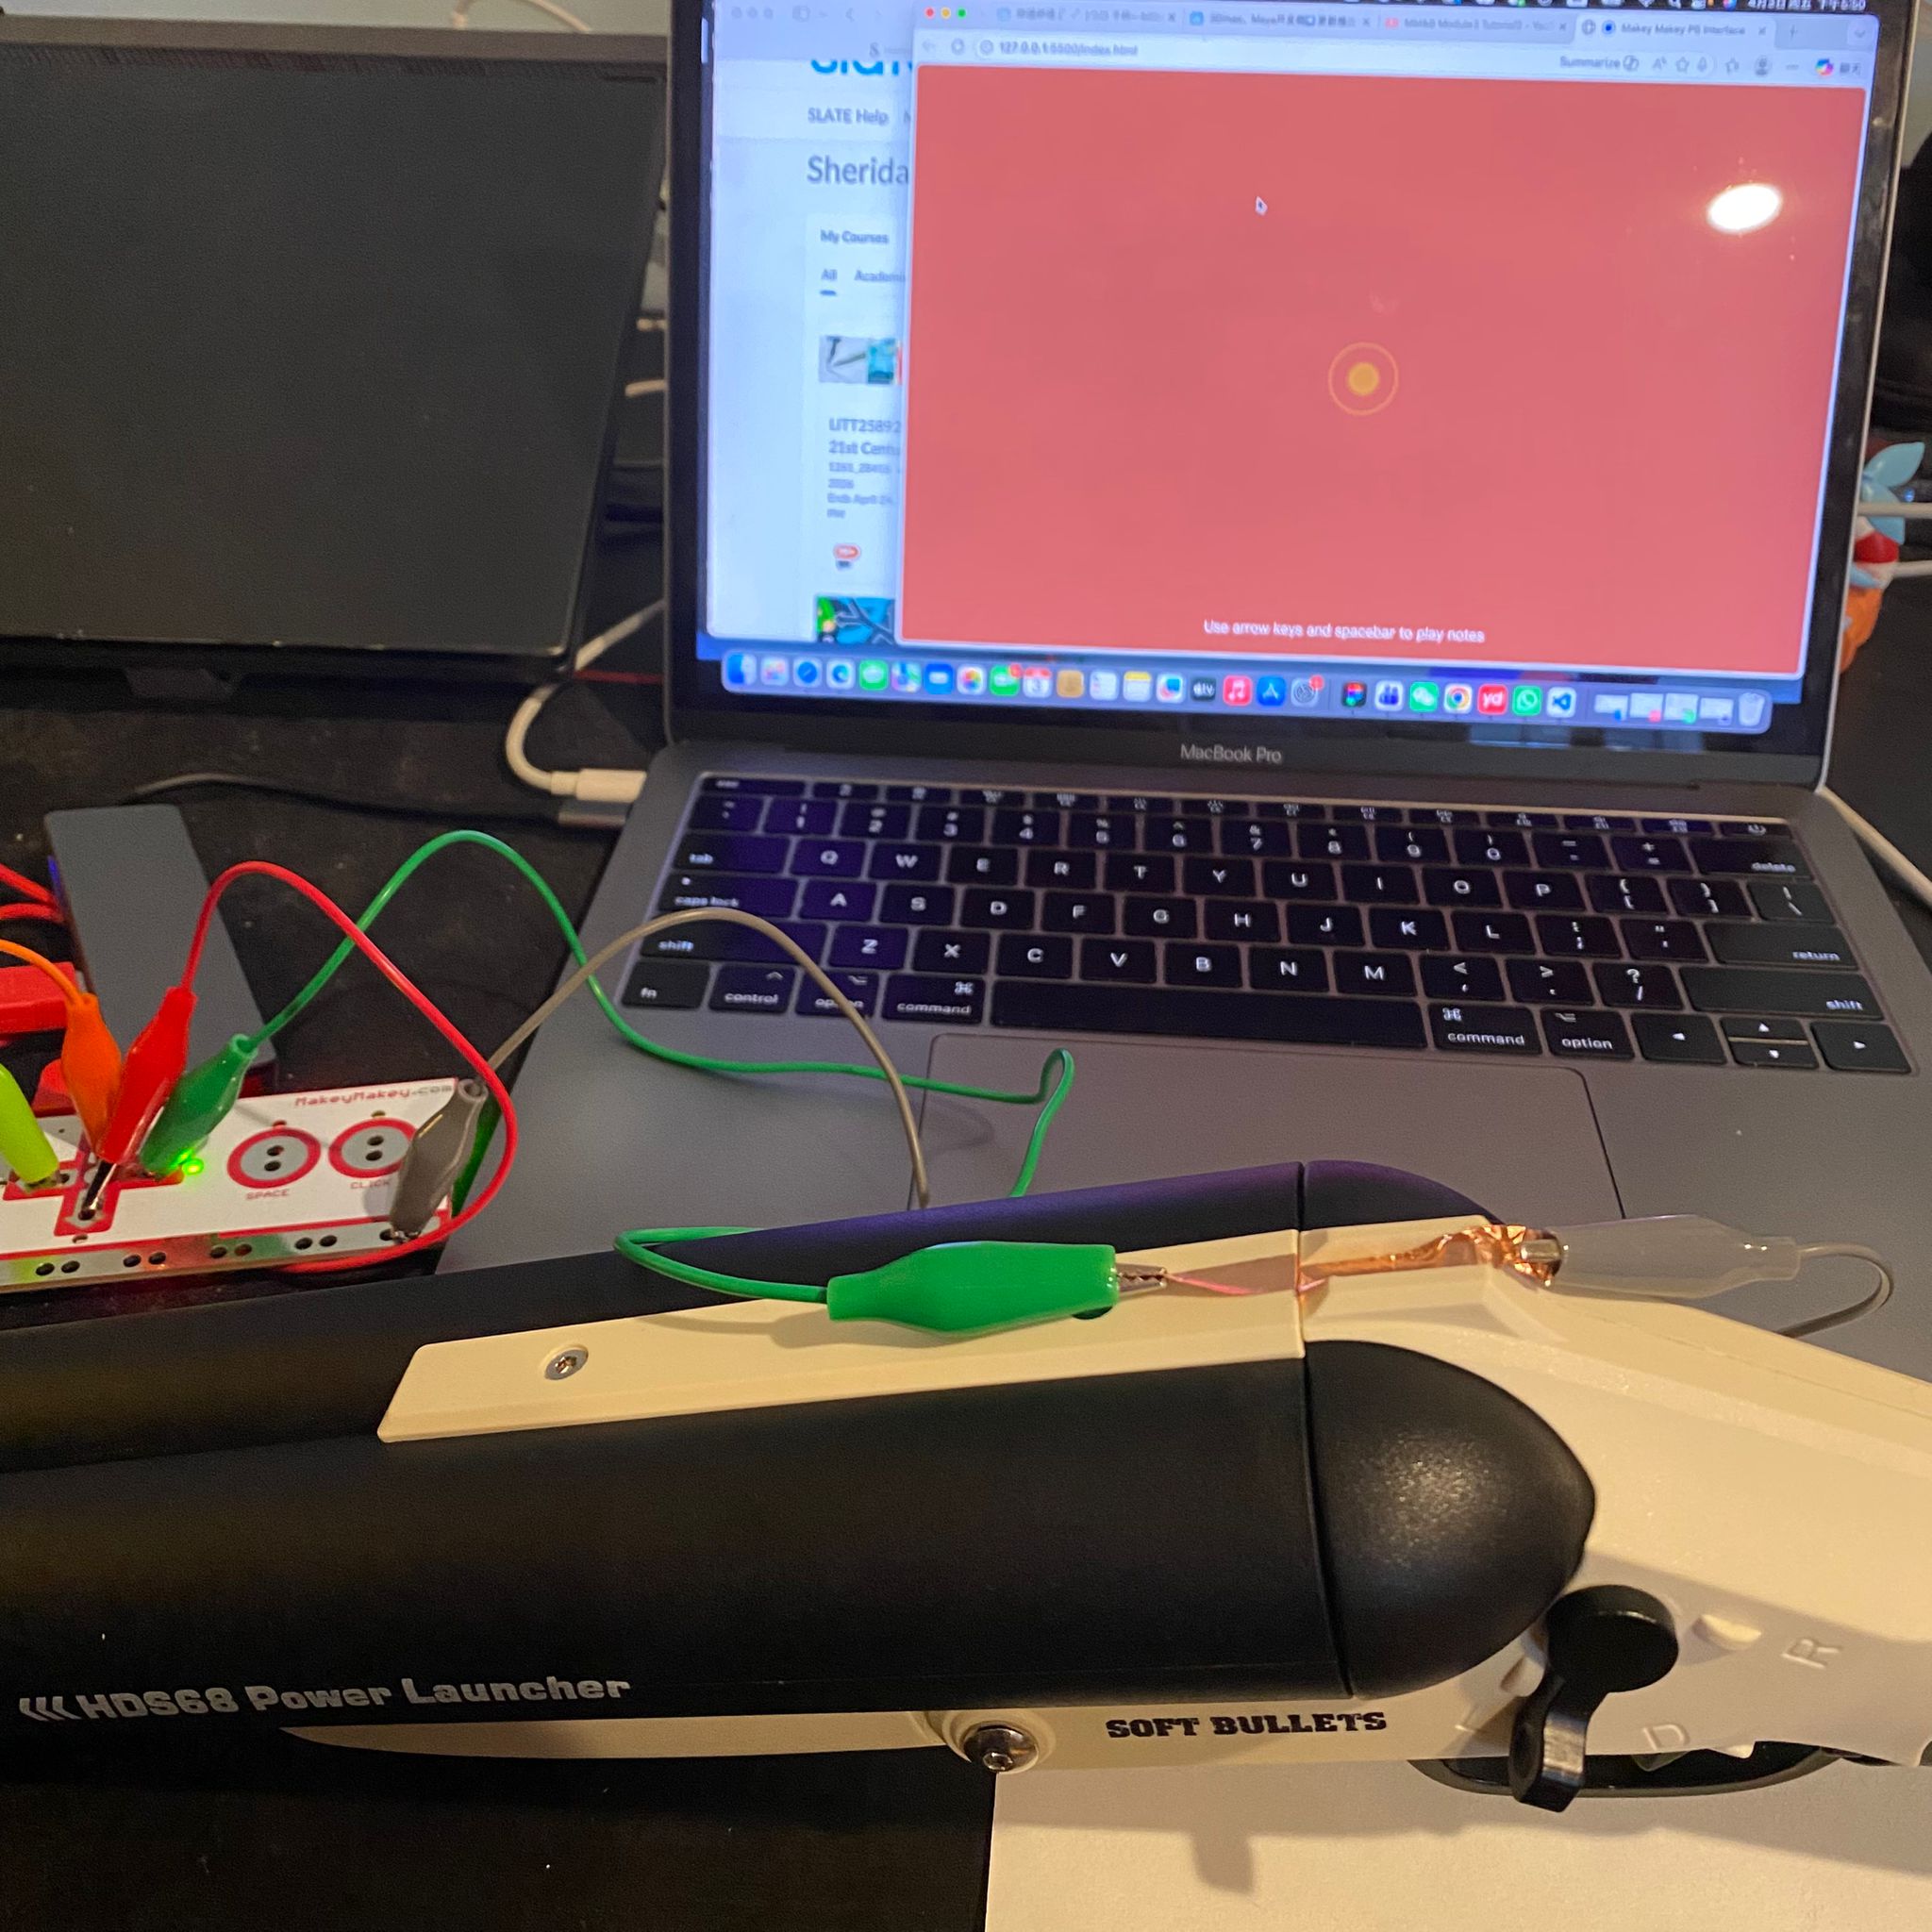
Activity 2

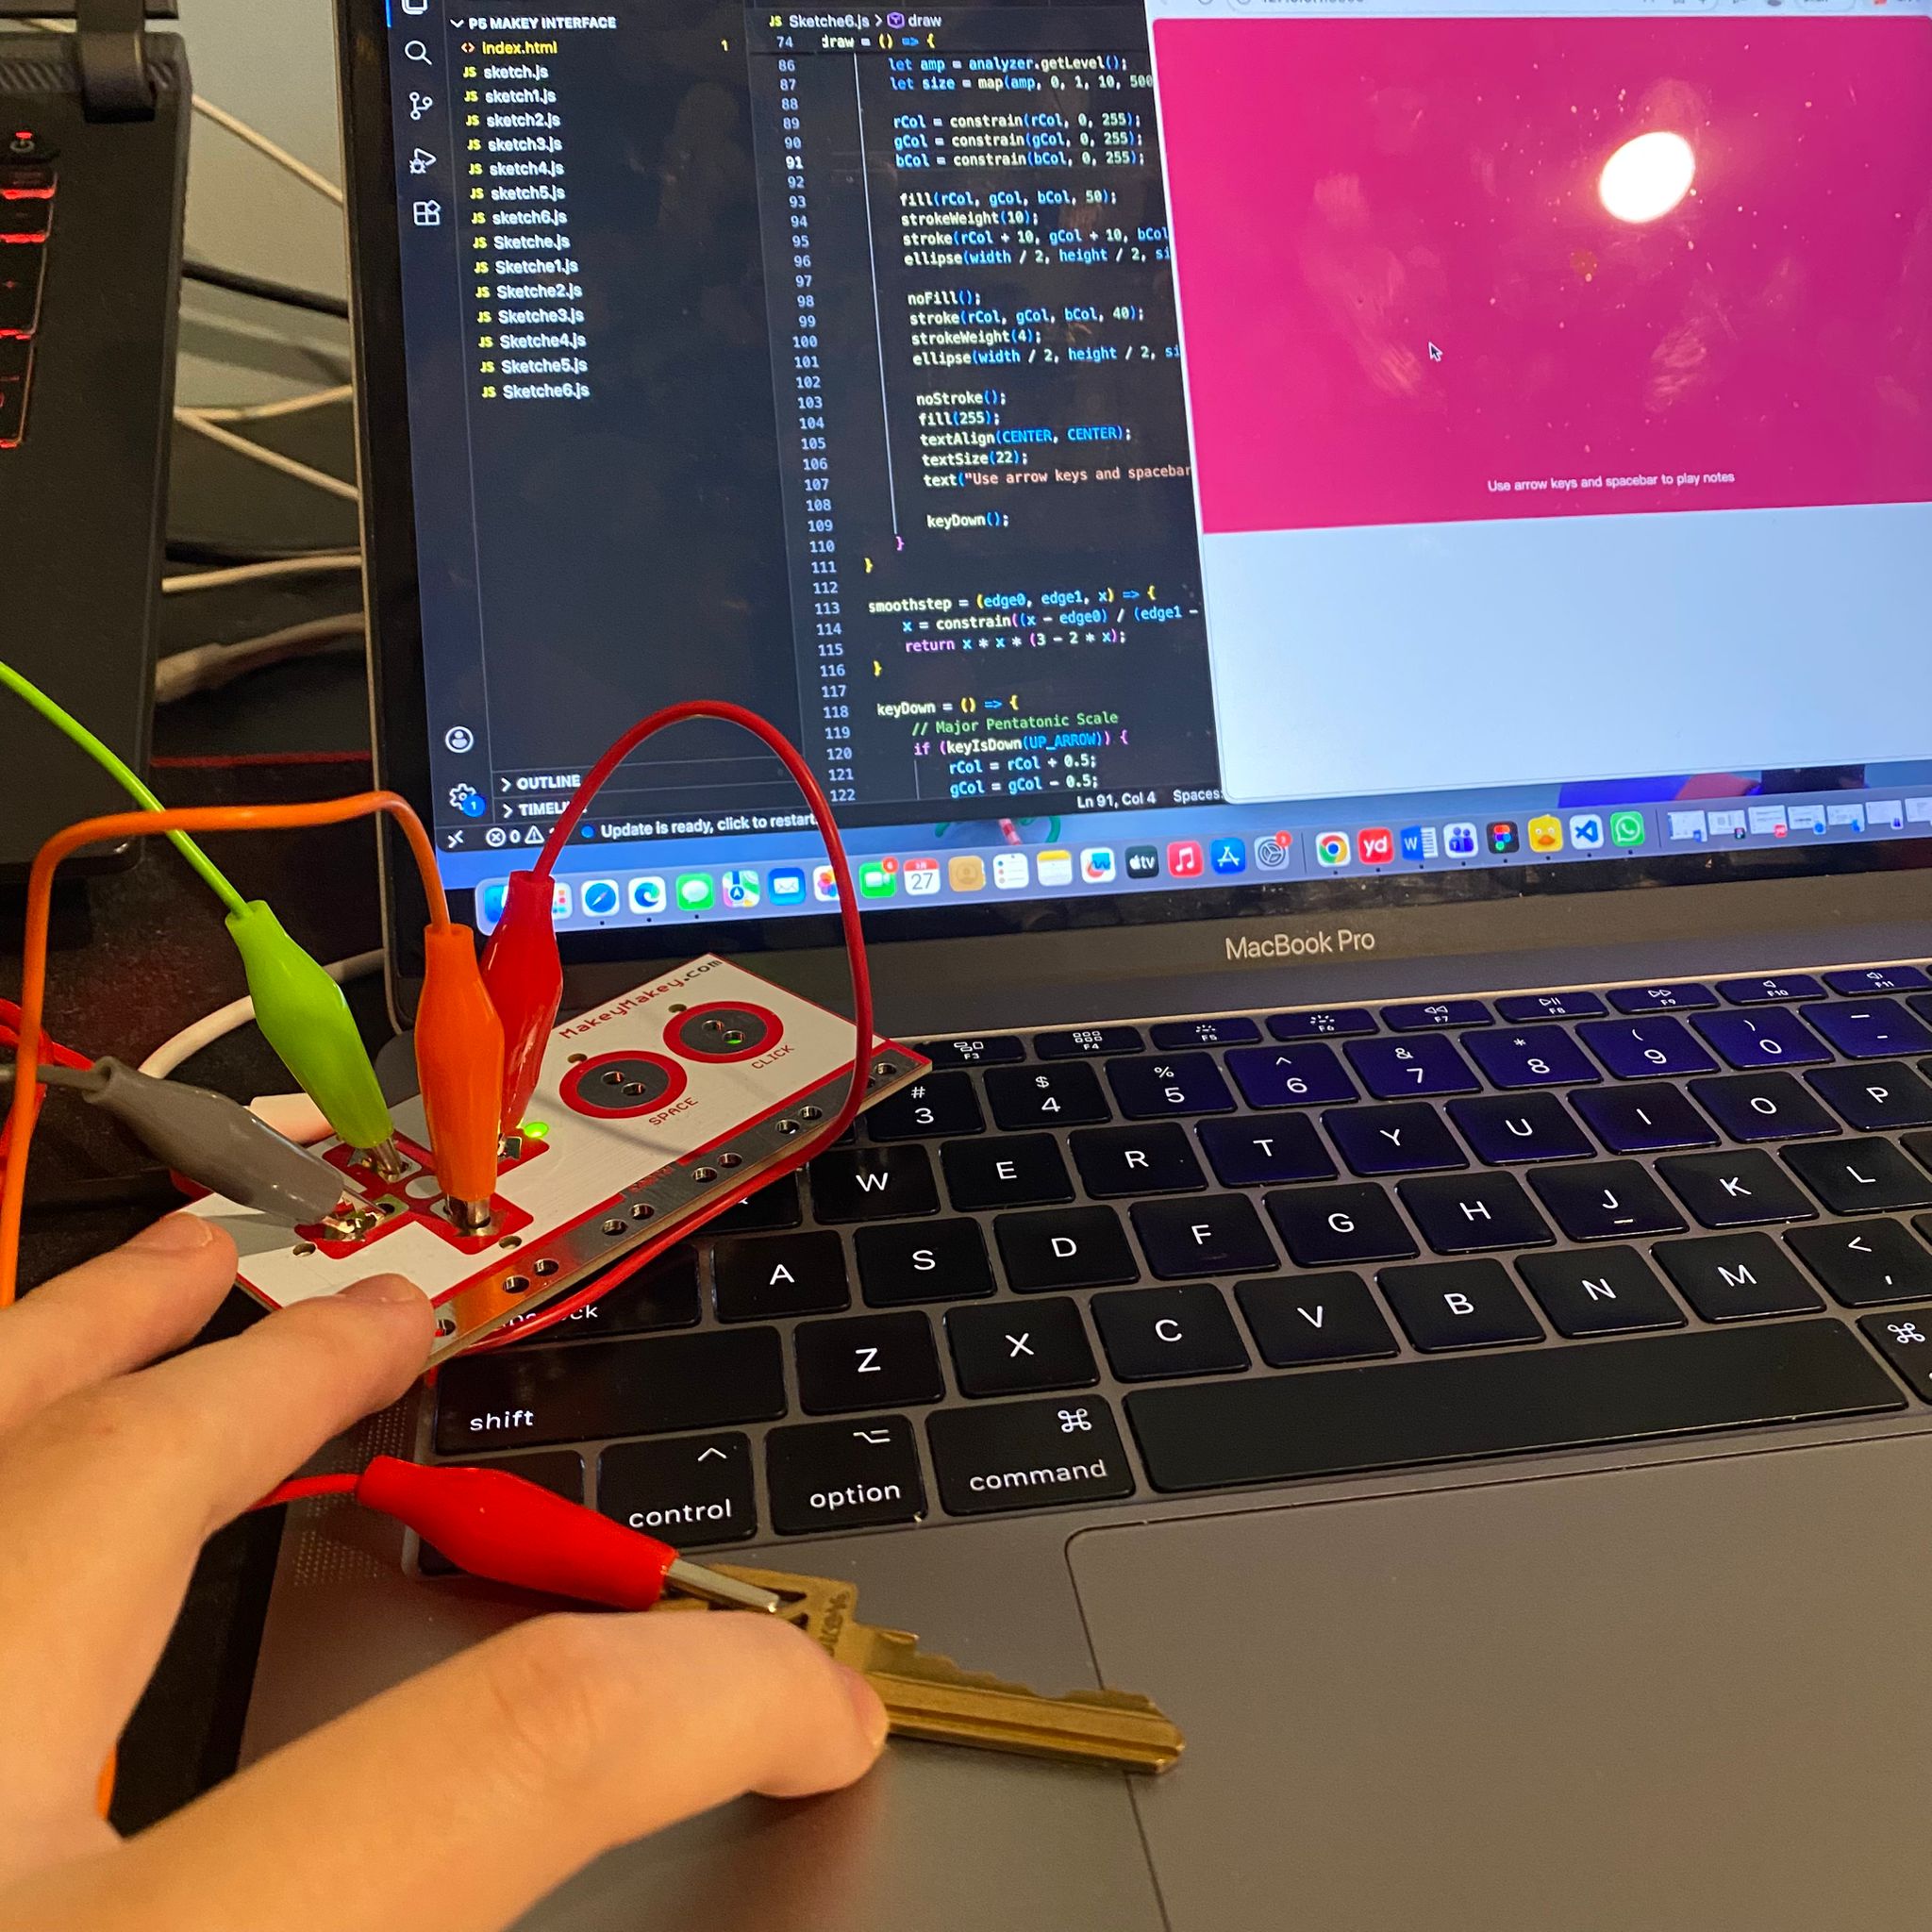
Project 3
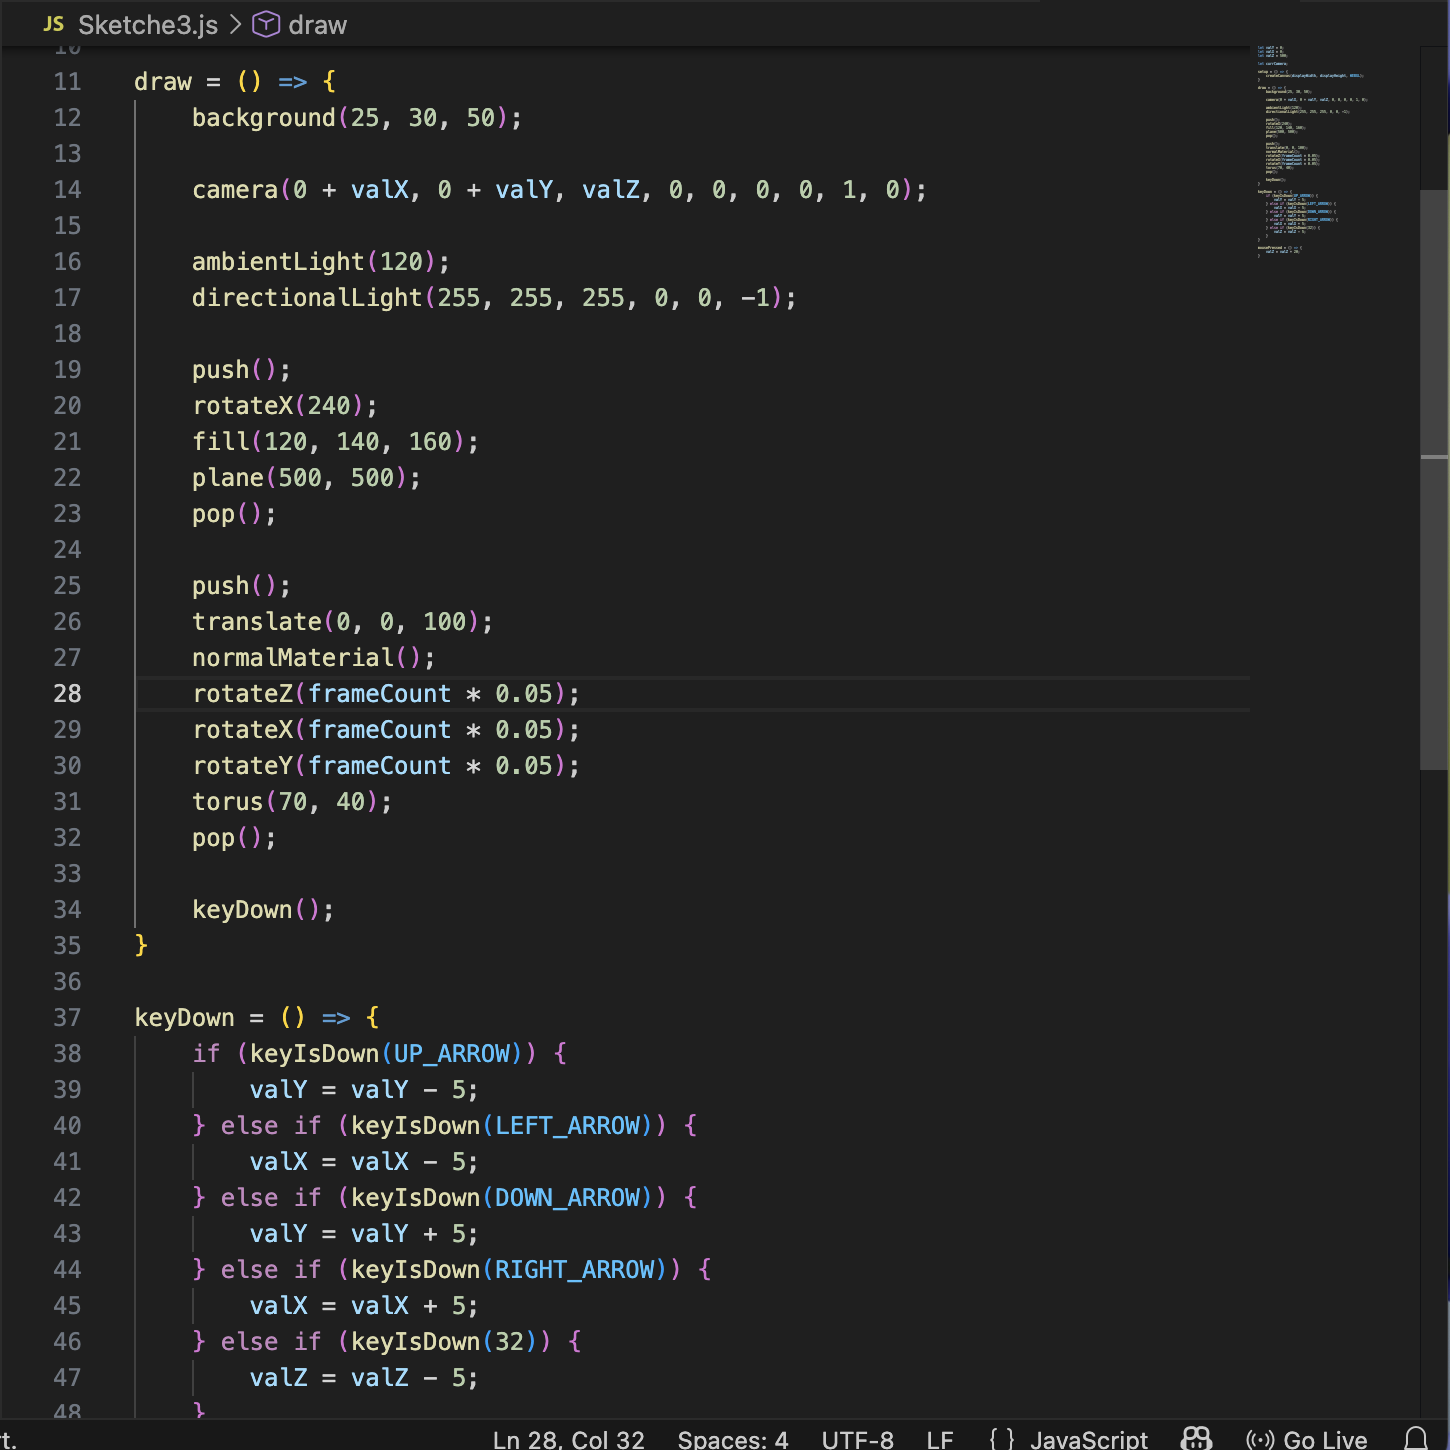
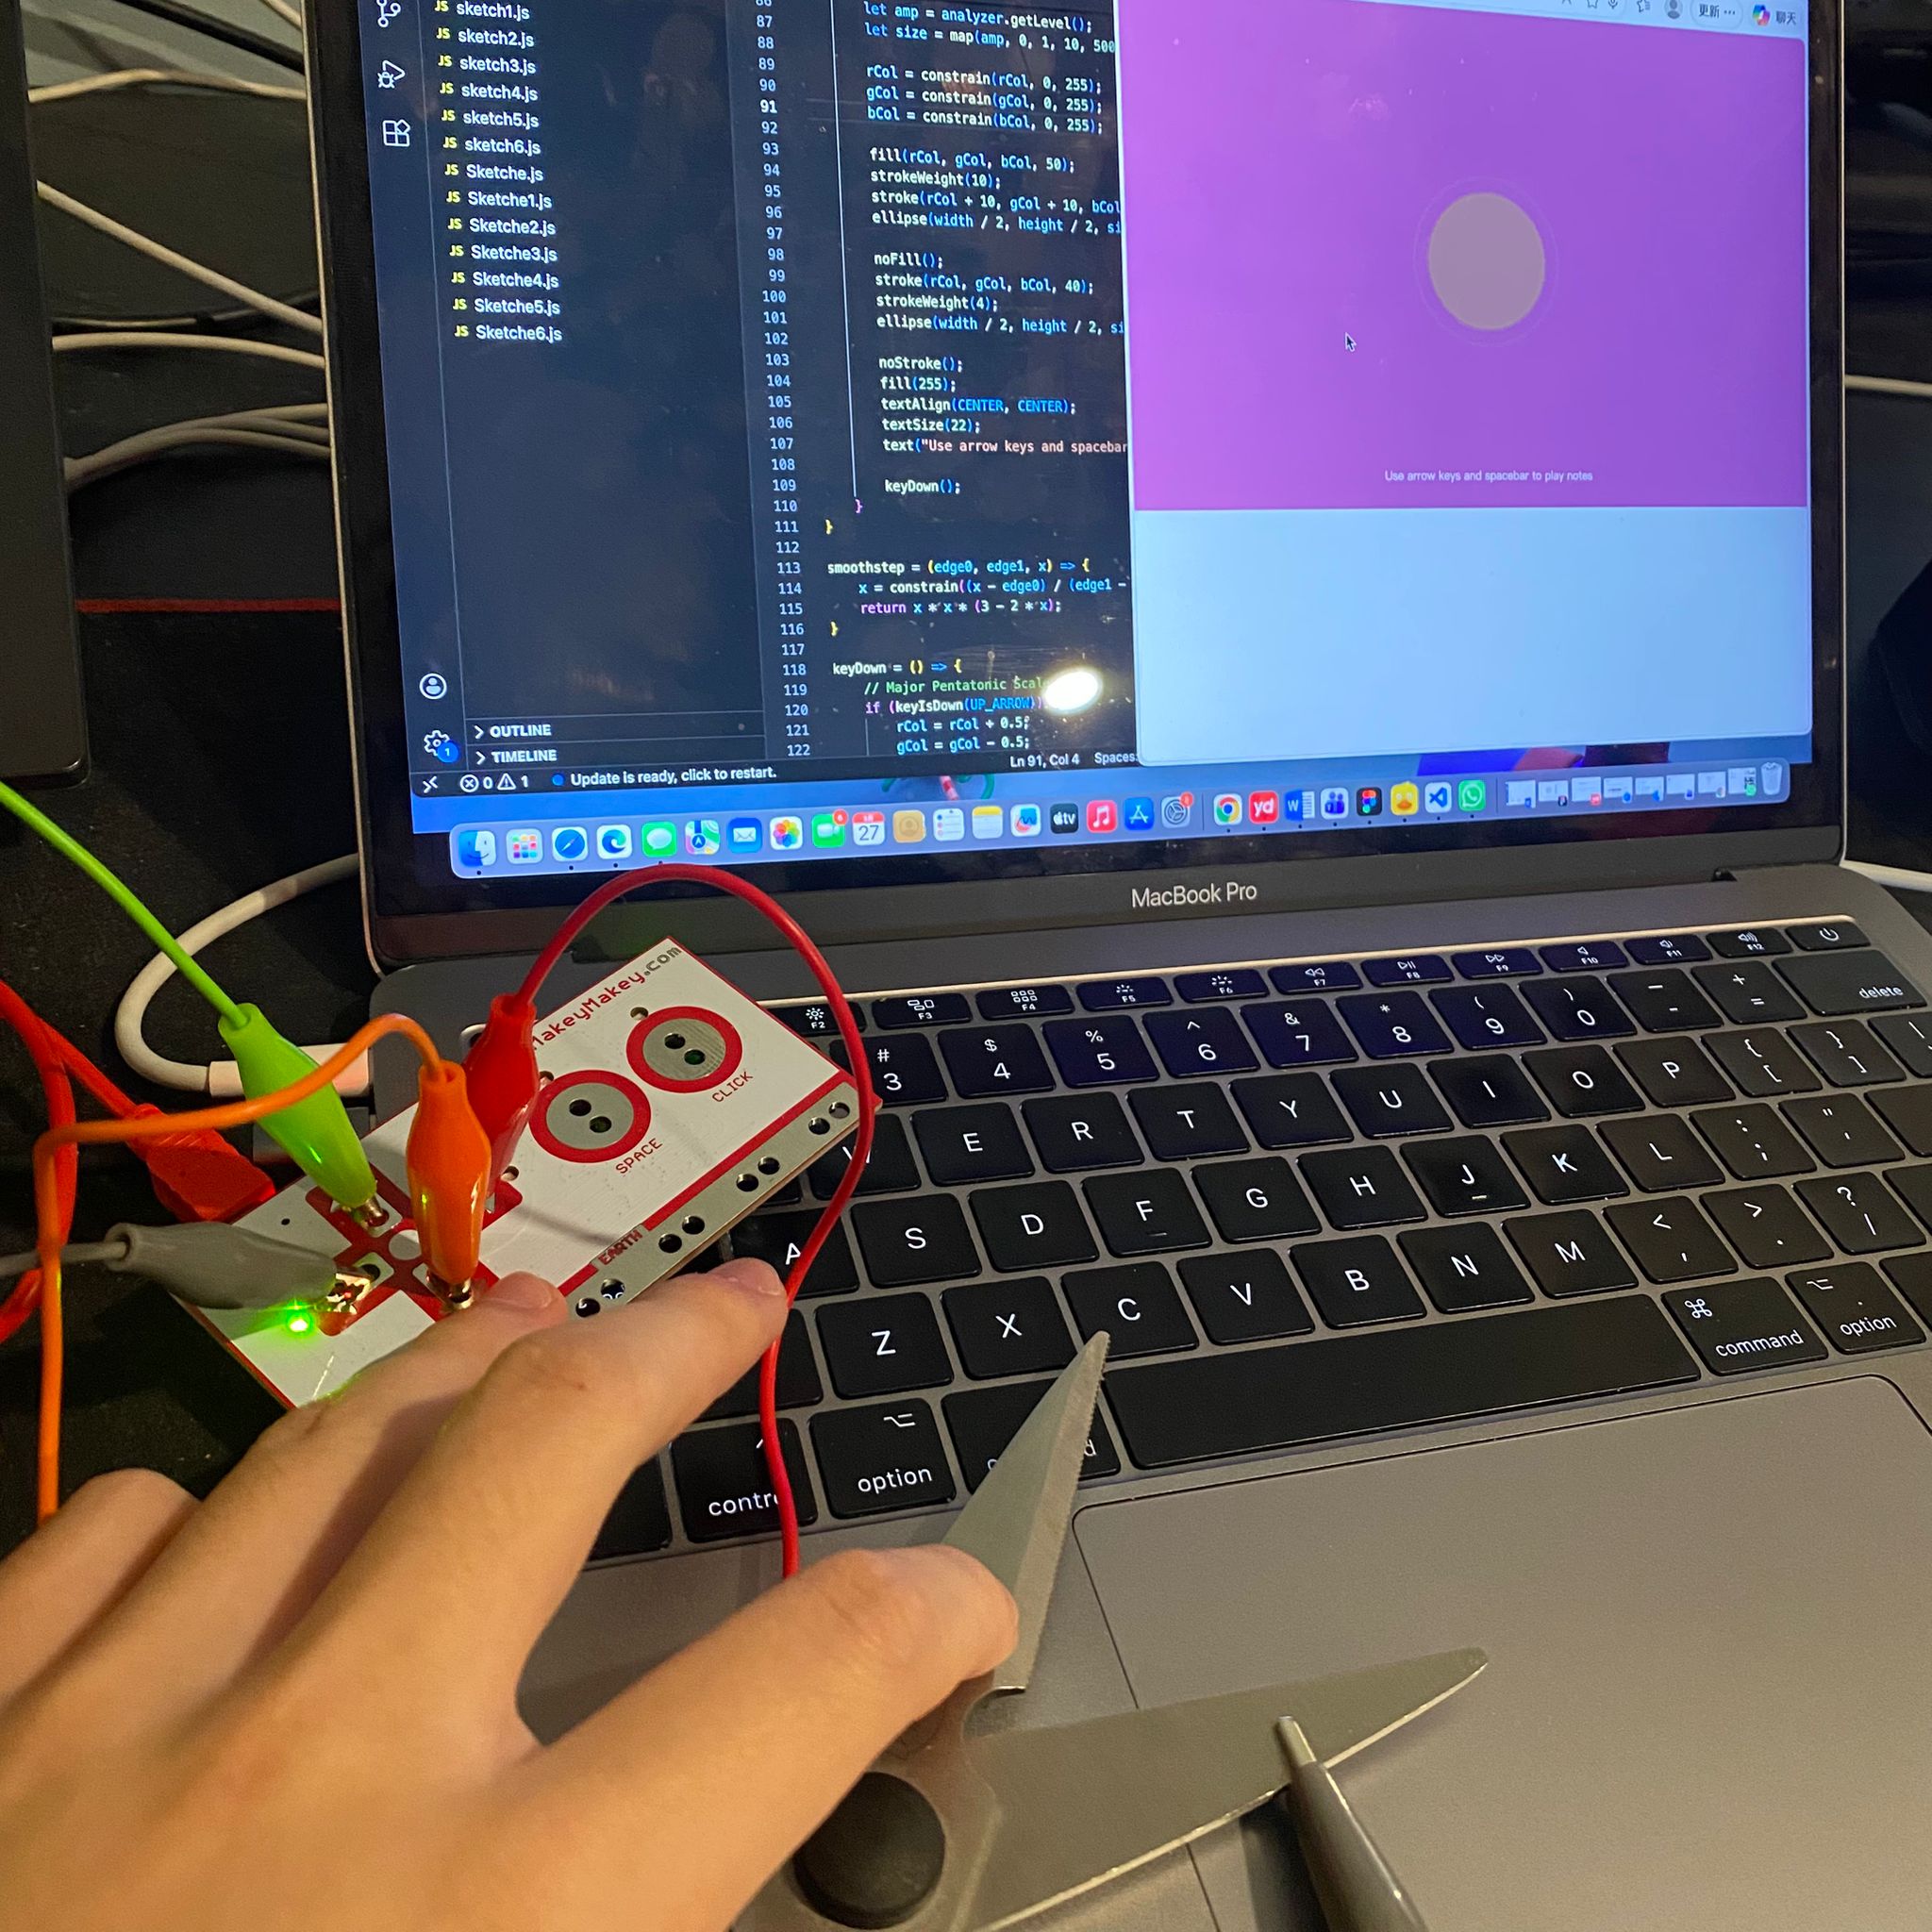
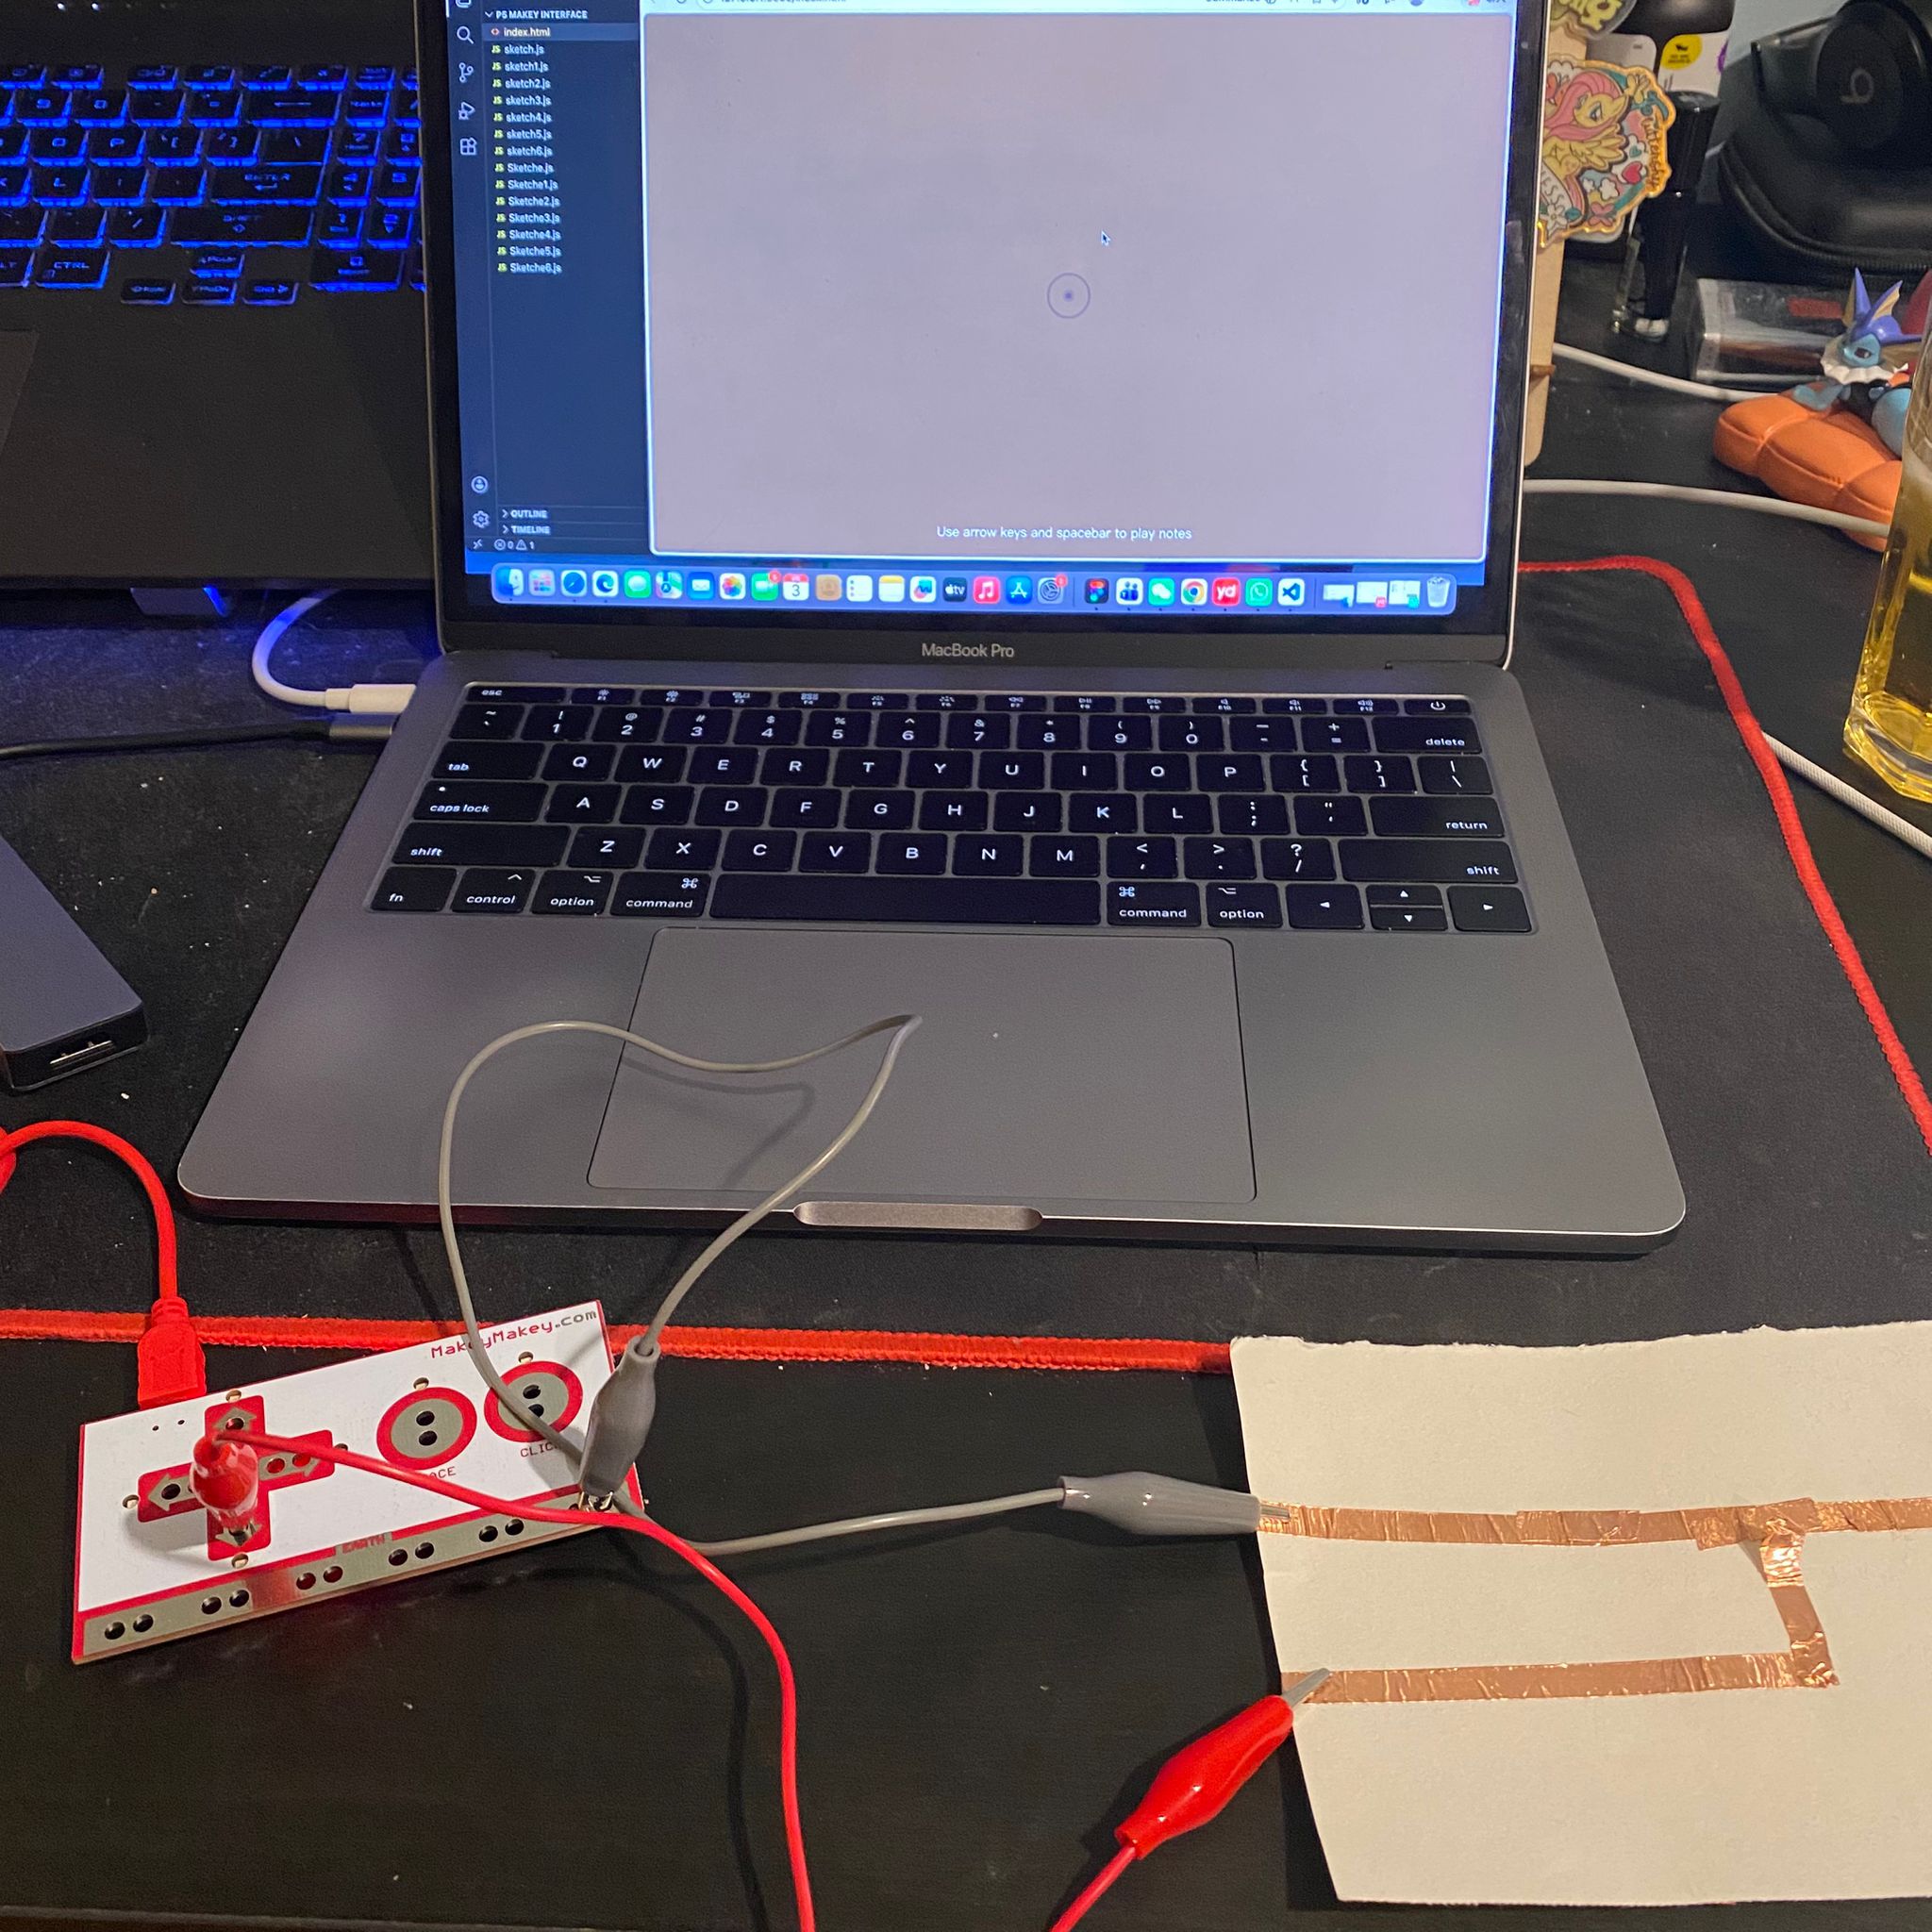
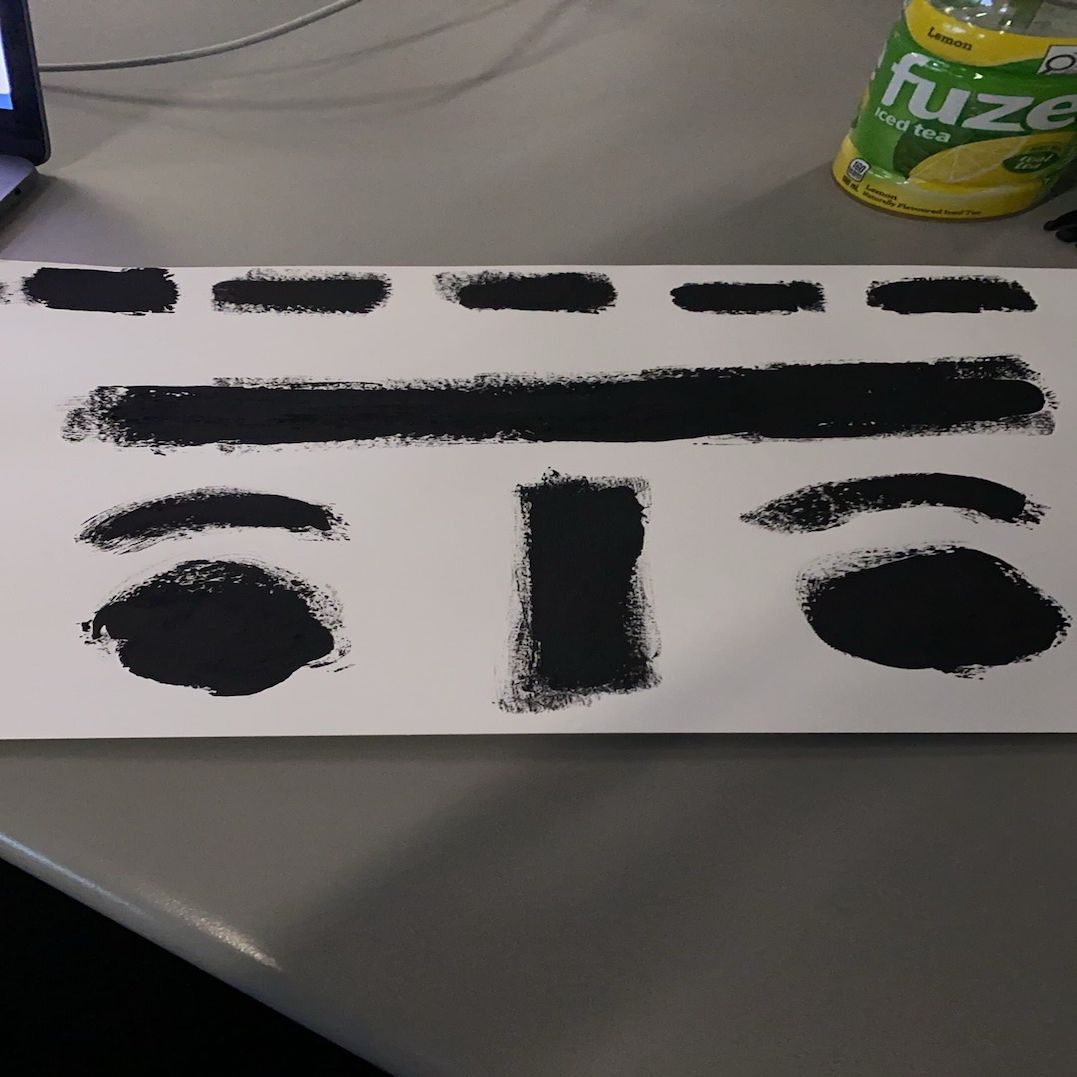
Final Project 3 Design
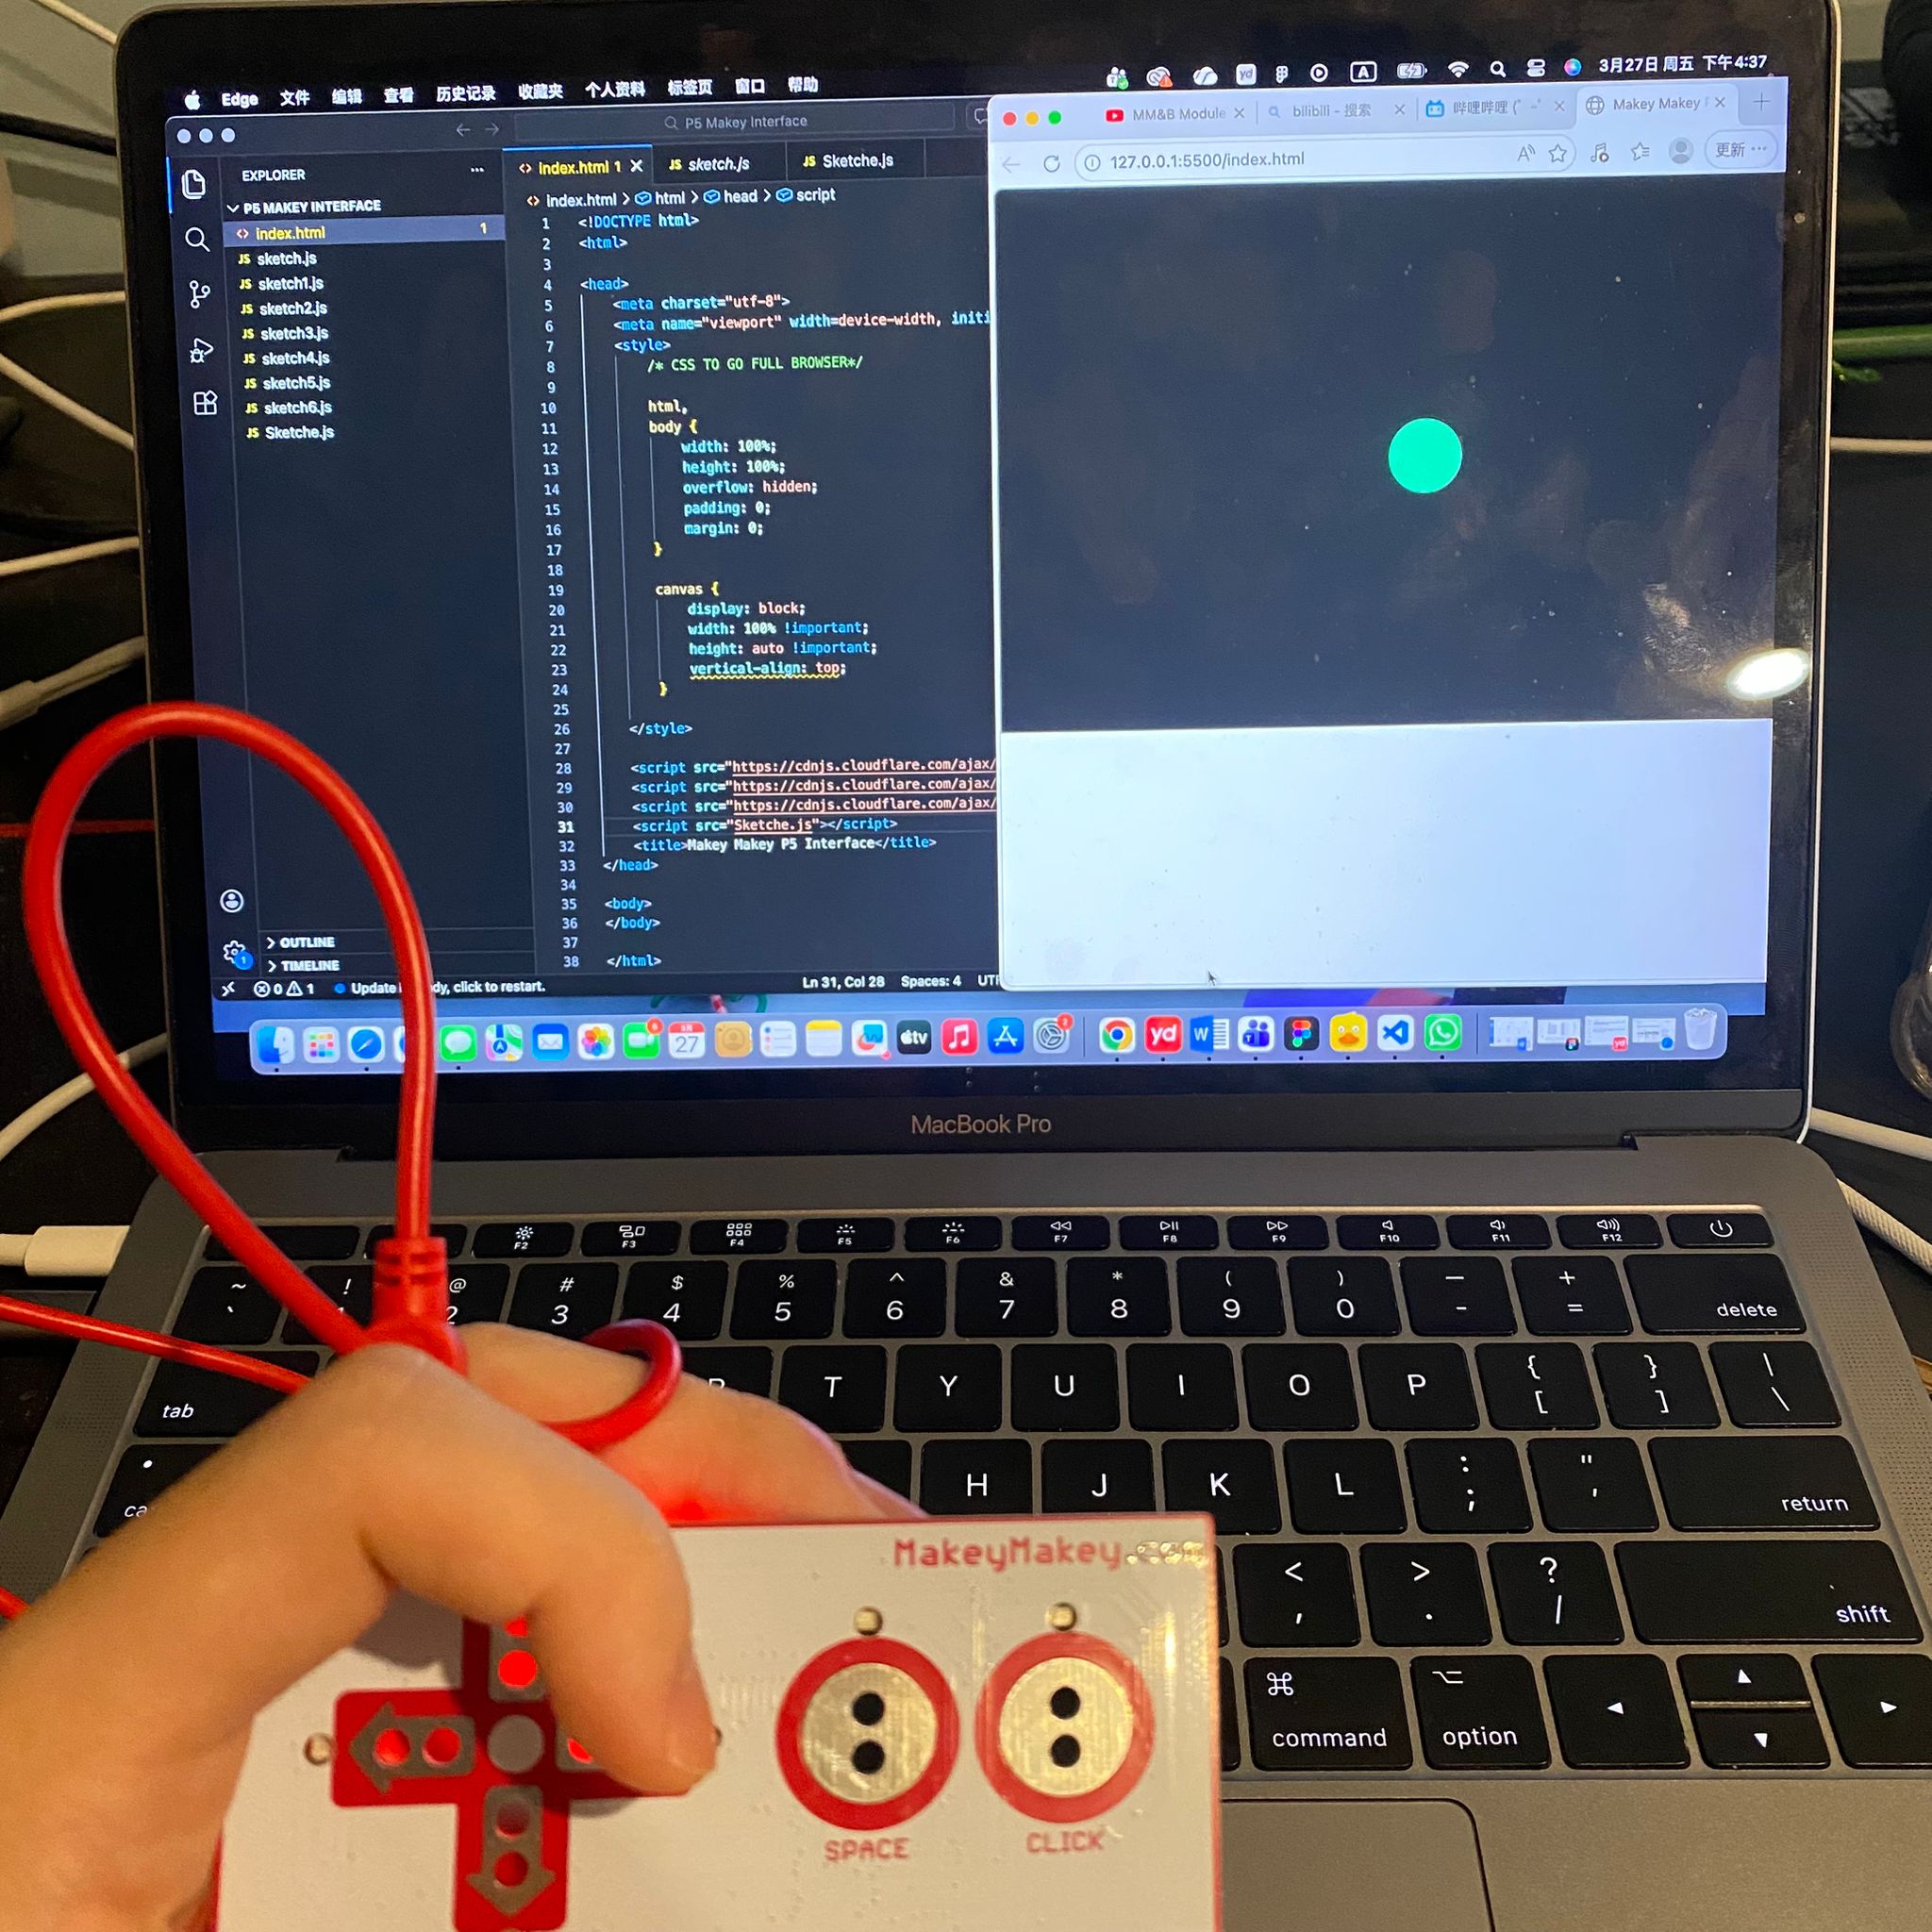
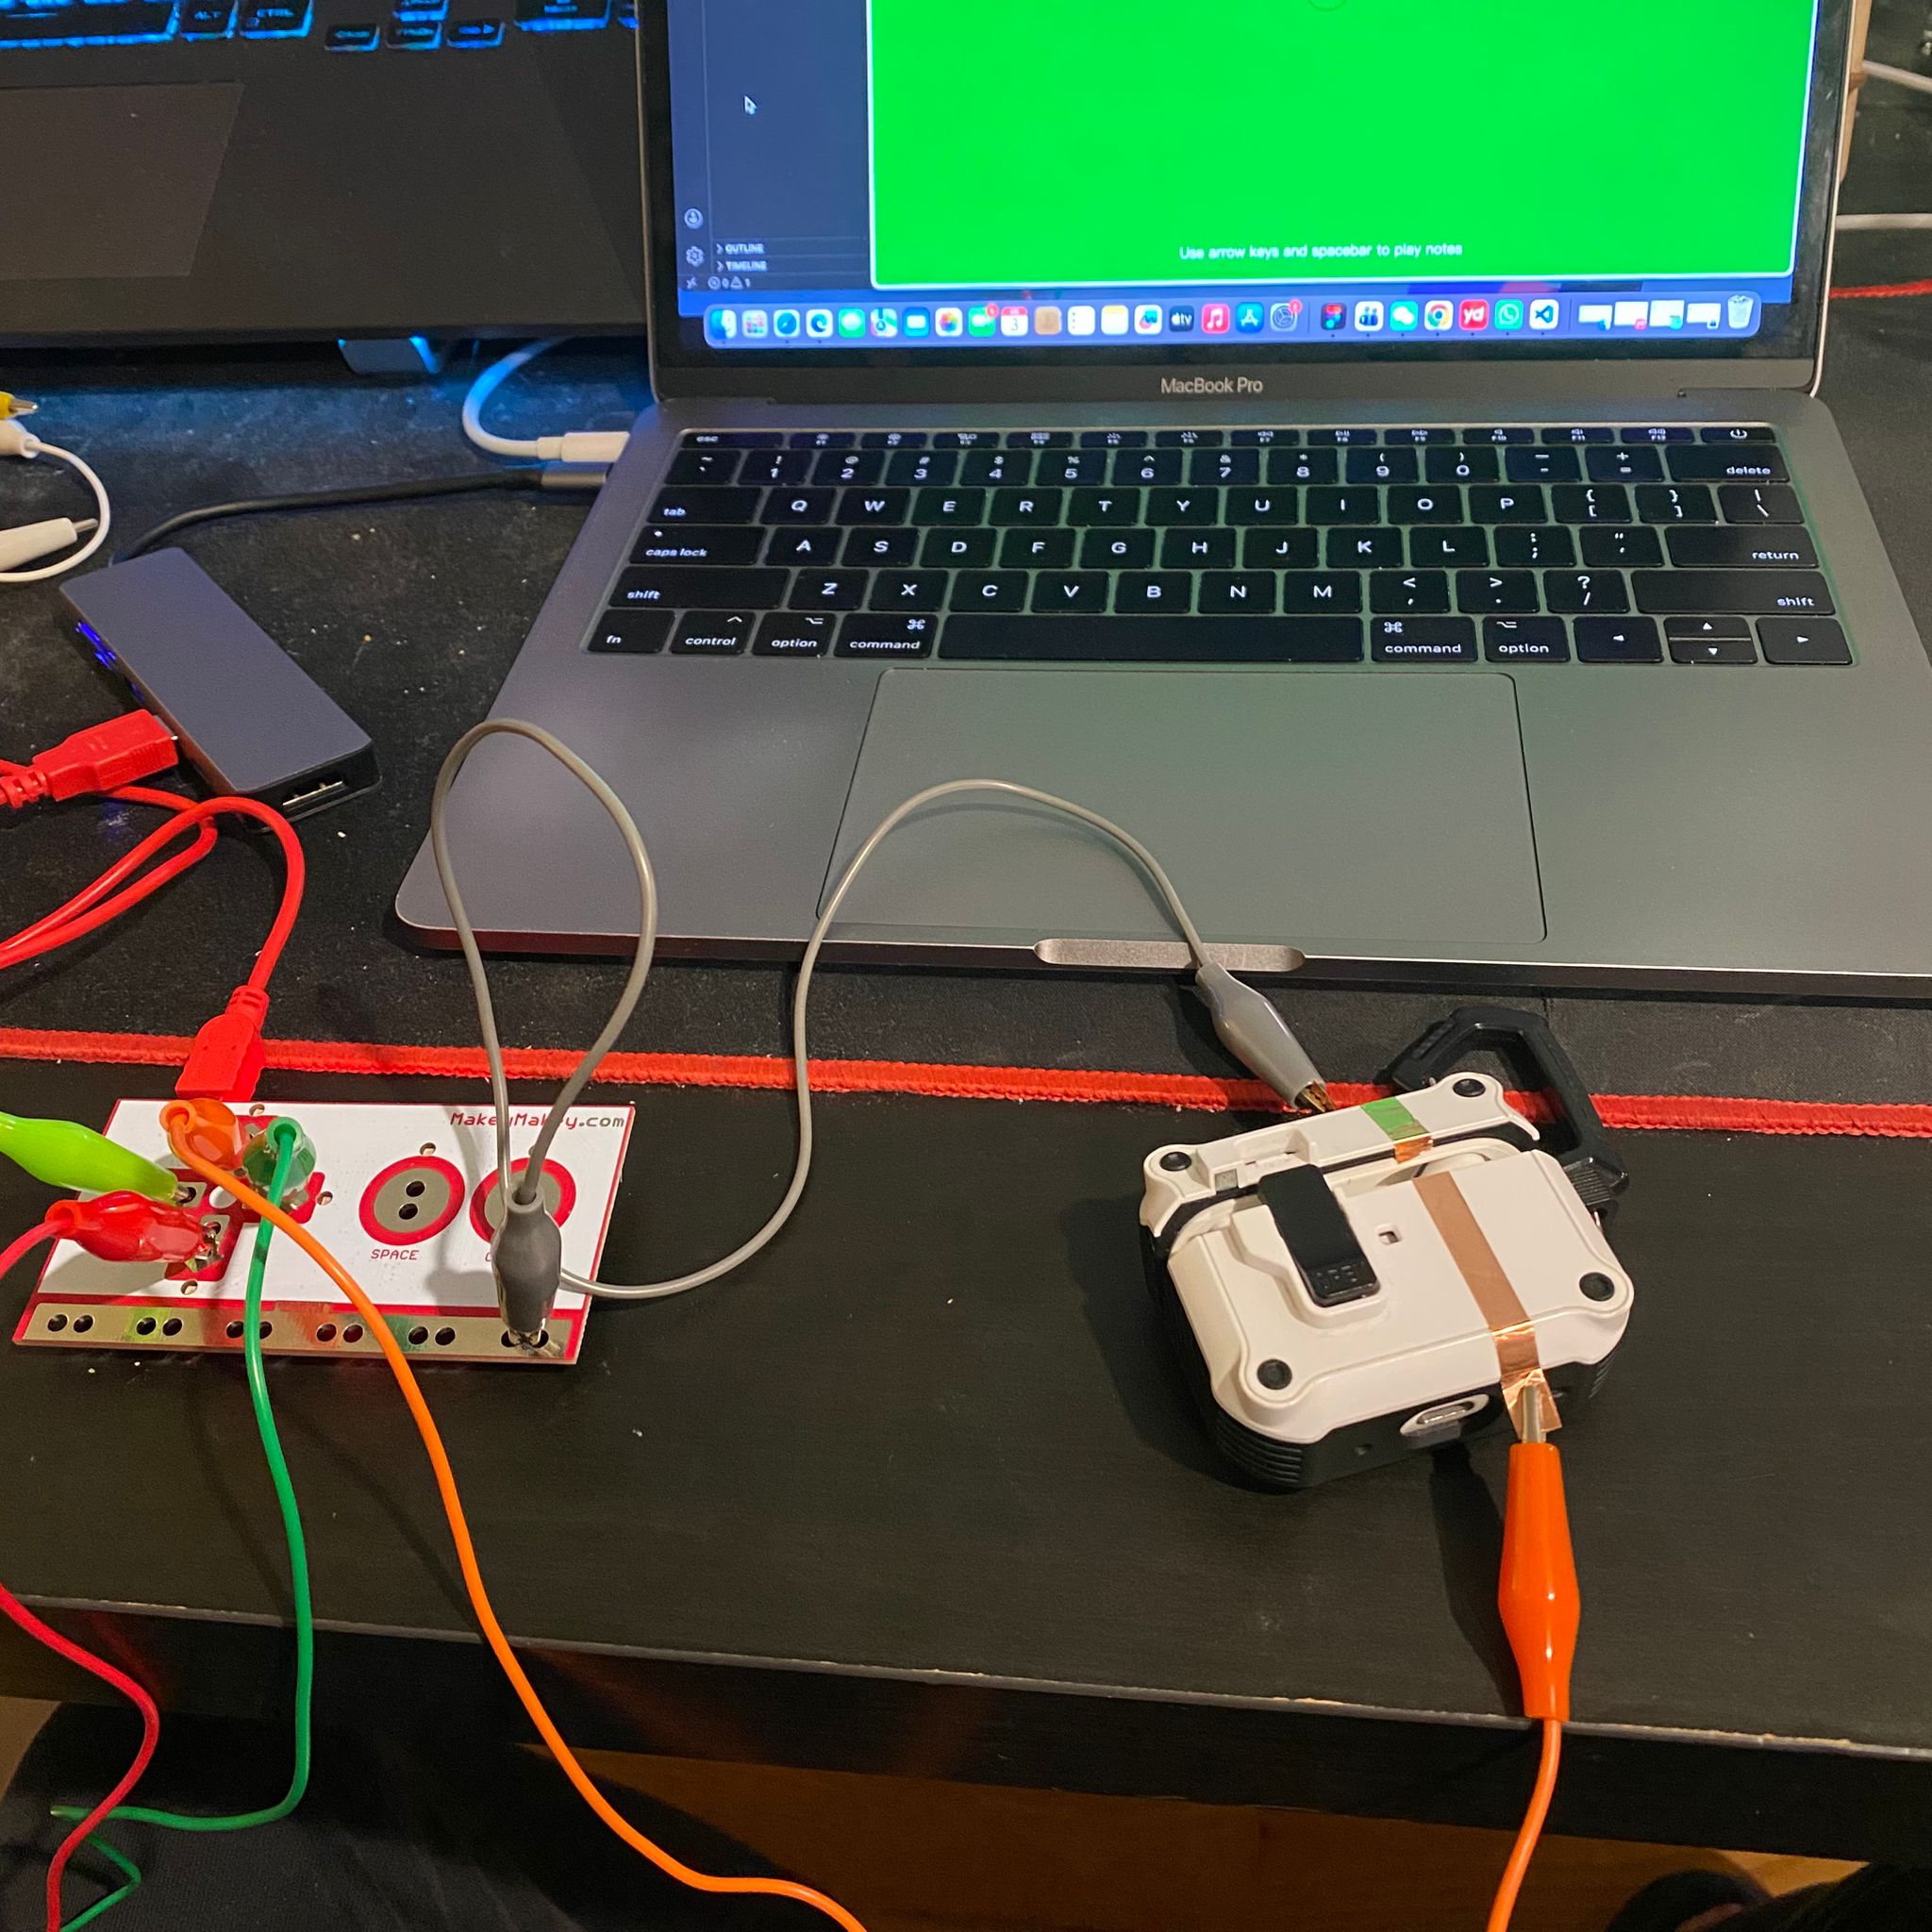
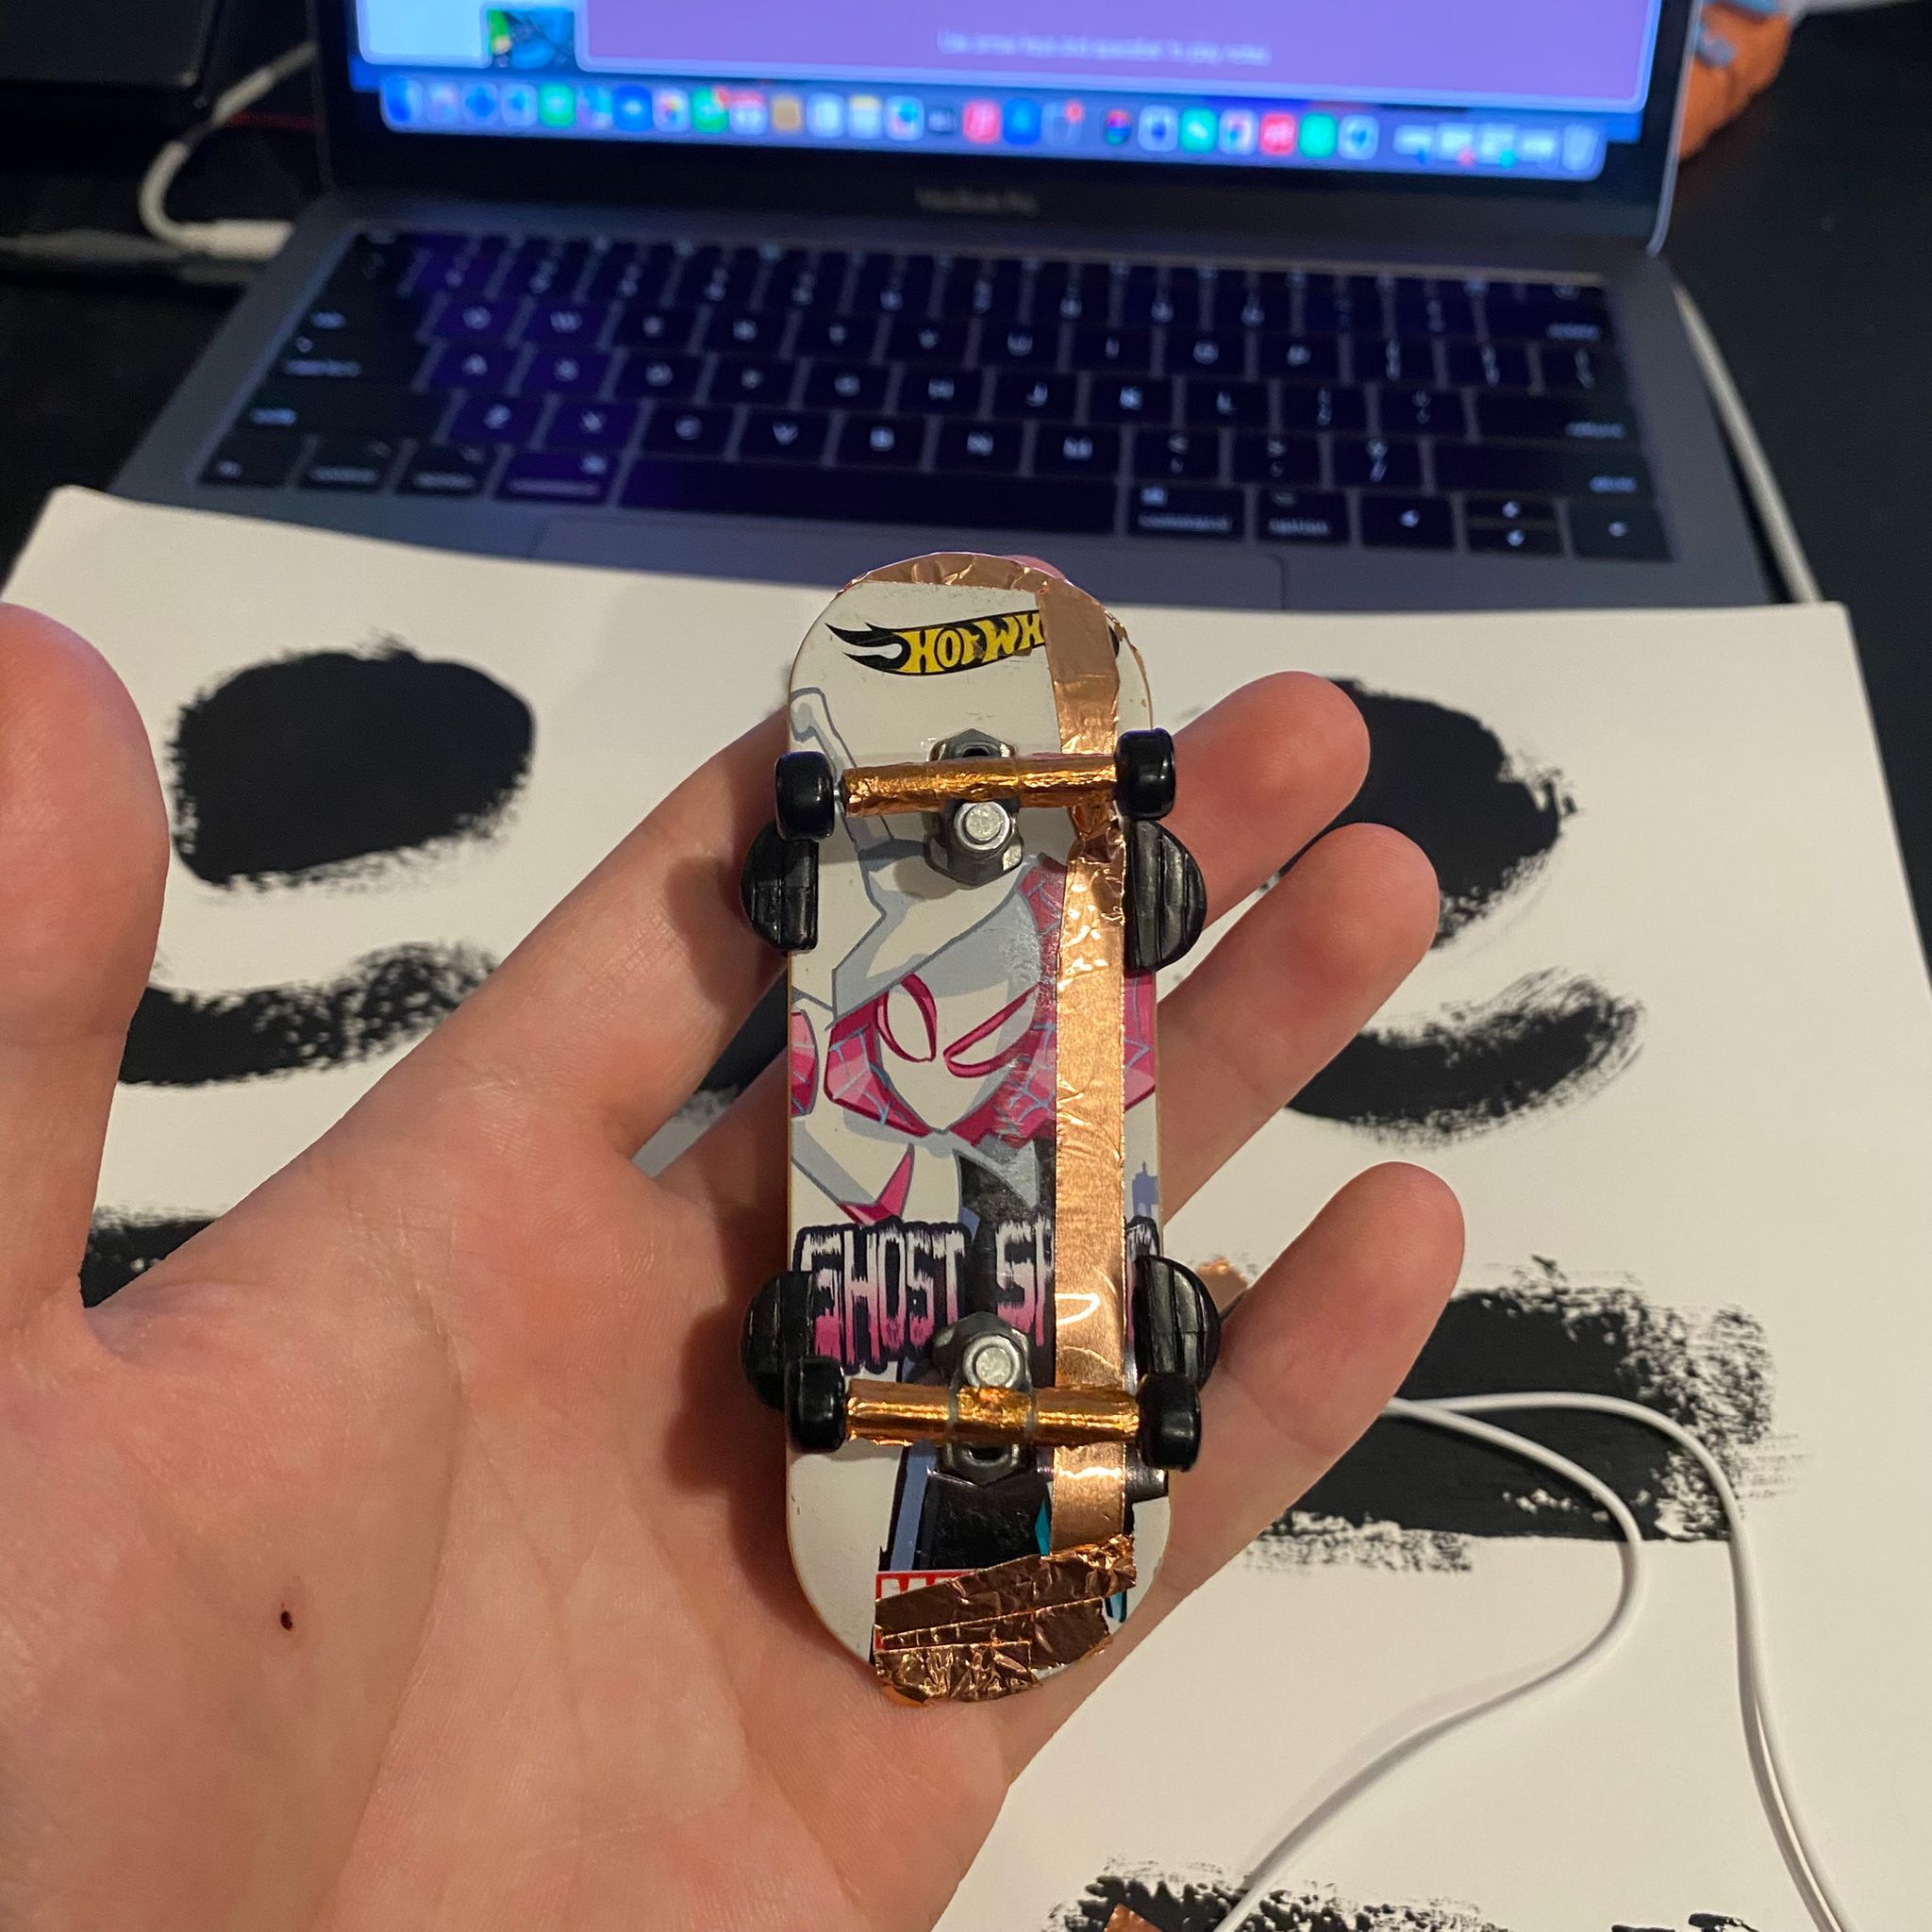
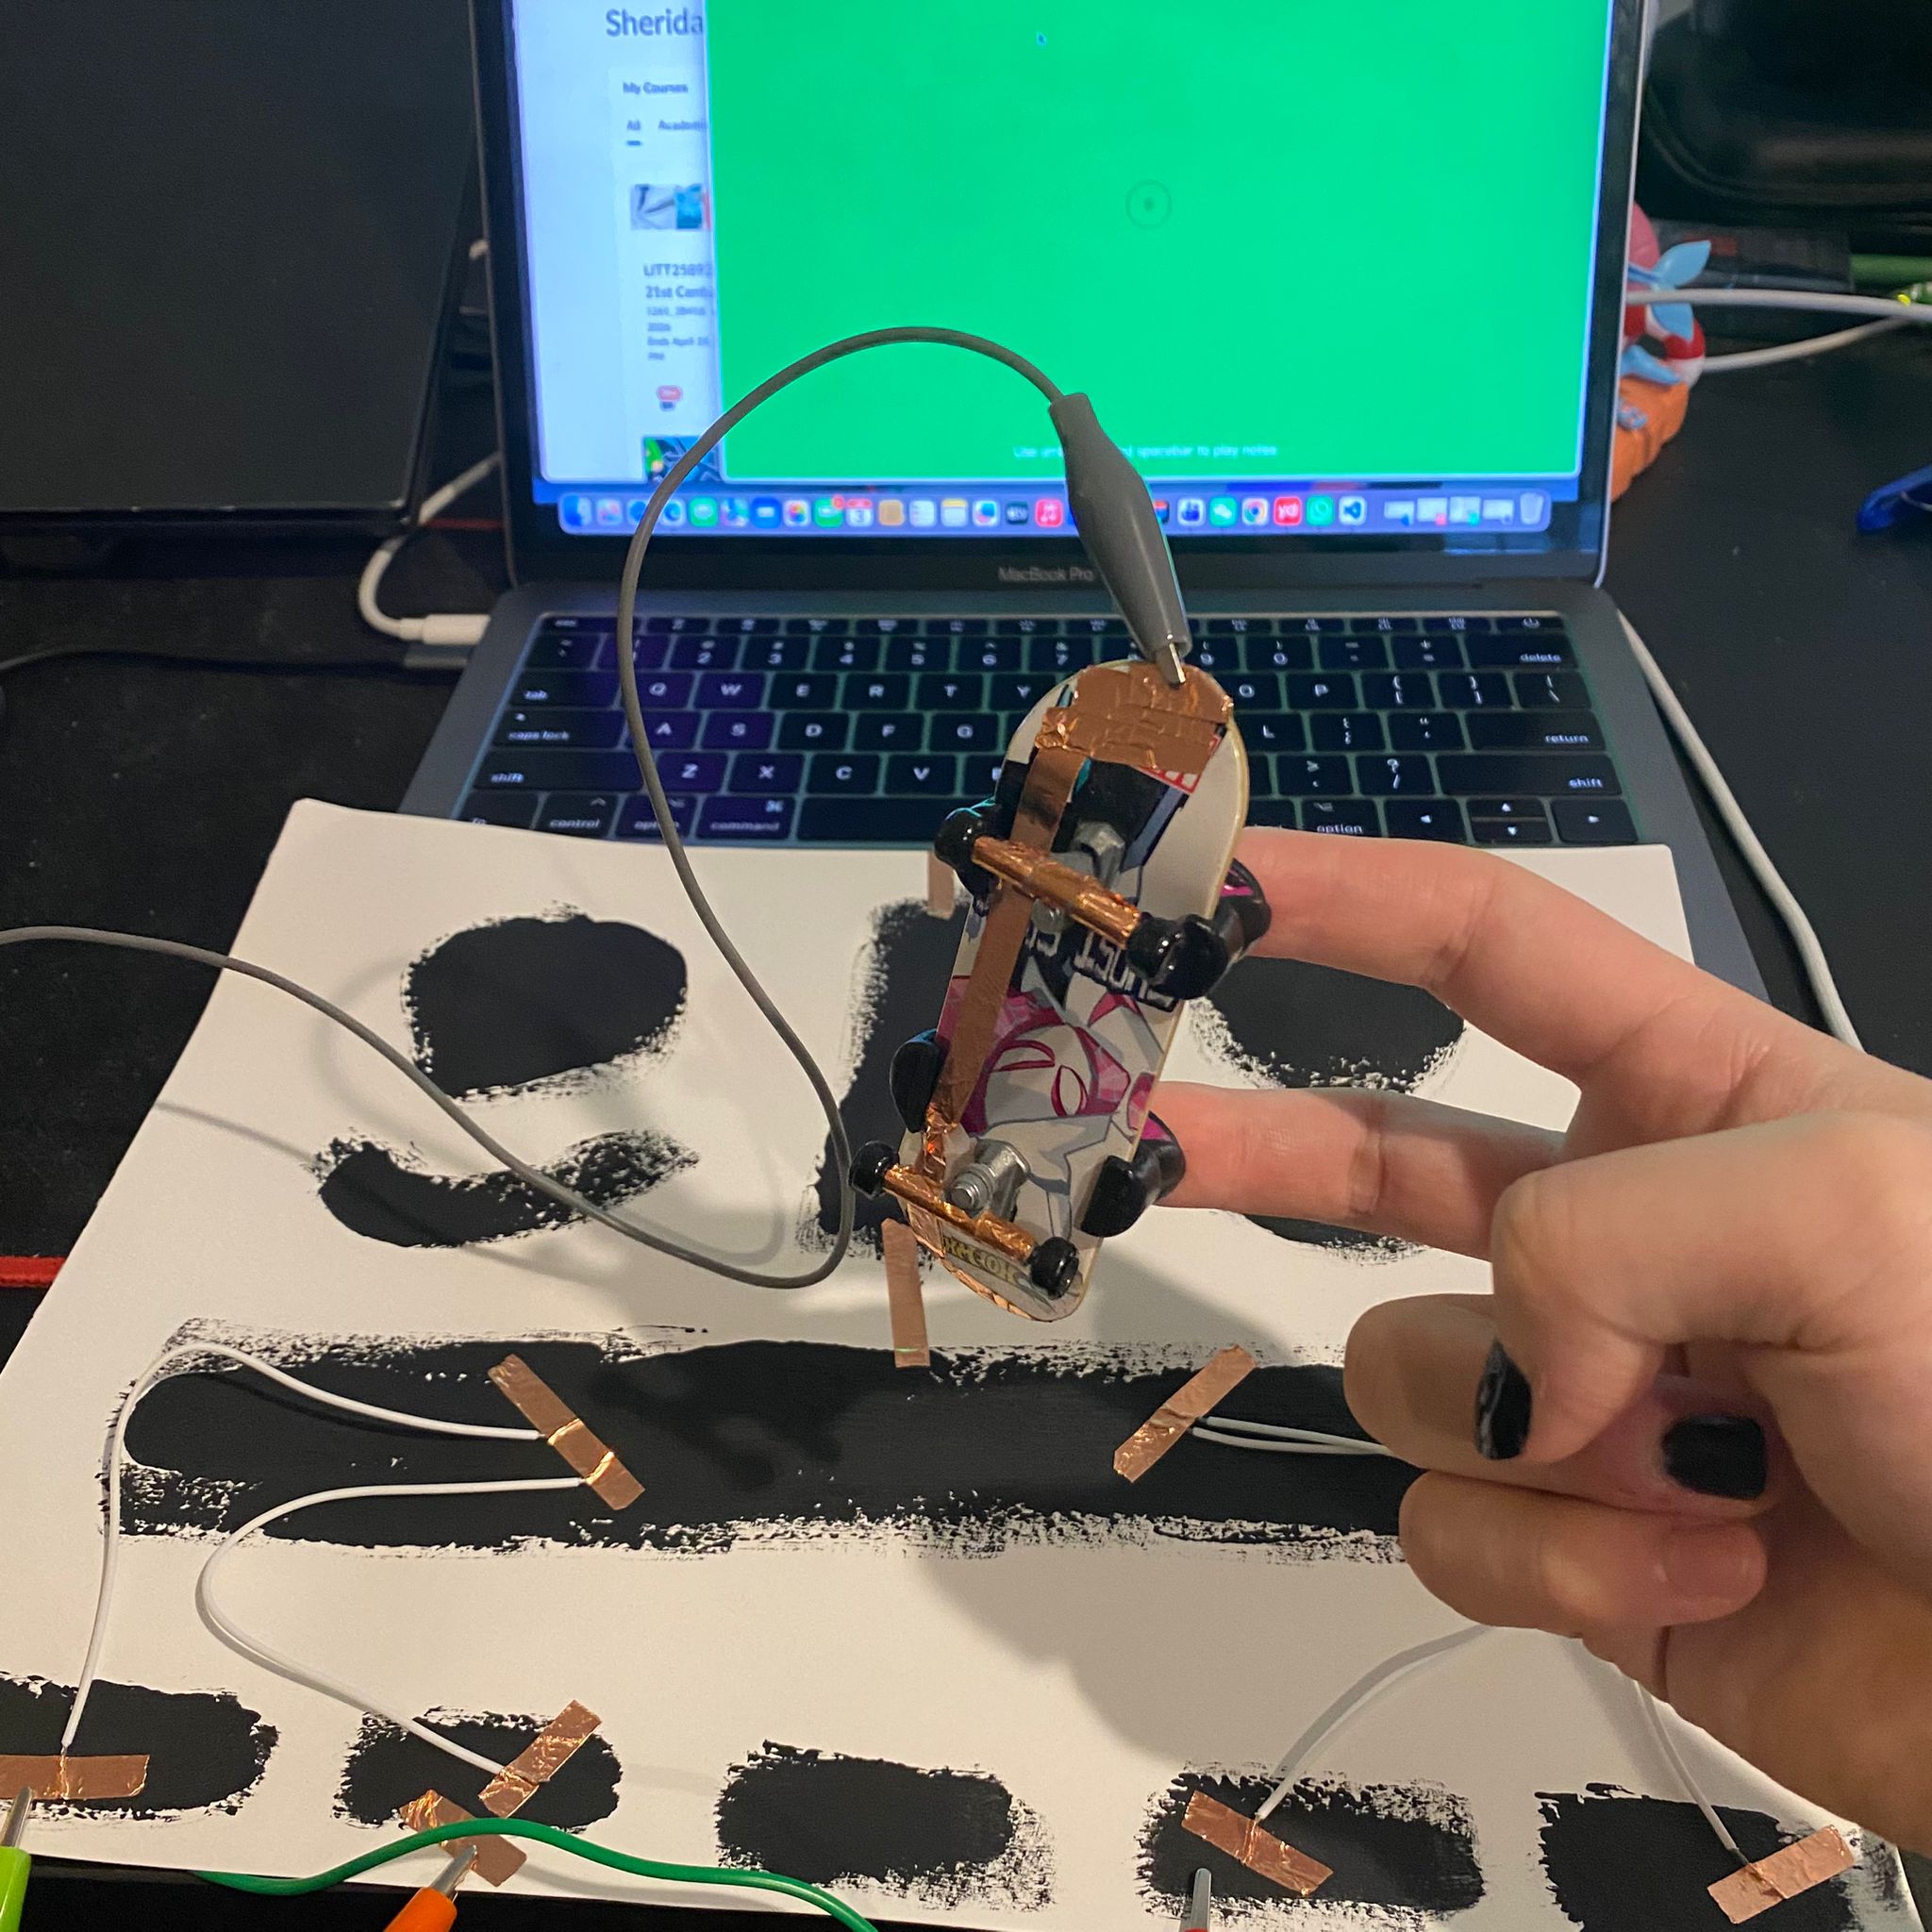
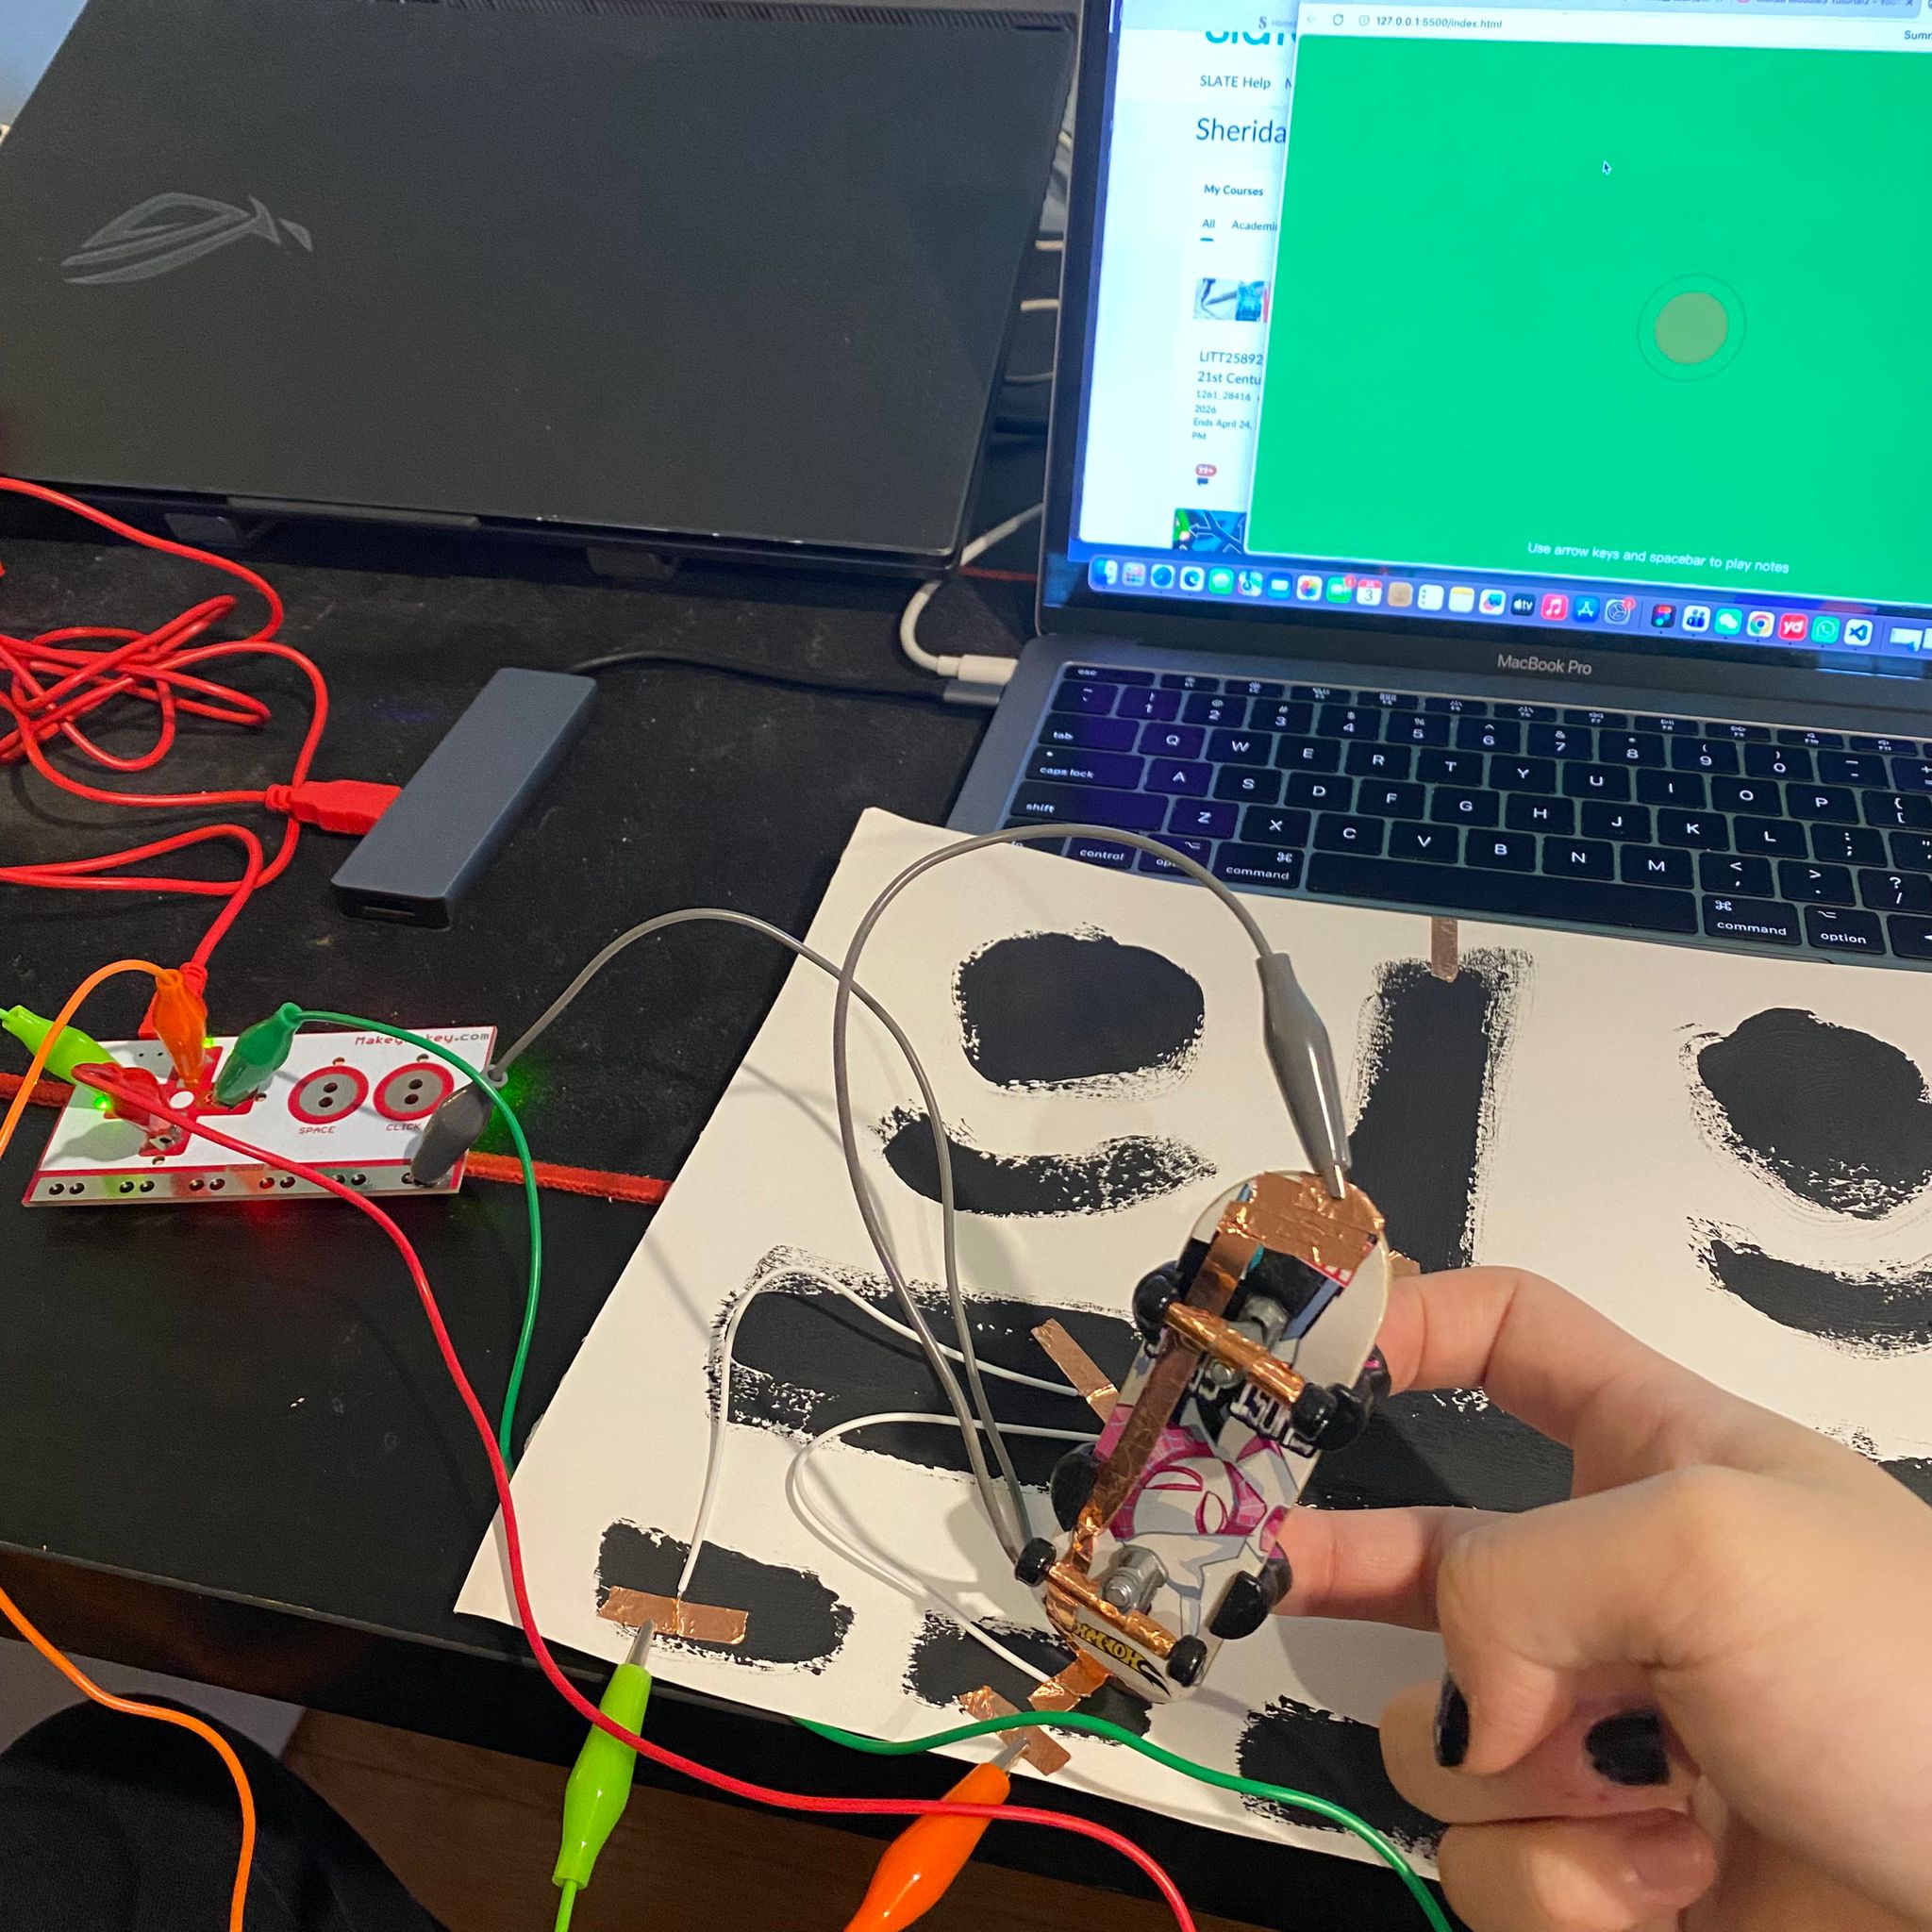
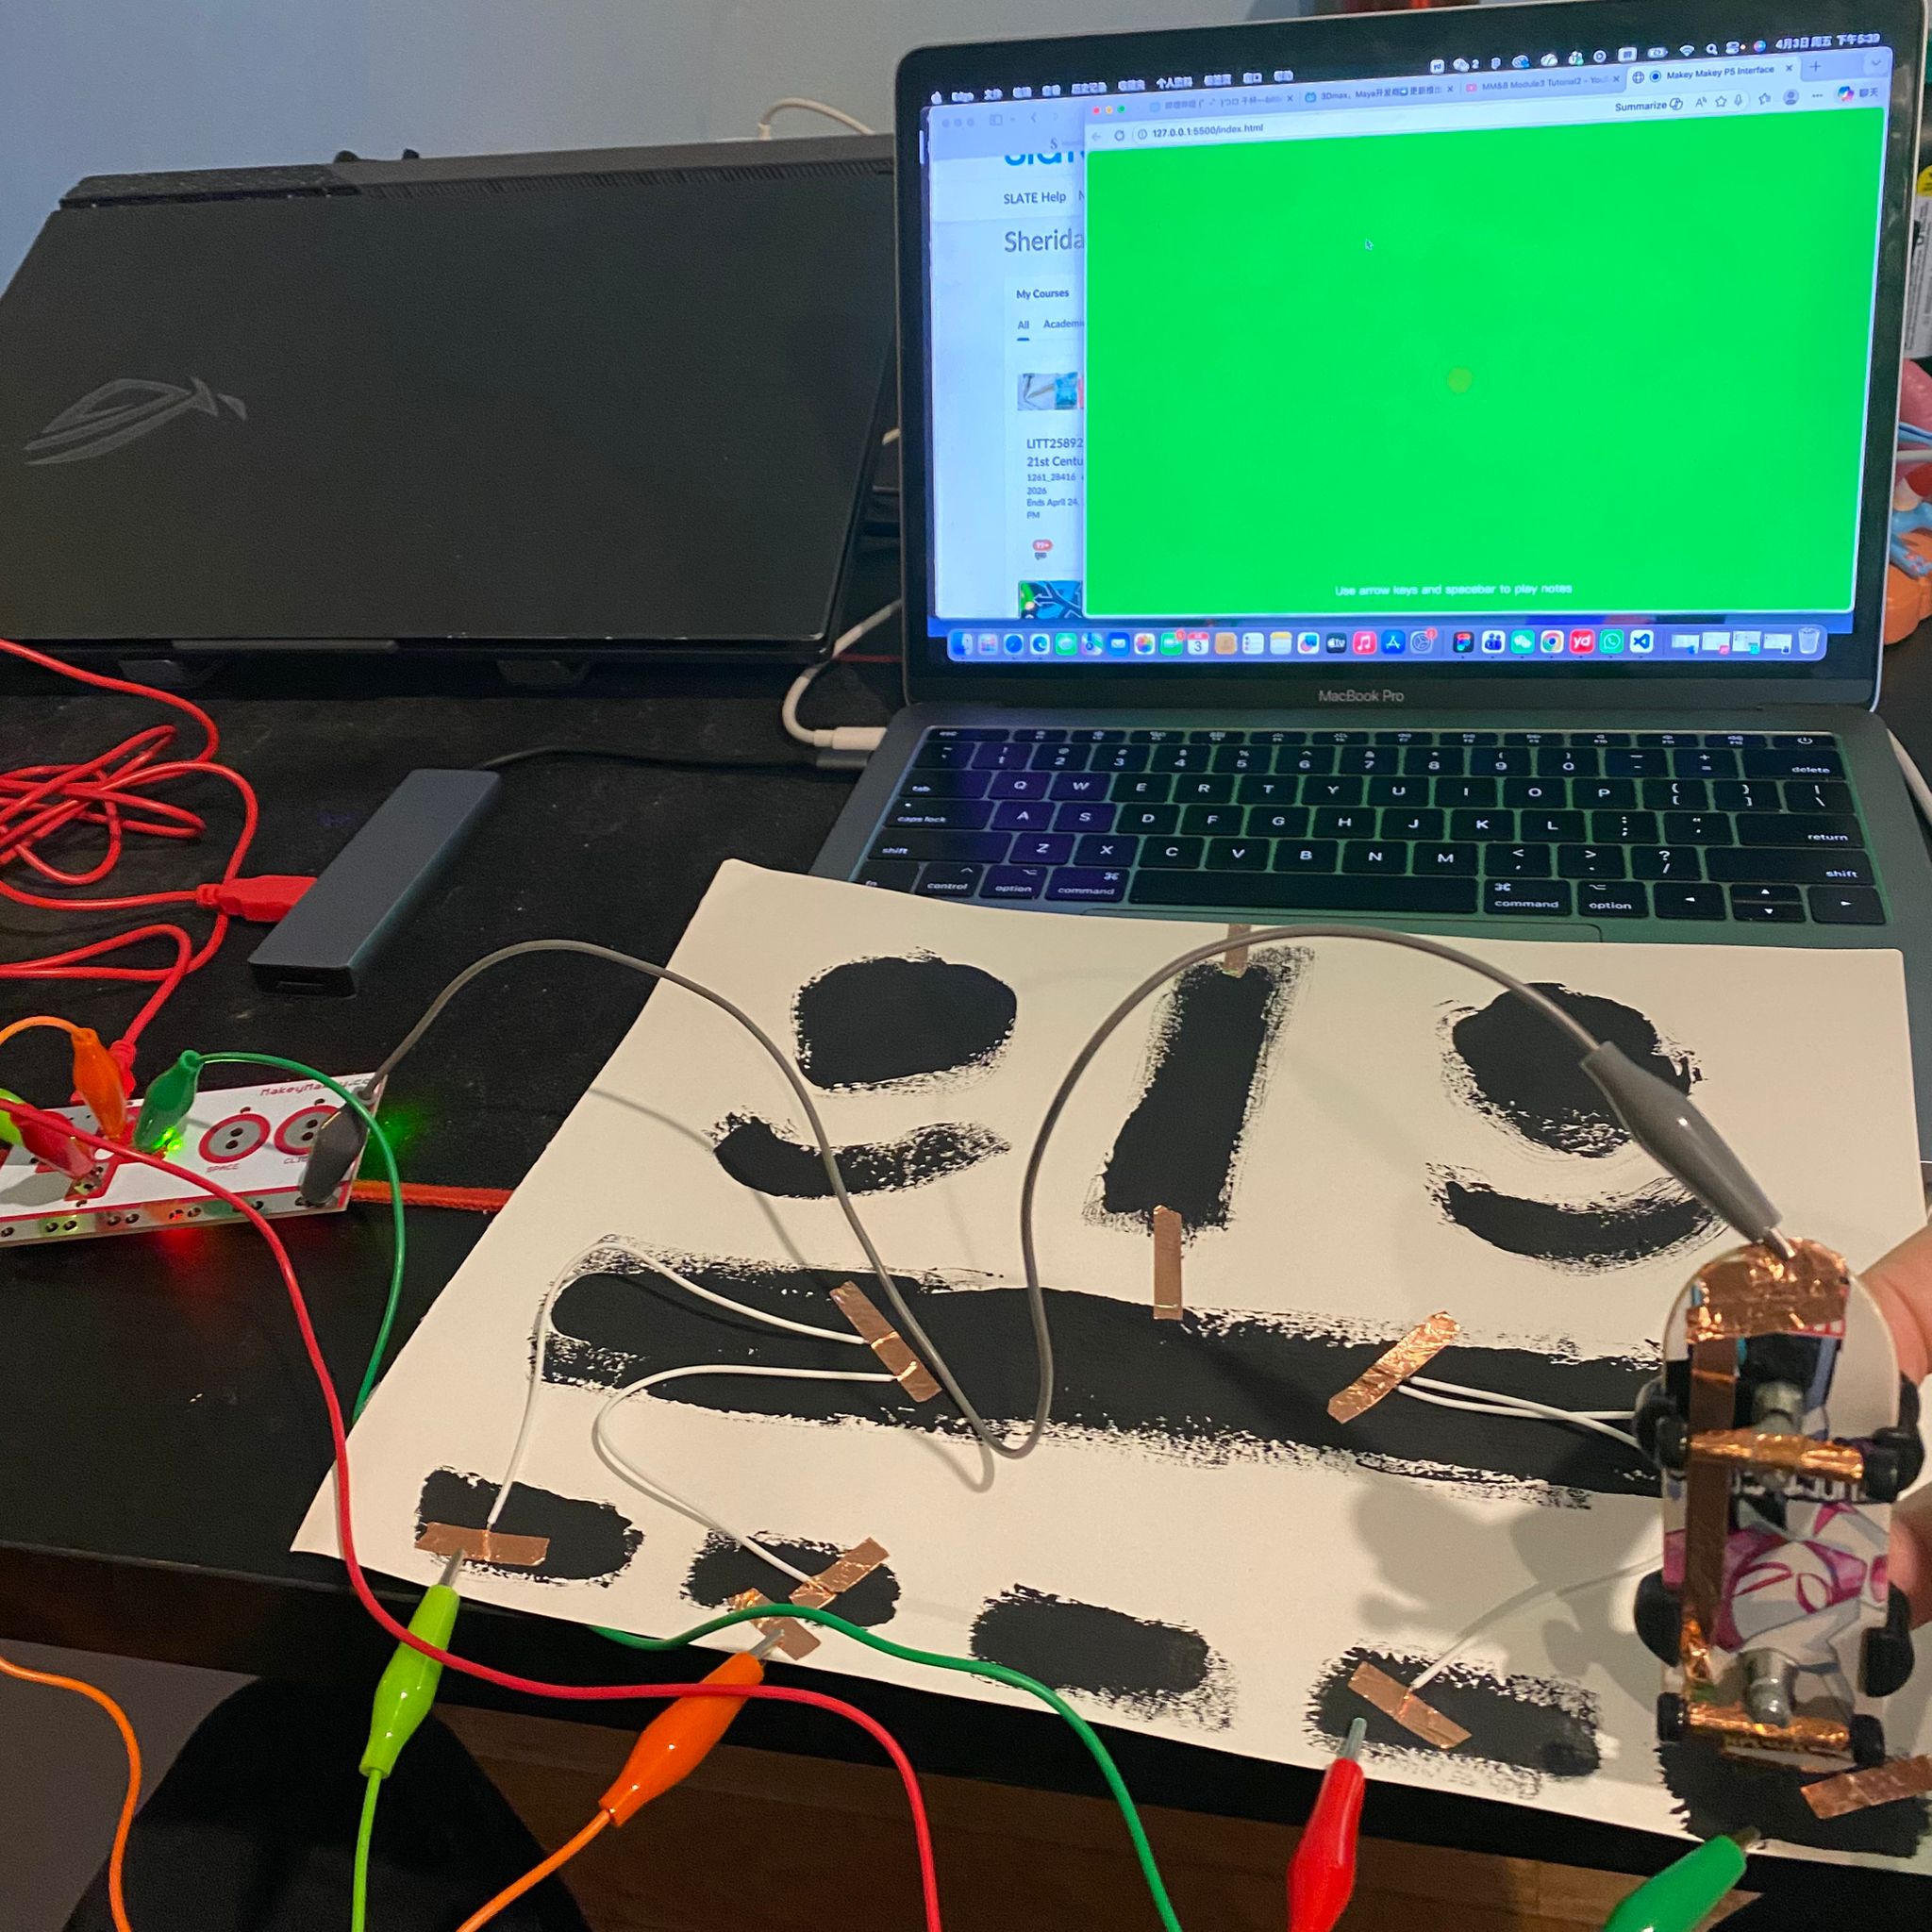
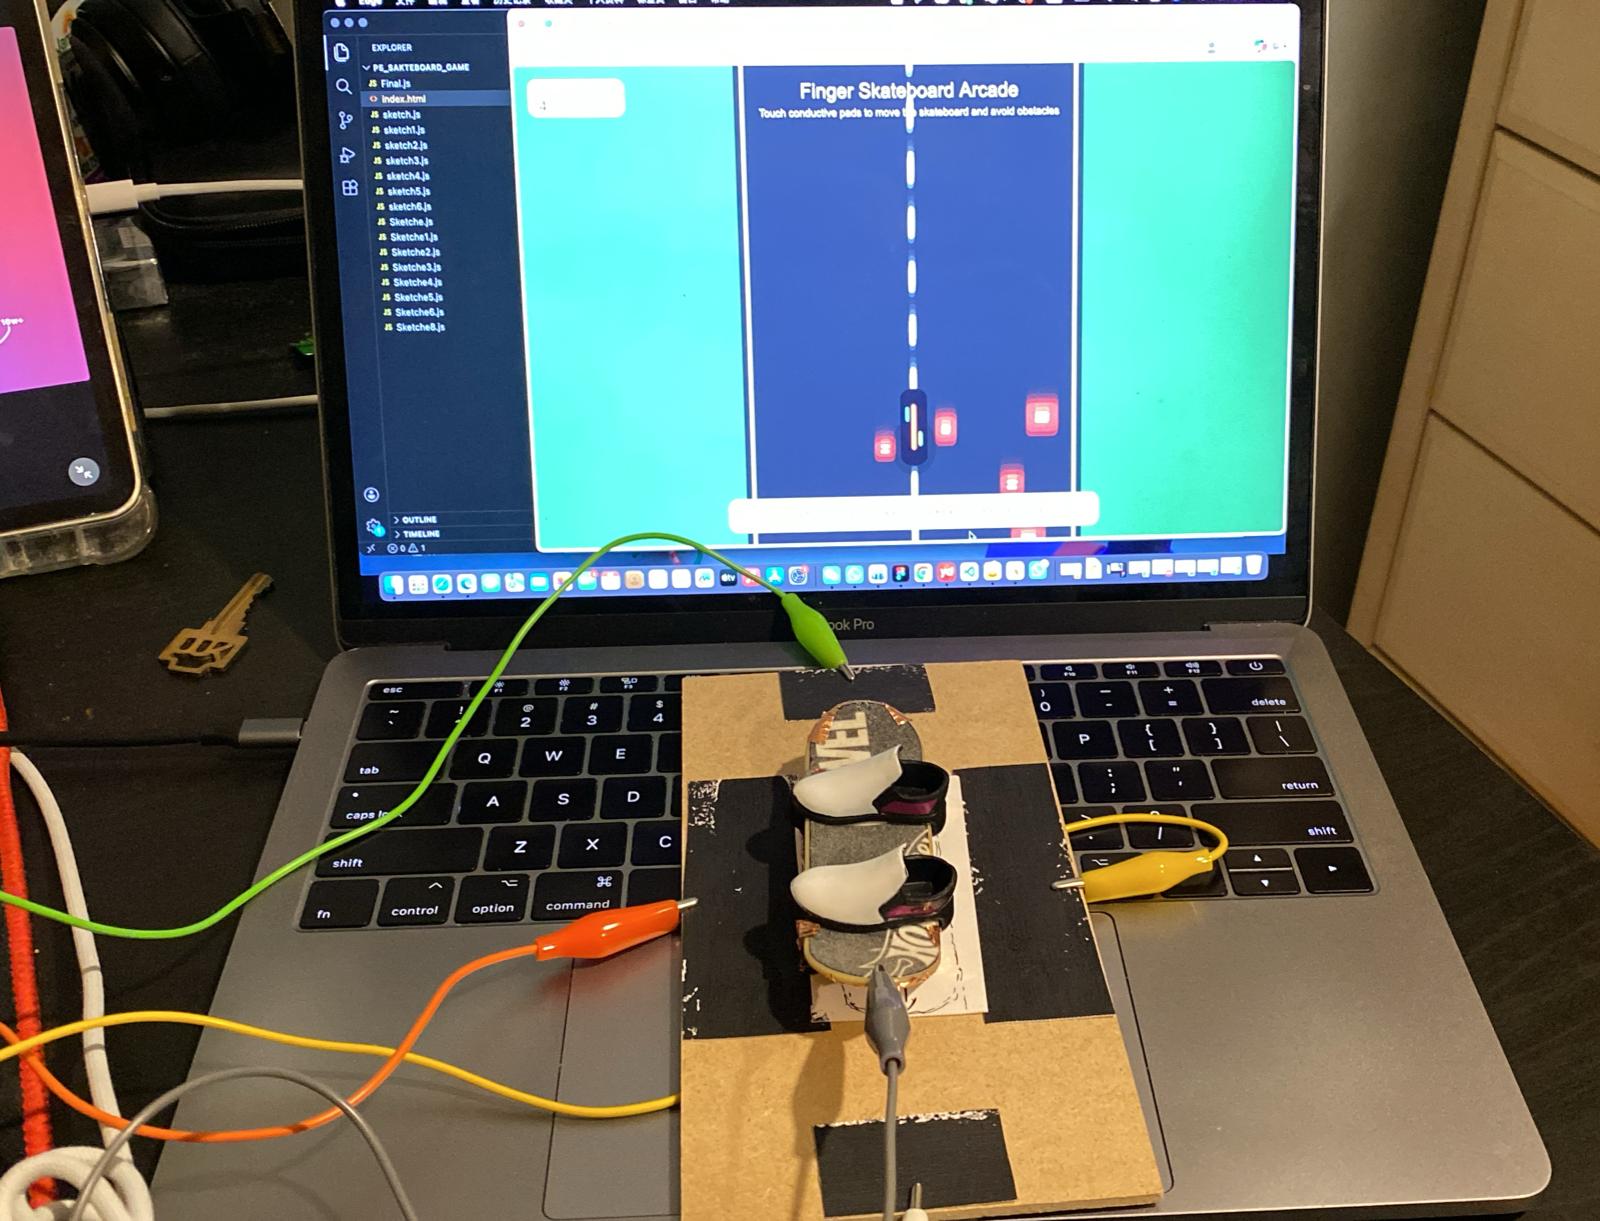
The final project is a touch-based skateboard game controlled by a physical interface. A board with conductive areas is connected to MakeyMakey, and a finger skateboard with conductive tape acts as the controller. By touching different areas, the system translates physical movement into directional control in the game, allowing the on-screen skateboard to respond directly to real-world interaction.
Powered by w3.css